Mists of Pandaria Classic · Level 90 · Dungeon
Scholomance: encounter overview
An encounter list with brief reminders for selected mechanics.
How to use this page
This page covers selected mechanics, not every phase or difficulty-specific role assignment. Check the Encounter Journal for your difficulty before the pull.
Updated 2026-09-05. Mists of Pandaria Classic.
Scholomance: encounter overview
Scholomance: 5 encounters, from Instructor Chillheart to Darkmaster Gandling, with selected mechanic reminders for Mists of Pandaria Classic.
Quick links
Version and scope
This page covers selected mechanics, not every phase or difficulty-specific role assignment. Check the Encounter Journal for your difficulty before the pull.
Blizzard announcements provide content and release context; they do not establish every tactic on this page. Separate Encounter Journal links support the clarified mechanics.
Scholomance · Bosses
Encounter 1 / 5 · Scholomance
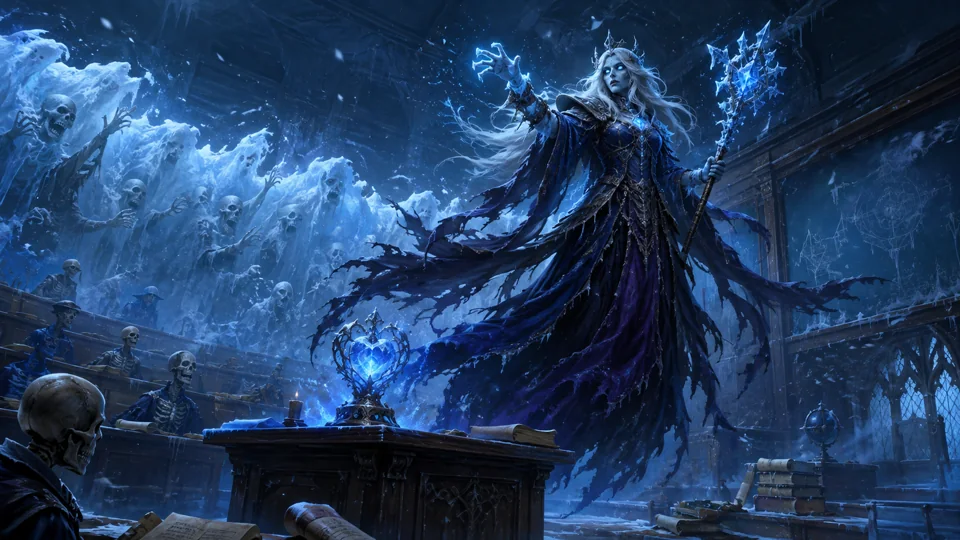
Instructor Chillheart
Phylactery: After Chillheart's body falls, switch to her phylactery and destroy it. Avoid the books' Arcane Bomb impact areas and burning books while the healer covers their Shadow Bolt hits. Ice Wall: Stay ahead of the advancing ice wall: contact is instantly fatal, so finish the first phase before the room runs out. Dodge Frigid Grasp and keep the Ice Wrath target apart; the tank prepares for extra Frost damage from Touch of the Grave.
Raid priorities
- Phylactery: After Chillheart's body falls, switch to her phylactery and destroy it. Avoid the books' Arcane Bomb impact areas and burning books while the healer covers their Shadow Bolt hits.
- Ice Wall: Stay ahead of the advancing ice wall: contact is instantly fatal, so finish the first phase before the room runs out. Dodge Frigid Grasp and keep the Ice Wrath target apart; the tank prepares for extra Frost damage from Touch of the Grave.
Before the pull
- Assign roles and movement for this encounter and difficulty.
- Confirm which abilities can be interrupted and which effects can be dispelled.
Mechanics reference
Phase plan and tactic
After Chillheart's body falls, switch to her phylactery and destroy it. Avoid the books' Arcane Bomb impact areas and burning books while the healer covers their Shadow Bolt hits.
Stay ahead of the advancing ice wall: contact is instantly fatal, so finish the first phase before the room runs out. Dodge Frigid Grasp and keep the Ice Wrath target apart; the tank prepares for extra Frost damage from Touch of the Grave.
Role notes
Tanks
- Follow the encounter-specific tanking and movement plan; this general reminder does not define tank swaps.
- After Chillheart's body falls, switch to her phylactery and destroy it. Avoid the books' Arcane Bomb impact areas and burning books while the healer covers their Shadow Bolt hits.
- Stay ahead of the advancing ice wall: contact is instantly fatal, so finish the first phase before the room runs out. Dodge Frigid Grasp and keep the Ice Wrath target apart; the tank prepares for extra Frost damage from Touch of the Grave.
Healers
- Assign healing and defensives. Do not assume that every boss effect can be dispelled.
- After Chillheart's body falls, switch to her phylactery and destroy it. Avoid the books' Arcane Bomb impact areas and burning books while the healer covers their Shadow Bolt hits.
- Stay ahead of the advancing ice wall: contact is instantly fatal, so finish the first phase before the room runs out. Dodge Frigid Grasp and keep the Ice Wrath target apart; the tank prepares for extra Frost damage from Touch of the Grave.
DPS
- Follow this encounter’s target priorities. Interrupt only abilities confirmed to be interruptible.
- After Chillheart's body falls, switch to her phylactery and destroy it. Avoid the books' Arcane Bomb impact areas and burning books while the healer covers their Shadow Bolt hits.
- Stay ahead of the advancing ice wall: contact is instantly fatal, so finish the first phase before the room runs out. Dodge Frigid Grasp and keep the Ice Wrath target apart; the tank prepares for extra Frost damage from Touch of the Grave.
Nerfs: what changed
- A separately sourced nerf or hotfix history is not yet provided for this encounter.
- Updated 2026-09-05.
Encounter 2 / 5 · Scholomance
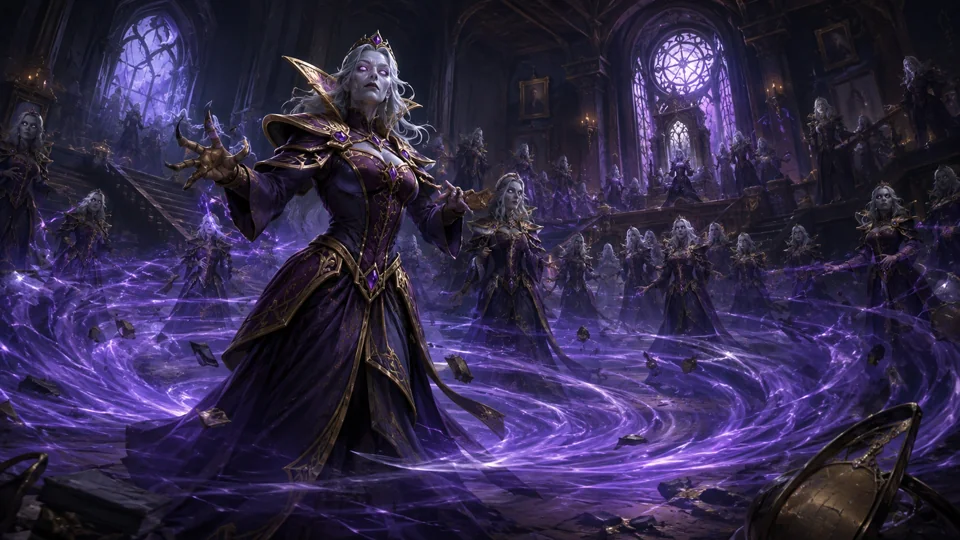
Jandice Barov
Whirl of Illusion: At 66% and 33%, Jandice hides among images. Identify and destroy the image concealing her to end the phase. Do not blindly kill every image: on Heroic, destroying a wrong image triggers party-wide Flash Bang damage. Wondrous Rapidity: Face Jandice away from the group, and have the tank leave the frontal cone when Wondrous Rapidity starts. On Heroic, also avoid Gravity Flux fields, which damage and knock back anyone entering them.
Raid priorities
- Whirl of Illusion: At 66% and 33%, Jandice hides among images. Identify and destroy the image concealing her to end the phase. Do not blindly kill every image: on Heroic, destroying a wrong image triggers party-wide Flash Bang damage.
- Wondrous Rapidity: Face Jandice away from the group, and have the tank leave the frontal cone when Wondrous Rapidity starts. On Heroic, also avoid Gravity Flux fields, which damage and knock back anyone entering them.
Before the pull
- Assign roles and movement for this encounter and difficulty.
- Confirm which abilities can be interrupted and which effects can be dispelled.
Mechanics reference
Phase plan and tactic
At 66% and 33%, Jandice hides among images. Identify and destroy the image concealing her to end the phase. Do not blindly kill every image: on Heroic, destroying a wrong image triggers party-wide Flash Bang damage.
Face Jandice away from the group, and have the tank leave the frontal cone when Wondrous Rapidity starts. On Heroic, also avoid Gravity Flux fields, which damage and knock back anyone entering them.
Role notes
Tanks
- Follow the encounter-specific tanking and movement plan; this general reminder does not define tank swaps.
- At 66% and 33%, Jandice hides among images. Identify and destroy the image concealing her to end the phase. Do not blindly kill every image: on Heroic, destroying a wrong image triggers party-wide Flash Bang damage.
- Face Jandice away from the group, and have the tank leave the frontal cone when Wondrous Rapidity starts. On Heroic, also avoid Gravity Flux fields, which damage and knock back anyone entering them.
Healers
- Assign healing and defensives. Do not assume that every boss effect can be dispelled.
- At 66% and 33%, Jandice hides among images. Identify and destroy the image concealing her to end the phase. Do not blindly kill every image: on Heroic, destroying a wrong image triggers party-wide Flash Bang damage.
- Face Jandice away from the group, and have the tank leave the frontal cone when Wondrous Rapidity starts. On Heroic, also avoid Gravity Flux fields, which damage and knock back anyone entering them.
DPS
- Follow this encounter’s target priorities. Interrupt only abilities confirmed to be interruptible.
- At 66% and 33%, Jandice hides among images. Identify and destroy the image concealing her to end the phase. Do not blindly kill every image: on Heroic, destroying a wrong image triggers party-wide Flash Bang damage.
- Face Jandice away from the group, and have the tank leave the frontal cone when Wondrous Rapidity starts. On Heroic, also avoid Gravity Flux fields, which damage and knock back anyone entering them.
Nerfs: what changed
- A separately sourced nerf or hotfix history is not yet provided for this encounter.
- Updated 2026-09-05.
Encounter 3 / 5 · Scholomance
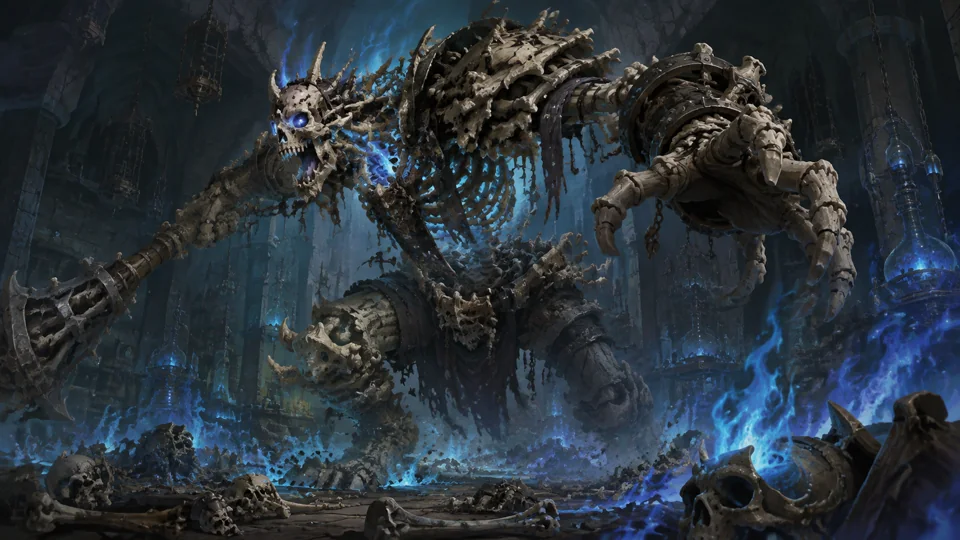
Rattlegore
Bone Armor: Interact with a Bone Pile to gain Bone Armor before Bone Spike. It absorbs one hit, so renew it after it is consumed while staying out of Soulflame. Soulflame: Move clear of expanding Soulflame and refresh Bone Armor from a safe bone pile. The tank can create distance to let damage-increasing Rusting stacks expire; do not lead the boss or group through the blue fire.
Raid priorities
- Bone Armor: Interact with a Bone Pile to gain Bone Armor before Bone Spike. It absorbs one hit, so renew it after it is consumed while staying out of Soulflame.
- Soulflame: Move clear of expanding Soulflame and refresh Bone Armor from a safe bone pile. The tank can create distance to let damage-increasing Rusting stacks expire; do not lead the boss or group through the blue fire.
Before the pull
- Assign roles and movement for this encounter and difficulty.
- Confirm which abilities can be interrupted and which effects can be dispelled.
Mechanics reference
Phase plan and tactic
Interact with a Bone Pile to gain Bone Armor before Bone Spike. It absorbs one hit, so renew it after it is consumed while staying out of Soulflame.
Move clear of expanding Soulflame and refresh Bone Armor from a safe bone pile. The tank can create distance to let damage-increasing Rusting stacks expire; do not lead the boss or group through the blue fire.
Role notes
Tanks
- Follow the encounter-specific tanking and movement plan; this general reminder does not define tank swaps.
- Interact with a Bone Pile to gain Bone Armor before Bone Spike. It absorbs one hit, so renew it after it is consumed while staying out of Soulflame.
- Move clear of expanding Soulflame and refresh Bone Armor from a safe bone pile. The tank can create distance to let damage-increasing Rusting stacks expire; do not lead the boss or group through the blue fire.
Healers
- Assign healing and defensives. Do not assume that every boss effect can be dispelled.
- Interact with a Bone Pile to gain Bone Armor before Bone Spike. It absorbs one hit, so renew it after it is consumed while staying out of Soulflame.
- Move clear of expanding Soulflame and refresh Bone Armor from a safe bone pile. The tank can create distance to let damage-increasing Rusting stacks expire; do not lead the boss or group through the blue fire.
DPS
- Follow this encounter’s target priorities. Interrupt only abilities confirmed to be interruptible.
- Interact with a Bone Pile to gain Bone Armor before Bone Spike. It absorbs one hit, so renew it after it is consumed while staying out of Soulflame.
- Move clear of expanding Soulflame and refresh Bone Armor from a safe bone pile. The tank can create distance to let damage-increasing Rusting stacks expire; do not lead the boss or group through the blue fire.
Nerfs: what changed
- A separately sourced nerf or hotfix history is not yet provided for this encounter.
- Updated 2026-09-05.

Encounter 4 / 5 · Scholomance
Lilian Voss
Dark Blaze: After Death's Grasp pulls everyone to Lilian, spread out and keep moving out of successive Dark Blaze patches beneath you. Do not cross other players' fire trails. Stay spread between pulls to limit Shadow Shiv splash damage. Fixate: The fixated player kites Lilian's Soul, which cannot be taunted: its melee hits trigger extra party-wide Blazing Soul damage. Others damage the soul until it becomes untargetable at 1%. Then attack the reanimated body while continuing to kite the soul and avoid fire.
Raid priorities
- Dark Blaze: After Death's Grasp pulls everyone to Lilian, spread out and keep moving out of successive Dark Blaze patches beneath you. Do not cross other players' fire trails. Stay spread between pulls to limit Shadow Shiv splash damage.
- Fixate: The fixated player kites Lilian's Soul, which cannot be taunted: its melee hits trigger extra party-wide Blazing Soul damage. Others damage the soul until it becomes untargetable at 1%. Then attack the reanimated body while continuing to kite the soul and avoid fire.
Before the pull
- Assign roles and movement for this encounter and difficulty.
- Confirm which abilities can be interrupted and which effects can be dispelled.
Mechanics reference
Phase plan and tactic
After Death's Grasp pulls everyone to Lilian, spread out and keep moving out of successive Dark Blaze patches beneath you. Do not cross other players' fire trails. Stay spread between pulls to limit Shadow Shiv splash damage.
The fixated player kites Lilian's Soul, which cannot be taunted: its melee hits trigger extra party-wide Blazing Soul damage. Others damage the soul until it becomes untargetable at 1%. Then attack the reanimated body while continuing to kite the soul and avoid fire.
Role notes
Tanks
- Follow the encounter-specific tanking and movement plan; this general reminder does not define tank swaps.
- After Death's Grasp pulls everyone to Lilian, spread out and keep moving out of successive Dark Blaze patches beneath you. Do not cross other players' fire trails. Stay spread between pulls to limit Shadow Shiv splash damage.
- The fixated player kites Lilian's Soul, which cannot be taunted: its melee hits trigger extra party-wide Blazing Soul damage. Others damage the soul until it becomes untargetable at 1%. Then attack the reanimated body while continuing to kite the soul and avoid fire.
Healers
- Assign healing and defensives. Do not assume that every boss effect can be dispelled.
- After Death's Grasp pulls everyone to Lilian, spread out and keep moving out of successive Dark Blaze patches beneath you. Do not cross other players' fire trails. Stay spread between pulls to limit Shadow Shiv splash damage.
- The fixated player kites Lilian's Soul, which cannot be taunted: its melee hits trigger extra party-wide Blazing Soul damage. Others damage the soul until it becomes untargetable at 1%. Then attack the reanimated body while continuing to kite the soul and avoid fire.
DPS
- Follow this encounter’s target priorities. Interrupt only abilities confirmed to be interruptible.
- After Death's Grasp pulls everyone to Lilian, spread out and keep moving out of successive Dark Blaze patches beneath you. Do not cross other players' fire trails. Stay spread between pulls to limit Shadow Shiv splash damage.
- The fixated player kites Lilian's Soul, which cannot be taunted: its melee hits trigger extra party-wide Blazing Soul damage. Others damage the soul until it becomes untargetable at 1%. Then attack the reanimated body while continuing to kite the soul and avoid fire.
Nerfs: what changed
- A separately sourced nerf or hotfix history is not yet provided for this encounter.
- Updated 2026-09-05.

Encounter 5 / 5 · Scholomance
Darkmaster Gandling
Harsh Lesson: The teleported player kills the Expired Test Subjects and returns. A healer gathers them near a living Fresh Test Subject, then dispels its Explosive Pain to damage the nearby expired subjects. The group prepares for the tank or healer to be temporarily absent. Rise!: On Normal and Heroic, gather Failed Students off the healer and kill them with area damage. Gandling takes reduced damage while channelling, so save boss damage cooldowns for afterwards. This is not an instruction for handling additional Challenge Mode mechanics.
Raid priorities
- Harsh Lesson: The teleported player kills the Expired Test Subjects and returns. A healer gathers them near a living Fresh Test Subject, then dispels its Explosive Pain to damage the nearby expired subjects. The group prepares for the tank or healer to be temporarily absent.
- Rise!: On Normal and Heroic, gather Failed Students off the healer and kill them with area damage. Gandling takes reduced damage while channelling, so save boss damage cooldowns for afterwards. This is not an instruction for handling additional Challenge Mode mechanics.
Before the pull
- Assign roles and movement for this encounter and difficulty.
- Confirm which abilities can be interrupted and which effects can be dispelled.
Mechanics reference
Phase plan and tactic
The teleported player kills the Expired Test Subjects and returns. A healer gathers them near a living Fresh Test Subject, then dispels its Explosive Pain to damage the nearby expired subjects. The group prepares for the tank or healer to be temporarily absent.
On Normal and Heroic, gather Failed Students off the healer and kill them with area damage. Gandling takes reduced damage while channelling, so save boss damage cooldowns for afterwards. This is not an instruction for handling additional Challenge Mode mechanics.
Role notes
Tanks
- Follow the encounter-specific tanking and movement plan; this general reminder does not define tank swaps.
- The teleported player kills the Expired Test Subjects and returns. A healer gathers them near a living Fresh Test Subject, then dispels its Explosive Pain to damage the nearby expired subjects. The group prepares for the tank or healer to be temporarily absent.
- On Normal and Heroic, gather Failed Students off the healer and kill them with area damage. Gandling takes reduced damage while channelling, so save boss damage cooldowns for afterwards. This is not an instruction for handling additional Challenge Mode mechanics.
Healers
- Assign healing and defensives. Do not assume that every boss effect can be dispelled.
- The teleported player kills the Expired Test Subjects and returns. A healer gathers them near a living Fresh Test Subject, then dispels its Explosive Pain to damage the nearby expired subjects. The group prepares for the tank or healer to be temporarily absent.
- On Normal and Heroic, gather Failed Students off the healer and kill them with area damage. Gandling takes reduced damage while channelling, so save boss damage cooldowns for afterwards. This is not an instruction for handling additional Challenge Mode mechanics.
DPS
- Follow this encounter’s target priorities. Interrupt only abilities confirmed to be interruptible.
- The teleported player kills the Expired Test Subjects and returns. A healer gathers them near a living Fresh Test Subject, then dispels its Explosive Pain to damage the nearby expired subjects. The group prepares for the tank or healer to be temporarily absent.
- On Normal and Heroic, gather Failed Students off the healer and kill them with area damage. Gandling takes reduced damage while channelling, so save boss damage cooldowns for afterwards. This is not an instruction for handling additional Challenge Mode mechanics.
Nerfs: what changed
- A separately sourced nerf or hotfix history is not yet provided for this encounter.
- Updated 2026-09-05.
Sources and scope
Blizzard announcements provide content and release context; they do not establish every tactic on this page. Separate Encounter Journal links support the clarified mechanics.
- Blizzard — Mists of Pandaria Classic
worldofwarcraft.blizzard.com/en-us/news/24204923/world-of-warcraft-mists-of-pandaria-classic-arrives-july-21 - Blizzard — Scenarios and Challenge Modes
news.blizzard.com/en-us/article/24221824/scenarios-challenge-modes-in-mists-of-pandaria-classic - Blizzard — Mogu’shan Vaults
worldofwarcraft.blizzard.com/en-gb/news/24216437/mists-of-pandaria-classic-enter-the-mogushan-vaults-raid-31-july - Blizzard — Terrace of Endless Spring
worldofwarcraft.blizzard.com/en-us/news/24223022/mists-of-pandaria-classic-enter-the-terrace-of-endless-spring-raid-now - Blizzard — The Thunder King
worldofwarcraft.blizzard.com/en-us/news/24242434/mists-of-pandaria-classic-the-thunder-king-arrives-december-9 - Blizzard — Siege of Orgrimmar
worldofwarcraft.blizzard.com/en-us/news/24264421/mists-of-pandaria-classic-the-siege-of-orgrimmar-update-arrives-june-2 - Rattlegore · Encounter Journal (Wowhead MoP Classic)
www.wowhead.com/mop-classic/npc=59153/rattlegore - Instructor Chillheart · Encounter Journal (Wowhead MoP Classic)
www.wowhead.com/mop-classic/npc=58633/instructor-chillheart - Jandice Barov · Encounter Journal (Wowhead MoP Classic)
www.wowhead.com/mop-classic/npc=59184/jandice-barov - Lilian Voss · Encounter Journal (Wowhead MoP Classic)
www.wowhead.com/mop-classic/npc=59200/lilian-voss - Darkmaster Gandling · Encounter Journal (Wowhead MoP Classic)
www.wowhead.com/mop-classic/npc=59080/darkmaster-gandling
Updated 2026-09-05. The content update date is not a boss nerf or hotfix date.