Mists of Pandaria Classic · Level 90 · Dungeon
Gate of the Setting Sun: encounter overview
An encounter list with brief reminders for selected mechanics.
How to use this page
This page covers selected mechanics, not every phase or difficulty-specific role assignment. Check the Encounter Journal for your difficulty before the pull.
Updated 2026-09-05. Mists of Pandaria Classic.
Gate of the Setting Sun: encounter overview
Gate of the Setting Sun: 4 encounters, from Saboteur Kip’tilak to Raigonn, with selected mechanic reminders for Mists of Pandaria Classic.
Quick links
Version and scope
This page covers selected mechanics, not every phase or difficulty-specific role assignment. Check the Encounter Journal for your difficulty before the pull.
Blizzard announcements provide content and release context; they do not establish every tactic on this page. Separate Encounter Journal links support the clarified mechanics.
Gate of the Setting Sun · Bosses
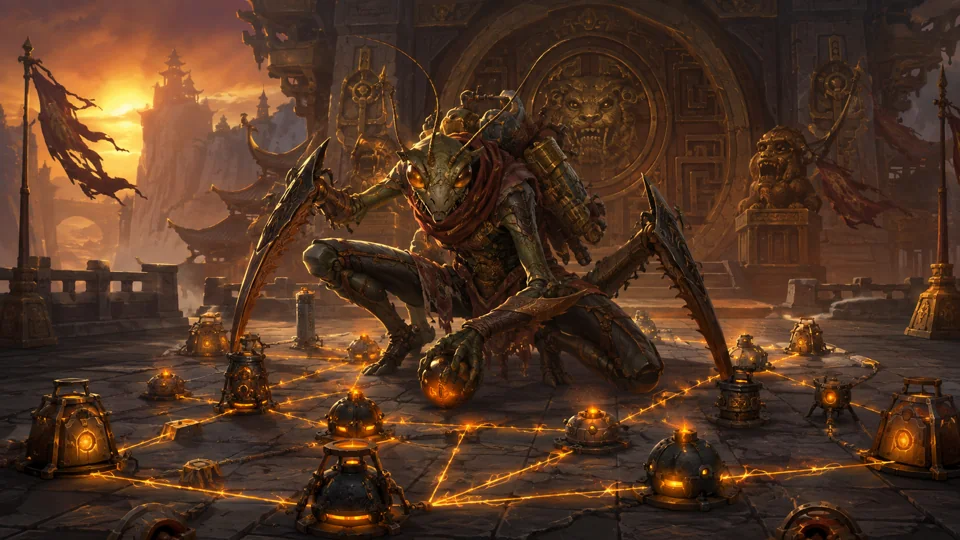
Encounter 1 / 4 · Gate of the Setting Sun
Saboteur Kip’tilak
Stable Munitions: Stay outside the bombs' four cardinal blast lines, preferably diagonally from them. Explosions trigger other bombs along their paths; World in Flames detonates every remaining charge. Sabotage: Move your Sabotage to a safe spot clear of others' lines before it expires. It blasts in four directions and can start a bomb chain; the healer also prepares for the target's own Fire hit.
Raid priorities
- Stable Munitions: Stay outside the bombs' four cardinal blast lines, preferably diagonally from them. Explosions trigger other bombs along their paths; World in Flames detonates every remaining charge.
- Sabotage: Move your Sabotage to a safe spot clear of others' lines before it expires. It blasts in four directions and can start a bomb chain; the healer also prepares for the target's own Fire hit.
Before the pull
- Assign roles and movement for this encounter and difficulty.
- Confirm which abilities can be interrupted and which effects can be dispelled.
Mechanics reference
Phase plan and tactic
Stay outside the bombs' four cardinal blast lines, preferably diagonally from them. Explosions trigger other bombs along their paths; World in Flames detonates every remaining charge.
Move your Sabotage to a safe spot clear of others' lines before it expires. It blasts in four directions and can start a bomb chain; the healer also prepares for the target's own Fire hit.
Role notes
Tanks
- Follow the encounter-specific tanking and movement plan; this general reminder does not define tank swaps.
- Stay outside the bombs' four cardinal blast lines, preferably diagonally from them. Explosions trigger other bombs along their paths; World in Flames detonates every remaining charge.
Healers
- Assign healing and defensives. Do not assume that every boss effect can be dispelled.
- Stay outside the bombs' four cardinal blast lines, preferably diagonally from them. Explosions trigger other bombs along their paths; World in Flames detonates every remaining charge.
- Move your Sabotage to a safe spot clear of others' lines before it expires. It blasts in four directions and can start a bomb chain; the healer also prepares for the target's own Fire hit.
DPS
- Follow this encounter’s target priorities. Interrupt only abilities confirmed to be interruptible.
- Stay outside the bombs' four cardinal blast lines, preferably diagonally from them. Explosions trigger other bombs along their paths; World in Flames detonates every remaining charge.
- Move your Sabotage to a safe spot clear of others' lines before it expires. It blasts in four directions and can start a bomb chain; the healer also prepares for the target's own Fire hit.
Nerfs: what changed
- A separately sourced nerf or hotfix history is not yet provided for this encounter.
- Updated 2026-09-05.
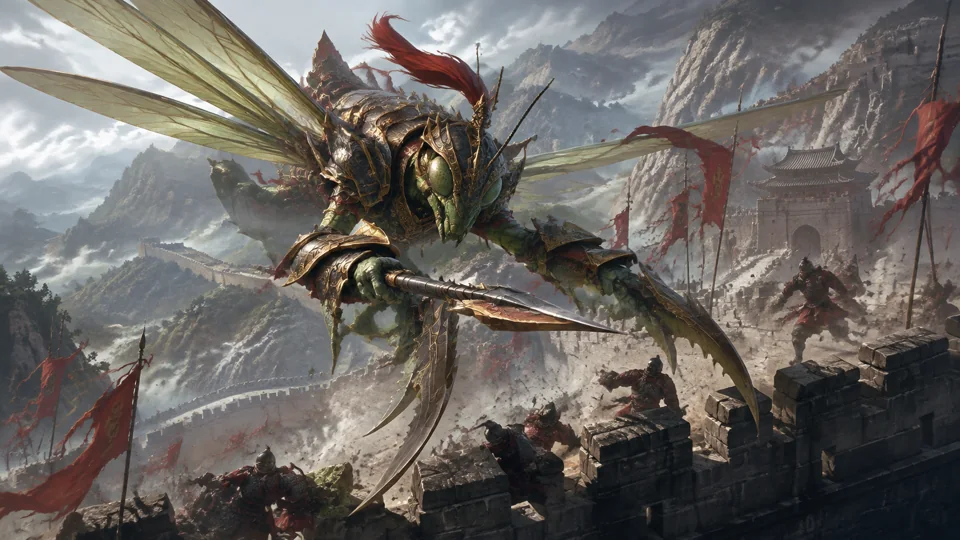
Encounter 2 / 4 · Gate of the Setting Sun
Striker Ga’dok
Strafing Run: Watch Ga'dok's approach and move with the party clear of the strafing fire. Do not become separated from the healer by flames. Also dodge Acid Bomb pools; in the ground phase the healer prepares for Impaling Strike on the tank. Prey Time: Focus healing on the captured player throughout Prey Time. They take repeated Physical hits; a personal defensive alone is not the group's response.
Raid priorities
- Strafing Run: Watch Ga'dok's approach and move with the party clear of the strafing fire. Do not become separated from the healer by flames. Also dodge Acid Bomb pools; in the ground phase the healer prepares for Impaling Strike on the tank.
- Prey Time: Focus healing on the captured player throughout Prey Time. They take repeated Physical hits; a personal defensive alone is not the group's response.
Before the pull
- Assign roles and movement for this encounter and difficulty.
- Confirm which abilities can be interrupted and which effects can be dispelled.
Mechanics reference
Phase plan and tactic
Watch Ga'dok's approach and move with the party clear of the strafing fire. Do not become separated from the healer by flames. Also dodge Acid Bomb pools; in the ground phase the healer prepares for Impaling Strike on the tank.
Focus healing on the captured player throughout Prey Time. They take repeated Physical hits; a personal defensive alone is not the group's response.
Role notes
Tanks
- Follow the encounter-specific tanking and movement plan; this general reminder does not define tank swaps.
- Watch Ga'dok's approach and move with the party clear of the strafing fire. Do not become separated from the healer by flames. Also dodge Acid Bomb pools; in the ground phase the healer prepares for Impaling Strike on the tank.
Healers
- Assign healing and defensives. Do not assume that every boss effect can be dispelled.
- Focus healing on the captured player throughout Prey Time. They take repeated Physical hits; a personal defensive alone is not the group's response.
- Watch Ga'dok's approach and move with the party clear of the strafing fire. Do not become separated from the healer by flames. Also dodge Acid Bomb pools; in the ground phase the healer prepares for Impaling Strike on the tank.
DPS
- Follow this encounter’s target priorities. Interrupt only abilities confirmed to be interruptible.
- Watch Ga'dok's approach and move with the party clear of the strafing fire. Do not become separated from the healer by flames. Also dodge Acid Bomb pools; in the ground phase the healer prepares for Impaling Strike on the tank.
Nerfs: what changed
- A separately sourced nerf or hotfix history is not yet provided for this encounter.
- Updated 2026-09-05.
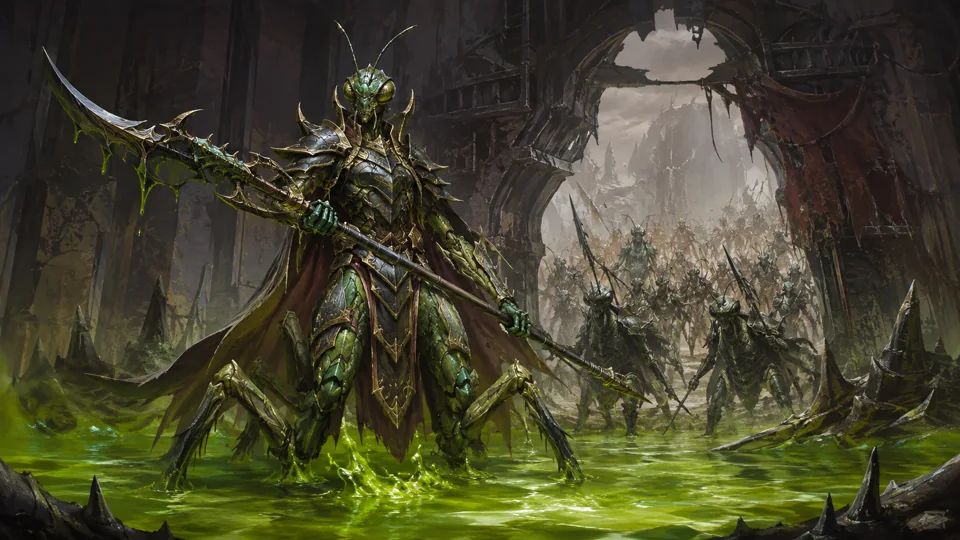
Encounter 3 / 4 · Gate of the Setting Sun
Commander Ri’mok
Viscous Fluid: The tank moves Ri'mok out of green fluid while others follow a dry route. Fluid strengthens the boss and reduces damage dealt by players standing in it. Keep Frenzied Assault's frontal cone away from the party. Reinforcements: The tank gathers climbing Swarmers and Saboteurs. Deal with Saboteurs promptly because Bombard damages the party, without dragging everyone into the boss's frontal cone or fluid.
Raid priorities
- Viscous Fluid: The tank moves Ri'mok out of green fluid while others follow a dry route. Fluid strengthens the boss and reduces damage dealt by players standing in it. Keep Frenzied Assault's frontal cone away from the party.
- Reinforcements: The tank gathers climbing Swarmers and Saboteurs. Deal with Saboteurs promptly because Bombard damages the party, without dragging everyone into the boss's frontal cone or fluid.
Before the pull
- Assign roles and movement for this encounter and difficulty.
- Confirm which abilities can be interrupted and which effects can be dispelled.
Mechanics reference
Phase plan and tactic
The tank moves Ri'mok out of green fluid while others follow a dry route. Fluid strengthens the boss and reduces damage dealt by players standing in it. Keep Frenzied Assault's frontal cone away from the party.
The tank gathers climbing Swarmers and Saboteurs. Deal with Saboteurs promptly because Bombard damages the party, without dragging everyone into the boss's frontal cone or fluid.
Role notes
Tanks
- Follow the encounter-specific tanking and movement plan; this general reminder does not define tank swaps.
- The tank moves Ri'mok out of green fluid while others follow a dry route. Fluid strengthens the boss and reduces damage dealt by players standing in it. Keep Frenzied Assault's frontal cone away from the party.
- The tank gathers climbing Swarmers and Saboteurs. Deal with Saboteurs promptly because Bombard damages the party, without dragging everyone into the boss's frontal cone or fluid.
Healers
- Assign healing and defensives. Do not assume that every boss effect can be dispelled.
- The tank gathers climbing Swarmers and Saboteurs. Deal with Saboteurs promptly because Bombard damages the party, without dragging everyone into the boss's frontal cone or fluid.
DPS
- Follow this encounter’s target priorities. Interrupt only abilities confirmed to be interruptible.
- The tank moves Ri'mok out of green fluid while others follow a dry route. Fluid strengthens the boss and reduces damage dealt by players standing in it. Keep Frenzied Assault's frontal cone away from the party.
- The tank gathers climbing Swarmers and Saboteurs. Deal with Saboteurs promptly because Bombard damages the party, without dragging everyone into the boss's frontal cone or fluid.
Nerfs: what changed
- A separately sourced nerf or hotfix history is not yet provided for this encounter.
- Updated 2026-09-05.
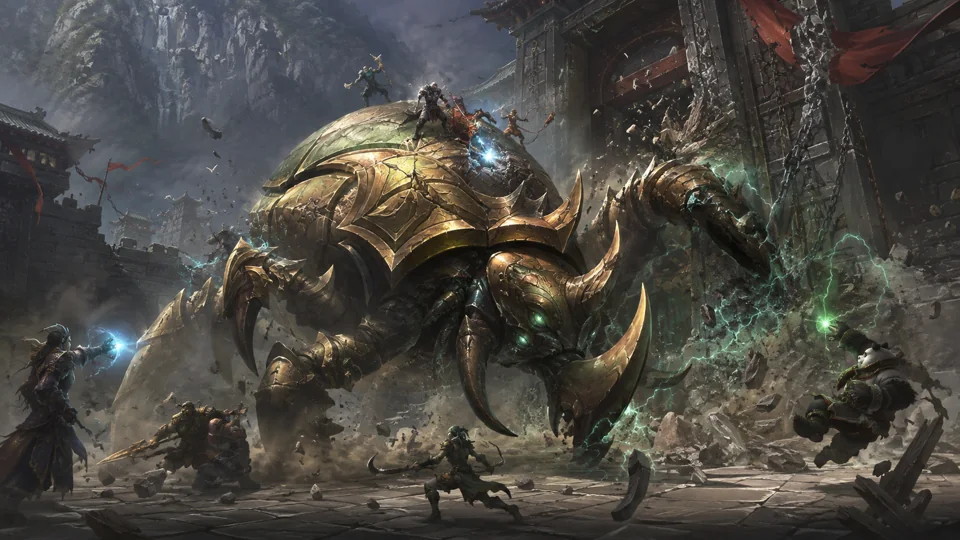
Encounter 4 / 4 · Gate of the Setting Sun
Raigonn
Weak Spot: Assigned DPS use the launchers to reach Raigonn's head and attack the Weak Spot. Destroy it to expose the boss; the tank handles adds on the ground. Fixate: After the Weak Spot is destroyed, the Fixate target kites Raigonn along a safe route. Others keep damaging the boss without standing in its path.
Raid priorities
- Weak Spot: Assigned DPS use the launchers to reach Raigonn's head and attack the Weak Spot. Destroy it to expose the boss; the tank handles adds on the ground.
- Fixate: After the Weak Spot is destroyed, the Fixate target kites Raigonn along a safe route. Others keep damaging the boss without standing in its path.
Before the pull
- Assign roles and movement for this encounter and difficulty.
- Confirm which abilities can be interrupted and which effects can be dispelled.
Mechanics reference
Phase plan and tactic
Assigned DPS use the launchers to reach Raigonn's head and attack the Weak Spot. Destroy it to expose the boss; the tank handles adds on the ground.
After the Weak Spot is destroyed, the Fixate target kites Raigonn along a safe route. Others keep damaging the boss without standing in its path.
Role notes
Tanks
- Follow the encounter-specific tanking and movement plan; this general reminder does not define tank swaps.
- Assigned DPS use the launchers to reach Raigonn's head and attack the Weak Spot. Destroy it to expose the boss; the tank handles adds on the ground.
- After the Weak Spot is destroyed, the Fixate target kites Raigonn along a safe route. Others keep damaging the boss without standing in its path.
Healers
- Assign healing and defensives. Do not assume that every boss effect can be dispelled.
DPS
- Follow this encounter’s target priorities. Interrupt only abilities confirmed to be interruptible.
- Assigned DPS use the launchers to reach Raigonn's head and attack the Weak Spot. Destroy it to expose the boss; the tank handles adds on the ground.
- After the Weak Spot is destroyed, the Fixate target kites Raigonn along a safe route. Others keep damaging the boss without standing in its path.
Nerfs: what changed
- A separately sourced nerf or hotfix history is not yet provided for this encounter.
- Updated 2026-09-05.
Sources and scope
Blizzard announcements provide content and release context; they do not establish every tactic on this page. Separate Encounter Journal links support the clarified mechanics.
- Blizzard — Mists of Pandaria Classic
worldofwarcraft.blizzard.com/en-us/news/24204923/world-of-warcraft-mists-of-pandaria-classic-arrives-july-21 - Blizzard — Scenarios and Challenge Modes
news.blizzard.com/en-us/article/24221824/scenarios-challenge-modes-in-mists-of-pandaria-classic - Blizzard — Mogu’shan Vaults
worldofwarcraft.blizzard.com/en-gb/news/24216437/mists-of-pandaria-classic-enter-the-mogushan-vaults-raid-31-july - Blizzard — Terrace of Endless Spring
worldofwarcraft.blizzard.com/en-us/news/24223022/mists-of-pandaria-classic-enter-the-terrace-of-endless-spring-raid-now - Blizzard — The Thunder King
worldofwarcraft.blizzard.com/en-us/news/24242434/mists-of-pandaria-classic-the-thunder-king-arrives-december-9 - Blizzard — Siege of Orgrimmar
worldofwarcraft.blizzard.com/en-us/news/24264421/mists-of-pandaria-classic-the-siege-of-orgrimmar-update-arrives-june-2 - Striker Ga’dok · Encounter Journal (Wowhead MoP Classic)
www.wowhead.com/mop-classic/npc=56589/striker-gadok - Raigonn · Encounter Journal (Wowhead MoP Classic)
www.wowhead.com/mop-classic/npc=56877/raigonn - Saboteur Kip’tilak · Encounter Journal (Wowhead MoP Classic)
www.wowhead.com/mop-classic/npc=56906/saboteur-kiptilak - Commander Ri’mok · Encounter Journal (Wowhead MoP Classic)
www.wowhead.com/mop-classic/npc=56636/commander-rimok
Updated 2026-09-05. The content update date is not a boss nerf or hotfix date.