Mists of Pandaria Classic · Level 90 · Dungeon
Scarlet Monastery: encounter overview
An encounter list with brief reminders for selected mechanics.
How to use this page
This page covers selected mechanics, not every phase or difficulty-specific role assignment. Check the Encounter Journal for your difficulty before the pull.
Updated 2026-09-05. Mists of Pandaria Classic.
Scarlet Monastery: encounter overview
Scarlet Monastery: 3 encounters, from Thalnos the Soulrender to Commander Durand & High Inquisitor Whitemane, with selected mechanic reminders for Mists of Pandaria Classic.
Quick links
Version and scope
This page covers selected mechanics, not every phase or difficulty-specific role assignment. Check the Encounter Journal for your difficulty before the pull.
Blizzard announcements provide content and release context; they do not establish every tactic on this page. Separate Encounter Journal links support the clarified mechanics.
Scarlet Monastery · Bosses
Encounter 1 / 3 · Scarlet Monastery
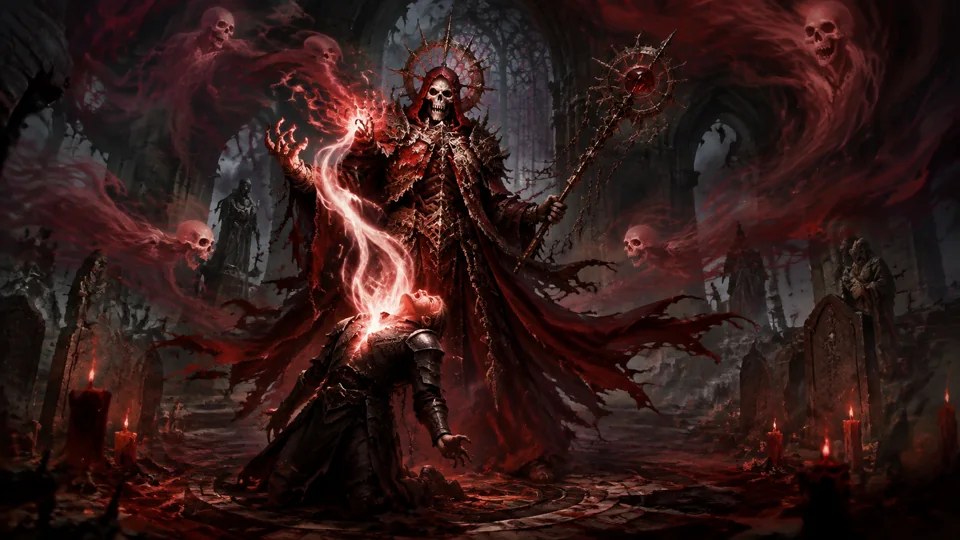
Thalnos the Soulrender
Evicted Soul: Dispel Evict Soul promptly because each tick creates a soul add. Handle the spawned souls and kill Empowering Spirits before they reach Fallen Crusader corpses and create powerful zombies. Spirit Gale: Interrupt Spirit Gale. If it completes, leave the resulting Shadow zone and reposition the boss safely; do not remain in it to kill adds. The healer also watches for the Fallen Crusaders' Mind Rot disease.
Raid priorities
- Evicted Soul: Dispel Evict Soul promptly because each tick creates a soul add. Handle the spawned souls and kill Empowering Spirits before they reach Fallen Crusader corpses and create powerful zombies.
- Spirit Gale: Interrupt Spirit Gale. If it completes, leave the resulting Shadow zone and reposition the boss safely; do not remain in it to kill adds. The healer also watches for the Fallen Crusaders' Mind Rot disease.
Before the pull
- Assign roles and movement for this encounter and difficulty.
- Confirm which abilities can be interrupted and which effects can be dispelled.
Mechanics reference
Phase plan and tactic
Dispel Evict Soul promptly because each tick creates a soul add. Handle the spawned souls and kill Empowering Spirits before they reach Fallen Crusader corpses and create powerful zombies.
Interrupt Spirit Gale. If it completes, leave the resulting Shadow zone and reposition the boss safely; do not remain in it to kill adds. The healer also watches for the Fallen Crusaders' Mind Rot disease.
Role notes
Tanks
- Follow the encounter-specific tanking and movement plan; this general reminder does not define tank swaps.
- Dispel Evict Soul promptly because each tick creates a soul add. Handle the spawned souls and kill Empowering Spirits before they reach Fallen Crusader corpses and create powerful zombies.
- Interrupt Spirit Gale. If it completes, leave the resulting Shadow zone and reposition the boss safely; do not remain in it to kill adds. The healer also watches for the Fallen Crusaders' Mind Rot disease.
Healers
- Assign healing and defensives. Do not assume that every boss effect can be dispelled.
- Dispel Evict Soul promptly because each tick creates a soul add. Handle the spawned souls and kill Empowering Spirits before they reach Fallen Crusader corpses and create powerful zombies.
- Interrupt Spirit Gale. If it completes, leave the resulting Shadow zone and reposition the boss safely; do not remain in it to kill adds. The healer also watches for the Fallen Crusaders' Mind Rot disease.
DPS
- Follow this encounter’s target priorities. Interrupt only abilities confirmed to be interruptible.
- Dispel Evict Soul promptly because each tick creates a soul add. Handle the spawned souls and kill Empowering Spirits before they reach Fallen Crusader corpses and create powerful zombies.
- Interrupt Spirit Gale. If it completes, leave the resulting Shadow zone and reposition the boss safely; do not remain in it to kill adds. The healer also watches for the Fallen Crusaders' Mind Rot disease.
Nerfs: what changed
- A separately sourced nerf or hotfix history is not yet provided for this encounter.
- Updated 2026-09-05.
Encounter 2 / 3 · Scarlet Monastery
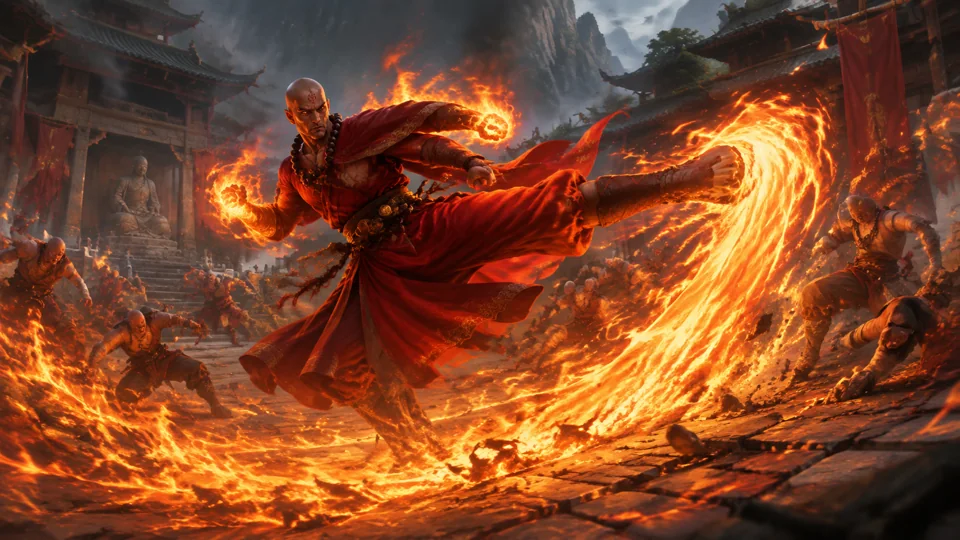
Brother Korloff
Blazing Fists: The tank faces Korloff away from the party and gains distance from frontal Blazing Fists. Tank and healer save defensives for later, as Rising Flame increases Fire damage as the boss loses health. Firestorm Kick: Stay spread and clear of Korloff's kick area when he leaps to a player. Later he leaves Scorched Earth while moving; lead the fight into clear space and do not cross the fire trail.
Raid priorities
- Blazing Fists: The tank faces Korloff away from the party and gains distance from frontal Blazing Fists. Tank and healer save defensives for later, as Rising Flame increases Fire damage as the boss loses health.
- Firestorm Kick: Stay spread and clear of Korloff's kick area when he leaps to a player. Later he leaves Scorched Earth while moving; lead the fight into clear space and do not cross the fire trail.
Before the pull
- Assign roles and movement for this encounter and difficulty.
- Confirm which abilities can be interrupted and which effects can be dispelled.
Mechanics reference
Phase plan and tactic
The tank faces Korloff away from the party and gains distance from frontal Blazing Fists. Tank and healer save defensives for later, as Rising Flame increases Fire damage as the boss loses health.
Stay spread and clear of Korloff's kick area when he leaps to a player. Later he leaves Scorched Earth while moving; lead the fight into clear space and do not cross the fire trail.
Role notes
Tanks
- Follow the encounter-specific tanking and movement plan; this general reminder does not define tank swaps.
- The tank faces Korloff away from the party and gains distance from frontal Blazing Fists. Tank and healer save defensives for later, as Rising Flame increases Fire damage as the boss loses health.
- Stay spread and clear of Korloff's kick area when he leaps to a player. Later he leaves Scorched Earth while moving; lead the fight into clear space and do not cross the fire trail.
Healers
- Assign healing and defensives. Do not assume that every boss effect can be dispelled.
- The tank faces Korloff away from the party and gains distance from frontal Blazing Fists. Tank and healer save defensives for later, as Rising Flame increases Fire damage as the boss loses health.
- Stay spread and clear of Korloff's kick area when he leaps to a player. Later he leaves Scorched Earth while moving; lead the fight into clear space and do not cross the fire trail.
DPS
- Follow this encounter’s target priorities. Interrupt only abilities confirmed to be interruptible.
- The tank faces Korloff away from the party and gains distance from frontal Blazing Fists. Tank and healer save defensives for later, as Rising Flame increases Fire damage as the boss loses health.
- Stay spread and clear of Korloff's kick area when he leaps to a player. Later he leaves Scorched Earth while moving; lead the fight into clear space and do not cross the fire trail.
Nerfs: what changed
- A separately sourced nerf or hotfix history is not yet provided for this encounter.
- Updated 2026-09-05.
Encounter 3 / 3 · Scarlet Monastery
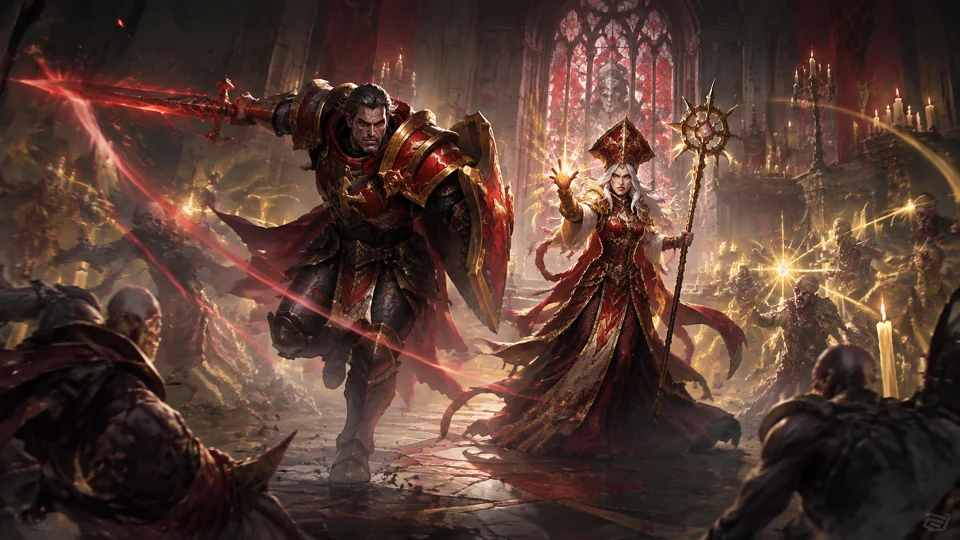
Commander Durand & High Inquisitor Whitemane
Mass Resurrection: Reserve an interrupt for Mass Resurrection, which would revive fallen Judicators. Do not confuse it with Durand's scripted resurrection. When both are fighting, the tank picks them up and DPS focus Whitemane. Dashing Strike: Keep clear of Durand's dash lines toward other players. Flash of Steel still hits selected targets, so the healer handles that burst damage. Once Whitemane joins, keep the priority interrupt available for Mass Resurrection.
Raid priorities
- Mass Resurrection: Reserve an interrupt for Mass Resurrection, which would revive fallen Judicators. Do not confuse it with Durand's scripted resurrection. When both are fighting, the tank picks them up and DPS focus Whitemane.
- Dashing Strike: Keep clear of Durand's dash lines toward other players. Flash of Steel still hits selected targets, so the healer handles that burst damage. Once Whitemane joins, keep the priority interrupt available for Mass Resurrection.
Before the pull
- Assign roles and movement for this encounter and difficulty.
- Confirm which abilities can be interrupted and which effects can be dispelled.
Mechanics reference
Phase plan and tactic
Reserve an interrupt for Mass Resurrection, which would revive fallen Judicators. Do not confuse it with Durand's scripted resurrection. When both are fighting, the tank picks them up and DPS focus Whitemane.
Keep clear of Durand's dash lines toward other players. Flash of Steel still hits selected targets, so the healer handles that burst damage. Once Whitemane joins, keep the priority interrupt available for Mass Resurrection.
Role notes
Tanks
- Follow the encounter-specific tanking and movement plan; this general reminder does not define tank swaps.
- Reserve an interrupt for Mass Resurrection, which would revive fallen Judicators. Do not confuse it with Durand's scripted resurrection. When both are fighting, the tank picks them up and DPS focus Whitemane.
- Keep clear of Durand's dash lines toward other players. Flash of Steel still hits selected targets, so the healer handles that burst damage. Once Whitemane joins, keep the priority interrupt available for Mass Resurrection.
Healers
- Assign healing and defensives. Do not assume that every boss effect can be dispelled.
- Keep clear of Durand's dash lines toward other players. Flash of Steel still hits selected targets, so the healer handles that burst damage. Once Whitemane joins, keep the priority interrupt available for Mass Resurrection.
DPS
- Follow this encounter’s target priorities. Interrupt only abilities confirmed to be interruptible.
- Reserve an interrupt for Mass Resurrection, which would revive fallen Judicators. Do not confuse it with Durand's scripted resurrection. When both are fighting, the tank picks them up and DPS focus Whitemane.
- Keep clear of Durand's dash lines toward other players. Flash of Steel still hits selected targets, so the healer handles that burst damage. Once Whitemane joins, keep the priority interrupt available for Mass Resurrection.
Nerfs: what changed
- A separately sourced nerf or hotfix history is not yet provided for this encounter.
- Updated 2026-09-05.
Sources and scope
Blizzard announcements provide content and release context; they do not establish every tactic on this page. Separate Encounter Journal links support the clarified mechanics.
- Blizzard — Mists of Pandaria Classic
worldofwarcraft.blizzard.com/en-us/news/24204923/world-of-warcraft-mists-of-pandaria-classic-arrives-july-21 - Blizzard — Scenarios and Challenge Modes
news.blizzard.com/en-us/article/24221824/scenarios-challenge-modes-in-mists-of-pandaria-classic - Blizzard — Mogu’shan Vaults
worldofwarcraft.blizzard.com/en-gb/news/24216437/mists-of-pandaria-classic-enter-the-mogushan-vaults-raid-31-july - Blizzard — Terrace of Endless Spring
worldofwarcraft.blizzard.com/en-us/news/24223022/mists-of-pandaria-classic-enter-the-terrace-of-endless-spring-raid-now - Blizzard — The Thunder King
worldofwarcraft.blizzard.com/en-us/news/24242434/mists-of-pandaria-classic-the-thunder-king-arrives-december-9 - Blizzard — Siege of Orgrimmar
worldofwarcraft.blizzard.com/en-us/news/24264421/mists-of-pandaria-classic-the-siege-of-orgrimmar-update-arrives-june-2 - Thalnos the Soulrender · Encounter Journal (Wowhead MoP Classic)
www.wowhead.com/mop-classic/npc=59789/thalnos-the-soulrender - Brother Korloff · Encounter Journal (Wowhead MoP Classic)
www.wowhead.com/mop-classic/npc=59223/brother-korloff - Commander Durand & High Inquisitor Whitemane · Encounter Journal (Wowhead MoP Classic)
www.wowhead.com/mop-classic/npc=60040/commander-durand
Updated 2026-09-05. The content update date is not a boss nerf or hotfix date.