Mists of Pandaria Classic · Level 87-89 · Dungeon
Shado-Pan Monastery: encounter overview
An encounter list with brief reminders for selected mechanics.
How to use this page
This page covers selected mechanics, not every phase or difficulty-specific role assignment. Check the Encounter Journal for your difficulty before the pull.
Updated 2026-09-05. Mists of Pandaria Classic.
Shado-Pan Monastery: encounter overview
Shado-Pan Monastery: 4 encounters, from Gu Cloudstrike to Taran Zhu, with selected mechanic reminders for Mists of Pandaria Classic.
Quick links
Version and scope
This page covers selected mechanics, not every phase or difficulty-specific role assignment. Check the Encounter Journal for your difficulty before the pull.
Blizzard announcements provide content and release context; they do not establish every tactic on this page. Separate Encounter Journal links support the clarified mechanics.
Shado-Pan Monastery · Bosses
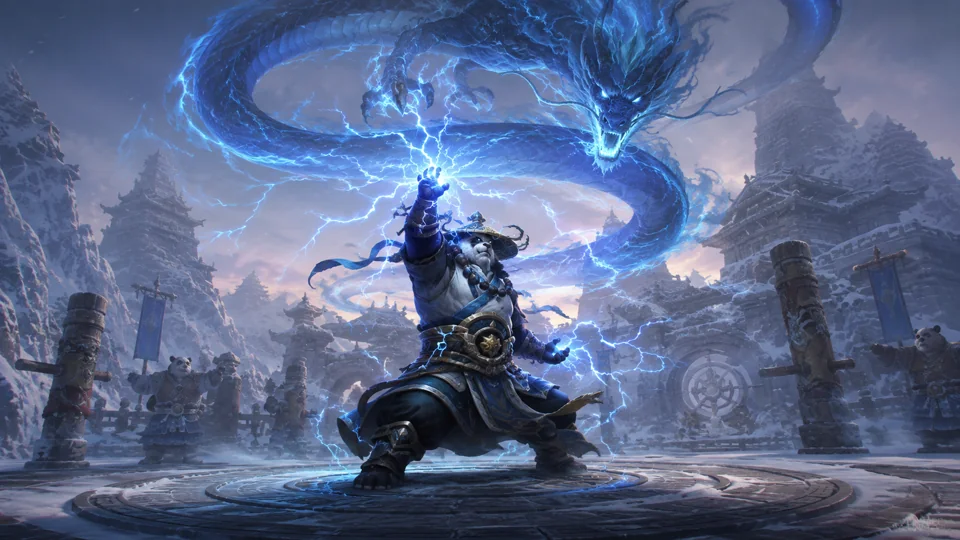
Encounter 1 / 4 · Shado-Pan Monastery
Gu Cloudstrike
Azure Serpent: When Gu becomes immune, the tank picks up the Azure Serpent and faces its breath away. Heal through Magnetic Shroud's absorb; stay within reach of each other's healing pulse without entering the frontal breath. Overcharged Soul: Return to Gu after the serpent dies. Nature pulses become more frequent as his health falls: save party healing and defensives for the end and finish the phase quickly.
Raid priorities
- Azure Serpent: When Gu becomes immune, the tank picks up the Azure Serpent and faces its breath away. Heal through Magnetic Shroud's absorb; stay within reach of each other's healing pulse without entering the frontal breath.
- Overcharged Soul: Return to Gu after the serpent dies. Nature pulses become more frequent as his health falls: save party healing and defensives for the end and finish the phase quickly.
Before the pull
- Assign roles and movement for this encounter and difficulty.
- Confirm which abilities can be interrupted and which effects can be dispelled.
Mechanics reference
Phase plan and tactic
When Gu becomes immune, the tank picks up the Azure Serpent and faces its breath away. Heal through Magnetic Shroud's absorb; stay within reach of each other's healing pulse without entering the frontal breath.
Return to Gu after the serpent dies. Nature pulses become more frequent as his health falls: save party healing and defensives for the end and finish the phase quickly.
Role notes
Tanks
- Follow the encounter-specific tanking and movement plan; this general reminder does not define tank swaps.
- When Gu becomes immune, the tank picks up the Azure Serpent and faces its breath away. Heal through Magnetic Shroud's absorb; stay within reach of each other's healing pulse without entering the frontal breath.
Healers
- Assign healing and defensives. Do not assume that every boss effect can be dispelled.
- When Gu becomes immune, the tank picks up the Azure Serpent and faces its breath away. Heal through Magnetic Shroud's absorb; stay within reach of each other's healing pulse without entering the frontal breath.
- Return to Gu after the serpent dies. Nature pulses become more frequent as his health falls: save party healing and defensives for the end and finish the phase quickly.
DPS
- Follow this encounter’s target priorities. Interrupt only abilities confirmed to be interruptible.
- When Gu becomes immune, the tank picks up the Azure Serpent and faces its breath away. Heal through Magnetic Shroud's absorb; stay within reach of each other's healing pulse without entering the frontal breath.
- Return to Gu after the serpent dies. Nature pulses become more frequent as his health falls: save party healing and defensives for the end and finish the phase quickly.
Nerfs: what changed
- A separately sourced nerf or hotfix history is not yet provided for this encounter.
- Updated 2026-09-05.
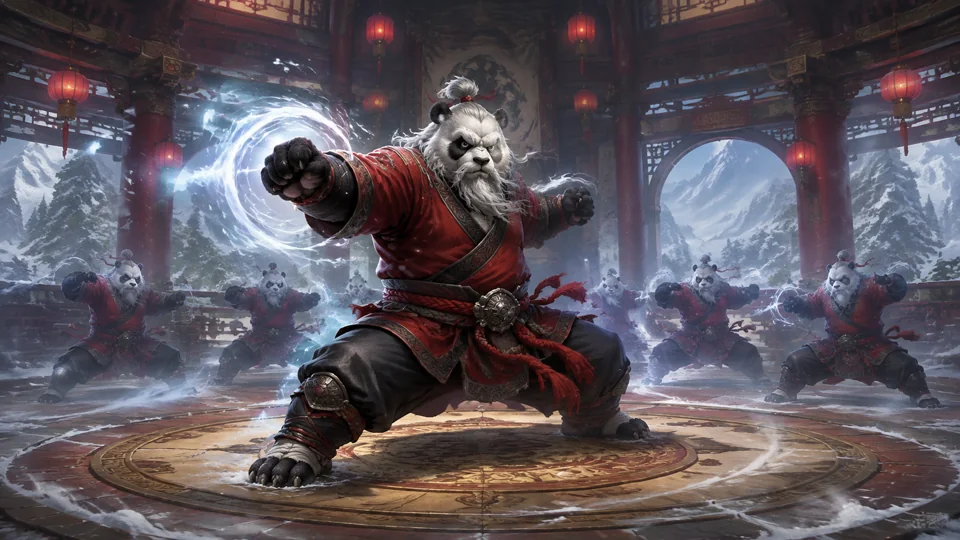
Encounter 2 / 4 · Shado-Pan Monastery
Master Snowdrift
Fists of Fury: The tank and melee step out of the frontal Fists of Fury while it channels. In other phases, also avoid the spinning kick and incoming fireballs; standing behind the boss does not handle every attack. Parry Stance: Stop all attacks during Parry Stance. Snowdrift retaliates against both melee and ranged attacks; controlling adds is not a substitute for stopping damage.
Raid priorities
- Fists of Fury: The tank and melee step out of the frontal Fists of Fury while it channels. In other phases, also avoid the spinning kick and incoming fireballs; standing behind the boss does not handle every attack.
- Parry Stance: Stop all attacks during Parry Stance. Snowdrift retaliates against both melee and ranged attacks; controlling adds is not a substitute for stopping damage.
Before the pull
- Assign roles and movement for this encounter and difficulty.
- Confirm which abilities can be interrupted and which effects can be dispelled.
Mechanics reference
Phase plan and tactic
The tank and melee step out of the frontal Fists of Fury while it channels. In other phases, also avoid the spinning kick and incoming fireballs; standing behind the boss does not handle every attack.
Stop all attacks during Parry Stance. Snowdrift retaliates against both melee and ranged attacks; controlling adds is not a substitute for stopping damage.
Role notes
Tanks
- Follow the encounter-specific tanking and movement plan; this general reminder does not define tank swaps.
- Stop all attacks during Parry Stance. Snowdrift retaliates against both melee and ranged attacks; controlling adds is not a substitute for stopping damage.
- The tank and melee step out of the frontal Fists of Fury while it channels. In other phases, also avoid the spinning kick and incoming fireballs; standing behind the boss does not handle every attack.
Healers
- Assign healing and defensives. Do not assume that every boss effect can be dispelled.
DPS
- Follow this encounter’s target priorities. Interrupt only abilities confirmed to be interruptible.
- Stop all attacks during Parry Stance. Snowdrift retaliates against both melee and ranged attacks; controlling adds is not a substitute for stopping damage.
- The tank and melee step out of the frontal Fists of Fury while it channels. In other phases, also avoid the spinning kick and incoming fireballs; standing behind the boss does not handle every attack.
Nerfs: what changed
- A separately sourced nerf or hotfix history is not yet provided for this encounter.
- Updated 2026-09-05.
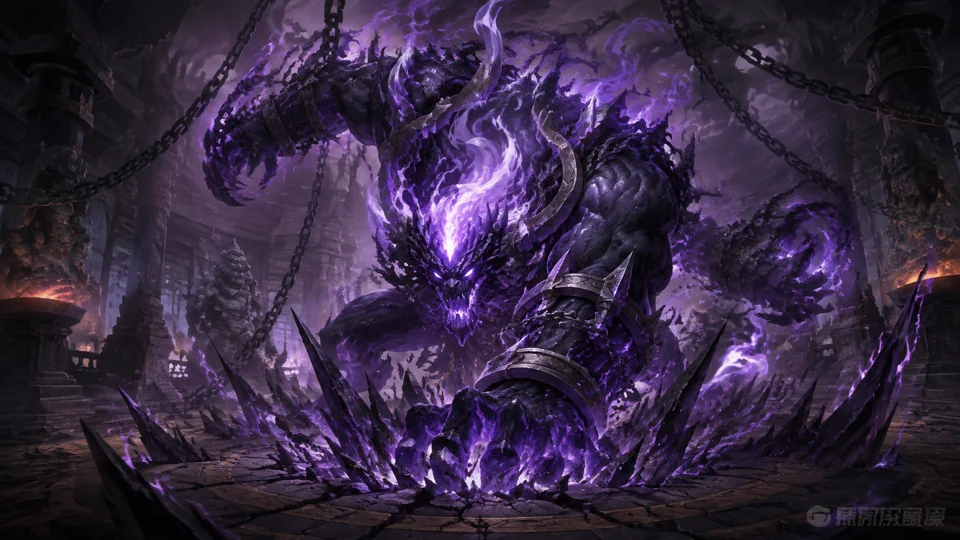
Encounter 3 / 4 · Shado-Pan Monastery
Sha of Violence
Disorienting Smash: The healer handles the tank's heavy Shadow hit and dispels the disorientation when needed. This is a targeted strike, not a ground marker solved by moving away; also prepare for the late Enrage. Sha Spike: Dodge the spike erupting at a player's location and its knockback. The tank picks up the emerging Volatile Energy and the party handles the add; do not replace movement with an unverified interrupt assignment.
Raid priorities
- Disorienting Smash: The healer handles the tank's heavy Shadow hit and dispels the disorientation when needed. This is a targeted strike, not a ground marker solved by moving away; also prepare for the late Enrage.
- Sha Spike: Dodge the spike erupting at a player's location and its knockback. The tank picks up the emerging Volatile Energy and the party handles the add; do not replace movement with an unverified interrupt assignment.
Before the pull
- Assign roles and movement for this encounter and difficulty.
- Confirm which abilities can be interrupted and which effects can be dispelled.
Mechanics reference
Phase plan and tactic
The healer handles the tank's heavy Shadow hit and dispels the disorientation when needed. This is a targeted strike, not a ground marker solved by moving away; also prepare for the late Enrage.
Dodge the spike erupting at a player's location and its knockback. The tank picks up the emerging Volatile Energy and the party handles the add; do not replace movement with an unverified interrupt assignment.
Role notes
Tanks
- Follow the encounter-specific tanking and movement plan; this general reminder does not define tank swaps.
- The healer handles the tank's heavy Shadow hit and dispels the disorientation when needed. This is a targeted strike, not a ground marker solved by moving away; also prepare for the late Enrage.
- Dodge the spike erupting at a player's location and its knockback. The tank picks up the emerging Volatile Energy and the party handles the add; do not replace movement with an unverified interrupt assignment.
Healers
- Assign healing and defensives. Do not assume that every boss effect can be dispelled.
- The healer handles the tank's heavy Shadow hit and dispels the disorientation when needed. This is a targeted strike, not a ground marker solved by moving away; also prepare for the late Enrage.
DPS
- Follow this encounter’s target priorities. Interrupt only abilities confirmed to be interruptible.
- Dodge the spike erupting at a player's location and its knockback. The tank picks up the emerging Volatile Energy and the party handles the add; do not replace movement with an unverified interrupt assignment.
Nerfs: what changed
- A separately sourced nerf or hotfix history is not yet provided for this encounter.
- Updated 2026-09-05.
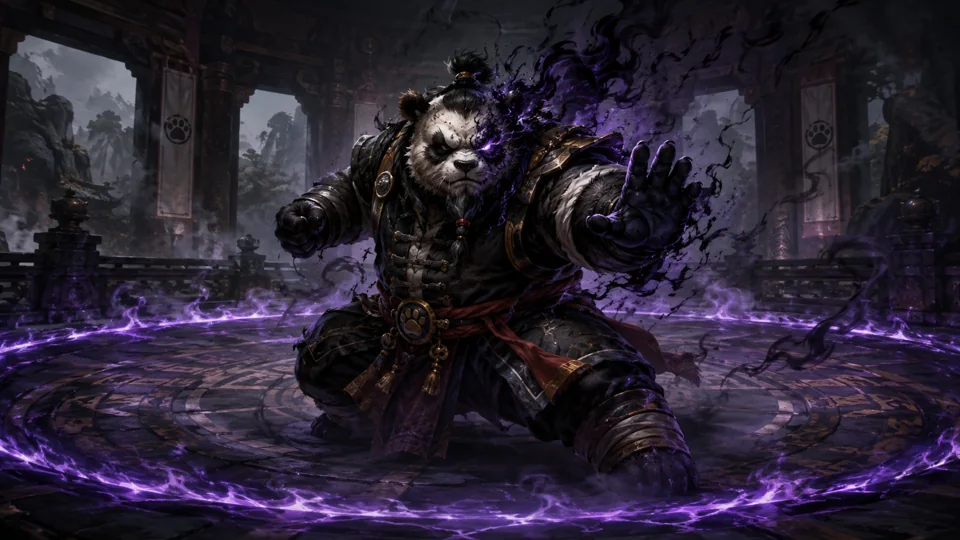
Encounter 4 / 4 · Shado-Pan Monastery
Taran Zhu
Hatred: Watch your Hatred meter and use the Meditate extra-action button to clear it. A full meter causes Haze of Hate; you cannot move or act while meditating, so choose a safe spot. Ring of Malice: Avoid the shadow ring's edge; standing close to the boss inside it avoids the ring damage itself. The tank prepares for Sha Blast's knockback. Kill Gripping Hatreds so they do not pull players into damaging pools.
Raid priorities
- Hatred: Watch your Hatred meter and use the Meditate extra-action button to clear it. A full meter causes Haze of Hate; you cannot move or act while meditating, so choose a safe spot.
- Ring of Malice: Avoid the shadow ring's edge; standing close to the boss inside it avoids the ring damage itself. The tank prepares for Sha Blast's knockback. Kill Gripping Hatreds so they do not pull players into damaging pools.
Before the pull
- Assign roles and movement for this encounter and difficulty.
- Confirm which abilities can be interrupted and which effects can be dispelled.
Mechanics reference
Phase plan and tactic
Watch your Hatred meter and use the Meditate extra-action button to clear it. A full meter causes Haze of Hate; you cannot move or act while meditating, so choose a safe spot.
Avoid the shadow ring's edge; standing close to the boss inside it avoids the ring damage itself. The tank prepares for Sha Blast's knockback. Kill Gripping Hatreds so they do not pull players into damaging pools.
Role notes
Tanks
- Follow the encounter-specific tanking and movement plan; this general reminder does not define tank swaps.
- Watch your Hatred meter and use the Meditate extra-action button to clear it. A full meter causes Haze of Hate; you cannot move or act while meditating, so choose a safe spot.
- Avoid the shadow ring's edge; standing close to the boss inside it avoids the ring damage itself. The tank prepares for Sha Blast's knockback. Kill Gripping Hatreds so they do not pull players into damaging pools.
Healers
- Assign healing and defensives. Do not assume that every boss effect can be dispelled.
- Watch your Hatred meter and use the Meditate extra-action button to clear it. A full meter causes Haze of Hate; you cannot move or act while meditating, so choose a safe spot.
- Avoid the shadow ring's edge; standing close to the boss inside it avoids the ring damage itself. The tank prepares for Sha Blast's knockback. Kill Gripping Hatreds so they do not pull players into damaging pools.
DPS
- Follow this encounter’s target priorities. Interrupt only abilities confirmed to be interruptible.
- Watch your Hatred meter and use the Meditate extra-action button to clear it. A full meter causes Haze of Hate; you cannot move or act while meditating, so choose a safe spot.
- Avoid the shadow ring's edge; standing close to the boss inside it avoids the ring damage itself. The tank prepares for Sha Blast's knockback. Kill Gripping Hatreds so they do not pull players into damaging pools.
Nerfs: what changed
- A separately sourced nerf or hotfix history is not yet provided for this encounter.
- Updated 2026-09-05.
Sources and scope
Blizzard announcements provide content and release context; they do not establish every tactic on this page. Separate Encounter Journal links support the clarified mechanics.
- Blizzard — Mists of Pandaria Classic
worldofwarcraft.blizzard.com/en-us/news/24204923/world-of-warcraft-mists-of-pandaria-classic-arrives-july-21 - Blizzard — Scenarios and Challenge Modes
news.blizzard.com/en-us/article/24221824/scenarios-challenge-modes-in-mists-of-pandaria-classic - Blizzard — Mogu’shan Vaults
worldofwarcraft.blizzard.com/en-gb/news/24216437/mists-of-pandaria-classic-enter-the-mogushan-vaults-raid-31-july - Blizzard — Terrace of Endless Spring
worldofwarcraft.blizzard.com/en-us/news/24223022/mists-of-pandaria-classic-enter-the-terrace-of-endless-spring-raid-now - Blizzard — The Thunder King
worldofwarcraft.blizzard.com/en-us/news/24242434/mists-of-pandaria-classic-the-thunder-king-arrives-december-9 - Blizzard — Siege of Orgrimmar
worldofwarcraft.blizzard.com/en-us/news/24264421/mists-of-pandaria-classic-the-siege-of-orgrimmar-update-arrives-june-2 - Master Snowdrift · Encounter Journal (Wowhead MoP Classic)
www.wowhead.com/mop-classic/npc=56541/master-snowdrift - Taran Zhu · Encounter Journal (Wowhead MoP Classic)
www.wowhead.com/mop-classic/npc=56884/taran-zhu - Gu Cloudstrike · Encounter Journal (Wowhead MoP Classic)
www.wowhead.com/mop-classic/npc=56747/gu-cloudstrike - Sha of Violence · Encounter Journal (Wowhead MoP Classic)
www.wowhead.com/mop-classic/npc=56719/sha-of-violence/normal-encounter-journal
Updated 2026-09-05. The content update date is not a boss nerf or hotfix date.