World of Warcraft Classic · Tier 2 · Blackwing Lair
Blackwing Lair Tactics
A 40-player raid guide covering all eight bosses in chronological order: phases, roles, checklists and documented Vanilla-era changes.
Prepare encounters before entering
Preparation matters in BWL. Start with each boss's summary, priorities and setup, then review the mechanics, phases, role assignments and patch history.
These tactics cover the Classic Era / Anniversary 1.12 ruleset. Season of Discovery trials and affixes are not covered.
Eight encounters in Classic Tier 2
Blackwing Lair progresses from Razorgore's orb and add control to Vaelastrasz's DPS race, Suppression Room to three drakes, Chromaggus' dispel/LoS test, and Nefarian's three-phase finale.
Quick links
Nerfs, buffs and exploit fixes
Blackwing Lair’s early changes were mostly bug and exploit fixes rather than broad numerical nerfs. This guide classifies each change by its documented effect.
| Time | Change | Classification |
|---|---|---|
| 7/14/2005 hotfix | Bugs that made the first two encounters easy to pass were fixed. | Anti-cheese / difficulty |
| Patch 1.6.1 | The gates were closed during the fights, the drakes didn't leave the lab, and Vaelastrasz's hour timer became persistent. | Anti-exploit and progression limitation |
| Patch 1.8 | Removed Vaelastrasz’s one-hour limit, added Razorgore’s summon for unreachable players and fixed line of sight for Chromaggus’s breaths. | QoL + anti-cheese |
| Patch 1.8 | Fixed Broodlord's Mortal Strike being too weak. | Boss buff |
| Patch 1.9 | Standardized the raid lockout to seven days, resetting with weekly maintenance. | System change |
Anniversary's removed buff/debuff limit affects raid performance, but does not replace boss-specific mechanics.
Blackwing Lair in chronological order
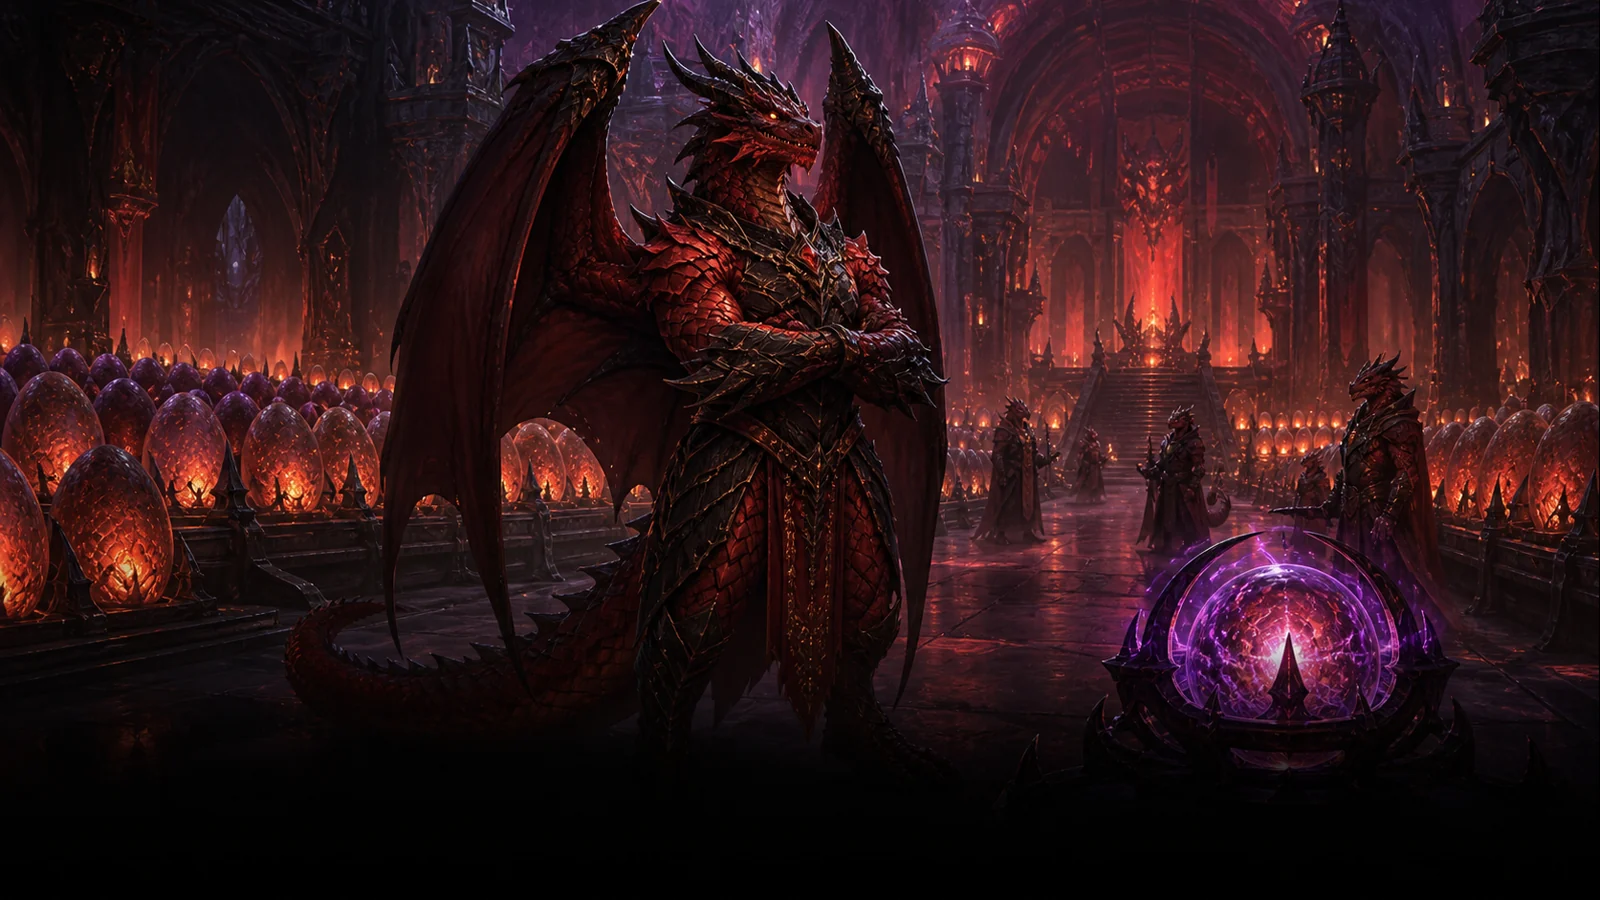
Encounter 1 / 8 · Blackwing Lair
Razorgore the Untamed
Orb control, egg destruction and continuous add waves.
Raid priorities
- Keep an orb controller assigned at all times and avoid interrupting control at the wrong moment.
- Mages die quickly; Dragonkin are controlled, put to sleep or kited according to the plan.
- At the final-egg transition, the raid stops spreading out to handle adds and tanks establish threat on Razorgore.
Before the pull
- Divide the room into four sectors and assign a tank/healer/DPS to each.
- Assign at least two orb controllers and a clear handover after Mind Exhaustion.
- Agree on the egg route and who calls the transition when the last egg is destroyed.
Mechanics reference
Phase plan and tactic
The orb controller moves Razorgore along the agreed egg route while the four raid teams pick up adds from their assigned corners.
The next controller is ready before control expires. Healers keep Razorgore alive through the adds' attacks.
After the last egg, tanks pick up Razorgore and face him toward the wall. The raid gathers at his sides, uses cooldowns and heals through Fireball Volley.
Role notes
Tanks
- Follow the agreed threat, taunt and placement order.
- Keep all front cones out of the raid and announce changes aloud.
DPS
- Comply with target priority and threat limits.
- Stop damage when a transition or line-of-sight call requires it.
Healers
- Anticipate burst damage on tanks and encounter-specific raid damage spikes.
- Maintain the assigned dispel coverage and manage mana throughout the fight.
Utility
- Use taunts, dispels, interrupts, Tranq and crowd control according to a prearranged rotation.
Nerfs: what changed
- The post-release 7/14/2005 hotfix fixed the bugs that made it possible to easily pass the first two BWL encounters.
- Patch 1.8 allowed Razorgore to summon players who remained out of reach too long. This closed a terrain-based kiting exploit rather than reducing his numerical stats.
- Season of Discovery Trials and other season mechanics are not part of this 1.12 guide.

Encounter 2 / 8 · Blackwing Lair
Vaelastrasz the Corrupt
Three minute DPS race, unlimited resources and Burning Adrenaline.
Raid priorities
- The tank order and threat list are clear before starting the speech.
- Burning Adrenaline targets move clear of the raid while continuing ranged damage or healing for their remaining time.
- Melee players avoid the head and tail and stay below the tanks on threat so Flame Breath does not turn toward the raid.
Before the pull
- Arrange 3-4 tanks in threat order and prepare for heavy Fire damage on the tanks.
- Mark Burning Adrenaline exit slots for melee and ranged.
- Let the tank establish threat before the raid begins its full burst.
Mechanics reference
Phase plan and tactic
Main tank builds threat; the other tanks remain next on the threat list in their respective forward sector positions.
Ranged/healer moves out of the raid and uses the remaining time effectively. After the tank's BA, the next tank will take the boss before the explosion.
Maximize damage without overtaking the tanks on threat. Essence expires after three minutes, making a prolonged attempt difficult to sustain.
Role notes
Tanks
- Follow the agreed threat, taunt and placement order.
- Keep all front cones out of the raid and announce changes aloud.
DPS
- Comply with target priority and threat limits.
- Stop damage when a transition or line-of-sight call requires it.
Healers
- Anticipate burst damage on tanks and encounter-specific raid damage spikes.
- Maintain the assigned dispel coverage and manage mana throughout the fight.
Utility
- Use taunts, dispels, interrupts, Tranq and crowd control according to a prearranged rotation.
Nerfs: what changed
- Patch 1.6.1 made the original one-hour Vaelastrasz attempt window persistent, so exiting the instance did not reset it.
- Patch 1.8 removed the one-hour limit entirely. This significantly improved progression attempts without reducing the boss’s combat stats.
- 7/14/2005 hotfix also closed Vaelastrasz's easily passable bugs.

Encounter 3 / 8 · Blackwing Lair
Broodlord Lashlayer
After the Suppression Room, a tough tank and threat encounter.
Raid priorities
- Keep Broodlord in the corner; he must not move through the raid after Knock Away.
- At least three tanks are actively building threat.
- Use planned tank defensives and prompt, strong healing for Mortal Strike.
Before the pull
- Disable the nearest suppression devices and kill respawned enemies before the pull.
- Place the tanks in the same corner and the rest of the raid behind the boss at maximum distance.
- Assign tank defensives and prepare healers for Mortal Strike.
Mechanics reference
Phase plan and tactic
The tanks stand in a corner with their backs to the wall; melee behind and ranged/healers far enough away from Blast Wave.
When the main tank gets Knock Away, the next tank on the threat list will take the boss at the same point.
Use defensives for Mortal Strike windows and keep your DPS threat well below the tanks.
Role notes
Tanks
- Follow the agreed threat, taunt and placement order.
- Keep all front cones out of the raid and announce changes aloud.
DPS
- Comply with target priority and threat limits.
- Stop damage when a transition or line-of-sight call requires it.
Healers
- Anticipate burst damage on tanks and encounter-specific raid damage spikes.
- Maintain the assigned dispel coverage and manage mana throughout the fight.
Utility
- Use taunts, dispels, interrupts, Tranq and crowd control according to a prearranged rotation.
Nerfs: what changed
- Patch 1.8 fixed a bug where Broodlord's Mortal Strike did less damage than intended; this was a documented buff.
- This 1.12 guide assumes Mortal Strike works at full strength. Do not rely on its bugged, weaker release behavior.

Encounter 4 / 8 · Blackwing Lair
Firemaw
Line-of-sight cycles, stacking Flame Buffet and tank management of Wing Buffet.
Raid priorities
- Everyone resets the Flame Buffet stacks under cover according to their own risk limit.
- The off-tank takes the Wing Buffet and the main tank keeps its threat lead.
- Keep Firemaw stationary and never turn Shadow Flame toward the raid.
Before the pull
- Choose an angle where the tanks can see the boss but the raid can cut the line of sight.
- Make sure all tanks and any players at risk of entering the frontal cone have Onyxia Scale Cloak equipped.
- Agree on the timing of the Wing Buffet taunt and the out/in rhythm of ranged groups.
Mechanics reference
Phase plan and tactic
The main tank keeps the boss stationary. The off-tank taunts for Wing Buffet, and the main tank takes the boss back immediately afterward.
Ranged and healers peek around the corner, only collect the agreed amount of stacks and return to cover until the debuff drops.
Stay to the side, use your own LoS route, and watch out for the boss turning around during a tank change.
Role notes
Tanks
- Follow the agreed threat, taunt and placement order.
- Keep all front cones out of the raid and announce changes aloud.
DPS
- Comply with target priority and threat limits.
- Stop damage when a transition or line-of-sight call requires it.
Healers
- Anticipate burst damage on tanks and encounter-specific raid damage spikes.
- Maintain the assigned dispel coverage and manage mana throughout the fight.
Utility
- Use taunts, dispels, interrupts, Tranq and crowd control according to a prearranged rotation.
Nerfs: what changed
- The original Vanilla patch notes do not detail Firemaw's own numerical nerf.
- Patch 1.6.1 prevented BWL drakes from leaving the laboratory, closing an exploit that moved them outside the intended encounter area.
- The Classic 1.12 tactic is still based on the LoS reset of Flame Buffet stacks.
Encounter 5 / 8 · Blackwing Lair
Ebonroc
Immediate tank swaps for Shadow of Ebonroc and threat management for Wing Buffet.
Raid priorities
- The Shadow of Ebonroc tank does not take any extra melee hits.
- Wing Buffet hits the agreed off tank and does not collapse the threat of the active tank.
- Never let the boss's head turn toward the raid.
Before the pull
- Name the active tank, Shadow changer and Wing Buffet tank.
- Place the tanks closely in the same front sector and raid to the side.
- Practice taunt-call: debuff name, new tank and recovery.
Mechanics reference
Phase plan and tactic
Three tanks in the front, melee on the side and ranged/healers on the back sides.
A tank without the debuff taunts immediately. The affected tank takes over again only after the effect expires.
The third tank taunts during Wing Buffet; the active tank takes the boss back afterward.
Role notes
Tanks
- Follow the agreed threat, taunt and placement order.
- Keep all front cones out of the raid and announce changes aloud.
DPS
- Comply with target priority and threat limits.
- Stop damage when a transition or line-of-sight call requires it.
Healers
- Anticipate burst damage on tanks and encounter-specific raid damage spikes.
- Maintain the assigned dispel coverage and manage mana throughout the fight.
Utility
- Use taunts, dispels, interrupts, Tranq and crowd control according to a prearranged rotation.
Nerfs: what changed
- No unique Vanilla numerical nerf has been released for Ebonroc before 1.12 mode.
- Patch 1.6.1 also confined Ebonroc to the laboratory, closing the exploit of pulling him outside.
Encounter 6 / 8 · Blackwing Lair
Flamegor
Firemaw-style Drake without Buffet stacks, but with constant Frenzy.
Raid priorities
- Hunter rotation removes Frenzy immediately.
- Wing Buffet targets the off tank and not the main tank.
- Shadow Flame does not hit the raid on the sides.
Before the pull
- Name at least two Hunters in the Tranq rotation.
- Agree on the main/off tank's Wing Buffet taunts.
- Place the raid on the sides away from the head and tail lines.
Mechanics reference
Phase plan and tactic
Main tank keeps boss in place; off-tank taunts Wing Buffet for a moment.
Watch for Frenzy and use Tranquilizing Shot in the assigned order. The backup hunter covers any miss.
Deal steady damage from the sides and leave the frontal sector to the tanks.
Role notes
Tanks
- Follow the agreed threat, taunt and placement order.
- Keep all front cones out of the raid and announce changes aloud.
DPS
- Comply with target priority and threat limits.
- Stop damage when a transition or line-of-sight call requires it.
Healers
- Anticipate burst damage on tanks and encounter-specific raid damage spikes.
- Maintain the assigned dispel coverage and manage mana throughout the fight.
Utility
- Use taunts, dispels, interrupts, Tranq and crowd control according to a prearranged rotation.
Nerfs: what changed
- There is no documented Vanilla numerical nerf for Flamegor prior to 1.12.
- The drake lab lock in Patch 1.6.1 prevented the encounter from being dragged out of the intended area.
Encounter 7 / 8 · Blackwing Lair
Chromaggus
Two randomly selected breaths per lockout, five afflictions and a changing vulnerability.
Raid priorities
- Neither breath hits the hidden raid; In the Time Lapse variant, the tank plan is adapted to the threat-freeze.
- Assign coverage for all five afflictions, including Hourglass Sand for Bronze.
- Frenzy is removed immediately, especially with breath and the tank's LoS move.
Before the pull
- Identify two breaths of the week with the first safe test or reliable lockout information.
- Distribute poison, disease, magic and curse dispels and Hourglass Sand to Bronze affliction.
- Place the tank on the edge of the door and raid completely behind the line of sight.
Mechanics reference
Phase plan and tactic
The tank keeps Chromaggus facing the doorway. The raid moves into sight between breaths and returns fully to cover before each cast.
Dispellers work continuously in the assigned priority order. Remove Bronze with Hourglass Sand when it prevents a player from carrying out a critical role.
Casters switch to the active school whenever possible without breaking breath or dispel discipline.
At less than 20%, use defensive and damage cooldowns; Tranq rotation continues until death.
Role notes
Tanks
- Follow the agreed threat, taunt and placement order.
- Keep all front cones out of the raid and announce changes aloud.
DPS
- Comply with target priority and threat limits.
- Stop damage when a transition or line-of-sight call requires it.
Healers
- Anticipate burst damage on tanks and encounter-specific raid damage spikes.
- Maintain the assigned dispel coverage and manage mana throughout the fight.
Utility
- Use taunts, dispels, interrupts, Tranq and crowd control according to a prearranged rotation.
Nerfs: what changed
- Patch 1.8 clarified/fixed breath's line of sight: if the player is in front of Chromaggus and can hit it with spells, breath can hit the player.
- The change closed asymmetric LoS spots where the player could damage the boss without the risk of breath.
- Season of Discovery affixes are not included in this version of Classic 1.12.

Encounter 8 / 8 · Blackwing Lair
Nefarian
Drakonid waves, class calls and a skeleton phase at 20% health.
Raid priorities
- The gate groups keep Drakonids away from casters and healers.
- Do not take Nefarian's opening Shadow Flame without Onyxia Scale Cloak equipped.
- Class calls are responded to immediately and no dangerous ability is automatically used during them.
- Bone Constructs are assembled and controlled before AoE.
Before the pull
- Identify the lockout’s two Drakonid colors and assign each gate group’s resistances and target priorities accordingly.
- Make sure the entire raid has Onyxia Scale Cloak equipped.
- Review the response to all nine class calls and mark where the skeletons will be gathered.
Mechanics reference
Phase plan and tactic
Both gate groups tank and kill Drakonids. Nefarian cannot be killed in humanoid form; healers respond to Shadow Bolt Volley and mind control.
After the 42nd add dies, move into position with cloaks already equipped before Shadow Flame. The tank picks up Nefarian, faces him away and establishes threat before burst damage.
Keep the raid at the sides, manage fear and respond to each class call as planned. Leave the Tail Sweep area clear.
At about 22 percent, prepare at the gathering point. When Constructs rise at 20 percent, tanks collect them and mages use Frost Nova alongside other control. AoE them down, then return to Nefarian.
Role notes
Tanks
- Follow the agreed threat, taunt and placement order.
- Keep all front cones out of the raid and announce changes aloud.
DPS
- Comply with target priority and threat limits.
- Stop damage when a transition or line-of-sight call requires it.
Healers
- Anticipate burst damage on tanks and encounter-specific raid damage spikes.
- Maintain the assigned dispel coverage and manage mana throughout the fight.
Utility
- Use taunts, dispels, interrupts, Tranq and crowd control according to a prearranged rotation.
Nerfs: what changed
- Patch 1.8 fixed a bug that could drop players out of the Blackwing Lair in the Nefarian fight.
- There was no unambiguous combat numerical nerf released for Nefarian during Vanilla that could be used as a pre/post table.
- Patch 1.6.1 closed the gates during encounters and prevented players from joining an ongoing fight; this was an anti-exploit change.
Sources and versioning
Boss order and the 40-player raid structure were checked against Warcraft Wiki’s Blackwing Lair documentation. History draws on original patch notes for 1.6.1, 1.8 and 1.9 and boss-specific entries.
- Warcraft Wiki — Blackwing Lair
warcraft.wiki.gg/wiki/Blackwing_Lair - Warcraft Wiki — Classic raid instance bosses
warcraft.wiki.gg/wiki/Classic_raid_instance_bosses - Warcraft Wiki — Patch 1.6.1
warcraft.wiki.gg/wiki/Patch_1.6.1 - Warcraft Wiki — Patch 1.8.0
warcraft.wiki.gg/wiki/Patch_1.8.0 - Warcraft Wiki — Patch 1.9.0
warcraft.wiki.gg/wiki/Patch_1.9.0 - Warcraft Wiki — Broodlord Lashlayer
warcraft.wiki.gg/wiki/Broodlord_Lashlayer - Warcraft Wiki — Firemaw
warcraft.wiki.gg/wiki/Firemaw - Warcraft Wiki — Chromaggus
warcraft.wiki.gg/wiki/Chromaggus
Season of Discovery uses a different set of encounters. Its Trials and affix changes are not included here. Updated 18 August 2026.