Mists of Pandaria Classic · Tier 14 · Raid
Mogu’shan Vaults: encounter overview
An encounter list with brief reminders for selected mechanics.
How to use this page
This page covers selected mechanics, not every phase or difficulty-specific role assignment. Check the Encounter Journal for your difficulty before the pull.
Updated 2026-09-05. Mists of Pandaria Classic.
Mogu’shan Vaults: encounter overview
Mogu’shan Vaults: 6 encounters, from The Stone Guard to Will of the Emperor, with selected mechanic reminders for Mists of Pandaria Classic.
Quick links
Version and scope
This page covers selected mechanics, not every phase or difficulty-specific role assignment. Check the Encounter Journal for your difficulty before the pull.
Blizzard announcements provide content and release context; they do not establish every tactic on this page. Separate Encounter Journal links support the clarified mechanics.
Mogu’shan Vaults · Bosses
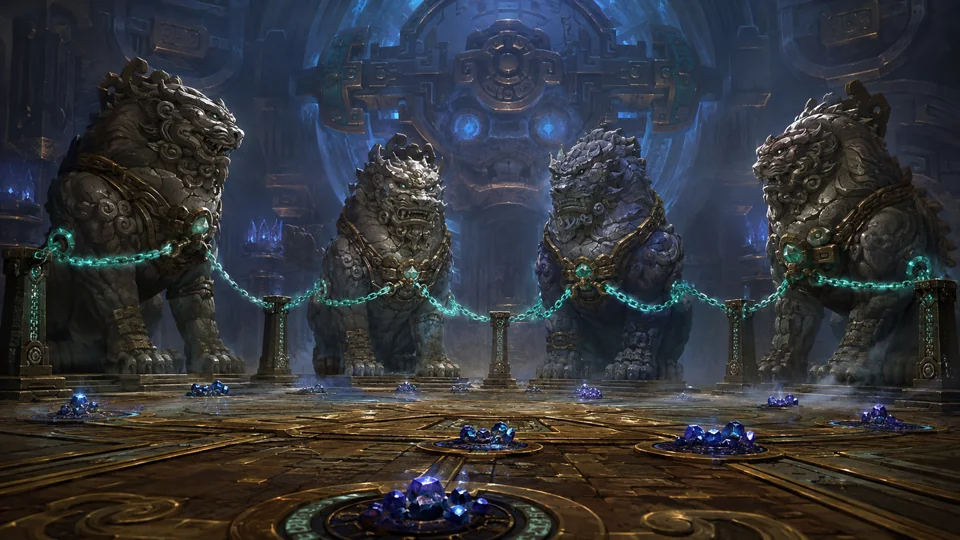
Encounter 1 / 6 · Mogu’shan Vaults
The Stone Guard
Jasper Chains: Stay close to your linked partner. Break the chains by separating under Jasper Petrification's fire protection, not by immediately running in opposite directions. Overload: Tanks control energy through guardian spacing. Let the guardian applying Petrification overload before the raid fully petrifies; that guardian's Overload clears the matching stacks. Overload is not an add to kill. Cobalt Mine: Leave the mine's seven-yard area before it arms after three seconds. Detonation damages and roots nearby players; do not clear mines beside the group without an agreed plan.
Raid priorities
- Jasper Chains: Stay close to your linked partner. Break the chains by separating under Jasper Petrification's fire protection, not by immediately running in opposite directions.
- Overload: Tanks control energy through guardian spacing. Let the guardian applying Petrification overload before the raid fully petrifies; that guardian's Overload clears the matching stacks. Overload is not an add to kill.
- Cobalt Mine: Leave the mine's seven-yard area before it arms after three seconds. Detonation damages and roots nearby players; do not clear mines beside the group without an agreed plan.
Before the pull
- Assign roles and movement for this encounter and difficulty.
- Confirm which abilities can be interrupted and which effects can be dispelled.
Mechanics reference
Phase plan and tactic
Stay close to your linked partner. Break the chains by separating under Jasper Petrification's fire protection, not by immediately running in opposite directions.
Tanks control energy through guardian spacing. Let the guardian applying Petrification overload before the raid fully petrifies; that guardian's Overload clears the matching stacks. Overload is not an add to kill.
Leave the mine's seven-yard area before it arms after three seconds. Detonation damages and roots nearby players; do not clear mines beside the group without an agreed plan.
Role notes
Tanks
- Follow the encounter-specific tanking and movement plan; this general reminder does not define tank swaps.
- Tanks control energy through guardian spacing. Let the guardian applying Petrification overload before the raid fully petrifies; that guardian's Overload clears the matching stacks. Overload is not an add to kill.
- Leave the mine's seven-yard area before it arms after three seconds. Detonation damages and roots nearby players; do not clear mines beside the group without an agreed plan.
Healers
- Assign healing and defensives. Do not assume that every boss effect can be dispelled.
- Leave the mine's seven-yard area before it arms after three seconds. Detonation damages and roots nearby players; do not clear mines beside the group without an agreed plan.
DPS
- Follow this encounter’s target priorities. Interrupt only abilities confirmed to be interruptible.
- Leave the mine's seven-yard area before it arms after three seconds. Detonation damages and roots nearby players; do not clear mines beside the group without an agreed plan.
Nerfs: what changed
- A separately sourced nerf or hotfix history is not yet provided for this encounter.
- Updated 2026-09-05.

Encounter 2 / 6 · Mogu’shan Vaults
Feng the Accursed
Epicenter: Move farther from Feng to reduce earthquake damage. A tank's Nullification Barrier protects players inside it; coordinate its timing with healer defensives. Arcane Velocity: Move close to Feng to reduce distance-scaled damage. Anyone with Arcane Resonance stays away from others: bringing it into the group amplifies its splash damage. Draw Flame: Place Wildfire Spark away from the group and avoid flames moving toward Feng. The tank can remove fire with Nullification Barrier; absorbed flames increase the boss's raid damage.
Raid priorities
- Epicenter: Move farther from Feng to reduce earthquake damage. A tank's Nullification Barrier protects players inside it; coordinate its timing with healer defensives.
- Arcane Velocity: Move close to Feng to reduce distance-scaled damage. Anyone with Arcane Resonance stays away from others: bringing it into the group amplifies its splash damage.
- Draw Flame: Place Wildfire Spark away from the group and avoid flames moving toward Feng. The tank can remove fire with Nullification Barrier; absorbed flames increase the boss's raid damage.
Before the pull
- Assign roles and movement for this encounter and difficulty.
- Confirm which abilities can be interrupted and which effects can be dispelled.
Mechanics reference
Phase plan and tactic
Move farther from Feng to reduce earthquake damage. A tank's Nullification Barrier protects players inside it; coordinate its timing with healer defensives.
Move close to Feng to reduce distance-scaled damage. Anyone with Arcane Resonance stays away from others: bringing it into the group amplifies its splash damage.
Place Wildfire Spark away from the group and avoid flames moving toward Feng. The tank can remove fire with Nullification Barrier; absorbed flames increase the boss's raid damage.
Role notes
Tanks
- Follow the encounter-specific tanking and movement plan; this general reminder does not define tank swaps.
- Move farther from Feng to reduce earthquake damage. A tank's Nullification Barrier protects players inside it; coordinate its timing with healer defensives.
- Place Wildfire Spark away from the group and avoid flames moving toward Feng. The tank can remove fire with Nullification Barrier; absorbed flames increase the boss's raid damage.
Healers
- Assign healing and defensives. Do not assume that every boss effect can be dispelled.
- Move farther from Feng to reduce earthquake damage. A tank's Nullification Barrier protects players inside it; coordinate its timing with healer defensives.
- Move close to Feng to reduce distance-scaled damage. Anyone with Arcane Resonance stays away from others: bringing it into the group amplifies its splash damage.
- Place Wildfire Spark away from the group and avoid flames moving toward Feng. The tank can remove fire with Nullification Barrier; absorbed flames increase the boss's raid damage.
DPS
- Follow this encounter’s target priorities. Interrupt only abilities confirmed to be interruptible.
- Move farther from Feng to reduce earthquake damage. A tank's Nullification Barrier protects players inside it; coordinate its timing with healer defensives.
- Move close to Feng to reduce distance-scaled damage. Anyone with Arcane Resonance stays away from others: bringing it into the group amplifies its splash damage.
- Place Wildfire Spark away from the group and avoid flames moving toward Feng. The tank can remove fire with Nullification Barrier; absorbed flames increase the boss's raid damage.
Nerfs: what changed
- A separately sourced nerf or hotfix history is not yet provided for this encounter.
- Updated 2026-09-05.
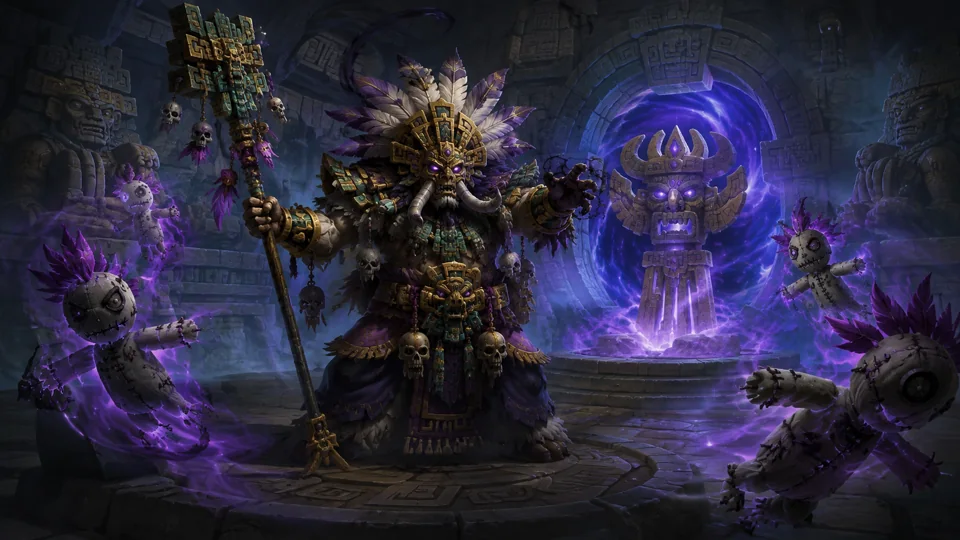
Encounter 3 / 6 · Mogu’shan Vaults
Gara’jal the Spiritbinder
Spirit Totem: Break the totem only when the assigned Spirit World team is beside it. Nearby players cross over; Voodoo Dolls prevents entry. Voodoo Doll: Actively heal the Voodoo Dolls and reduce damage to the tank: damage is copied to linked players. Players affected by Voodoo Dolls cannot enter the Spirit World. Frenzy: At 20% health Gara’jal gains faster, harder attacks and stops summoning Spirit Totems. Commit damage and defensive resources to the finish; healers keep supporting the tank and Voodoo Dolls targets.
Raid priorities
- Spirit Totem: Break the totem only when the assigned Spirit World team is beside it. Nearby players cross over; Voodoo Dolls prevents entry.
- Voodoo Doll: Actively heal the Voodoo Dolls and reduce damage to the tank: damage is copied to linked players. Players affected by Voodoo Dolls cannot enter the Spirit World.
- Frenzy: At 20% health Gara’jal gains faster, harder attacks and stops summoning Spirit Totems. Commit damage and defensive resources to the finish; healers keep supporting the tank and Voodoo Dolls targets.
Before the pull
- Assign roles and movement for this encounter and difficulty.
- Confirm which abilities can be interrupted and which effects can be dispelled.
Mechanics reference
Phase plan and tactic
Break the totem only when the assigned Spirit World team is beside it. Nearby players cross over; Voodoo Dolls prevents entry.
Actively heal the Voodoo Dolls and reduce damage to the tank: damage is copied to linked players. Players affected by Voodoo Dolls cannot enter the Spirit World.
At 20% health Gara’jal gains faster, harder attacks and stops summoning Spirit Totems. Commit damage and defensive resources to the finish; healers keep supporting the tank and Voodoo Dolls targets.
Role notes
Tanks
- Follow the encounter-specific tanking and movement plan; this general reminder does not define tank swaps.
- Actively heal the Voodoo Dolls and reduce damage to the tank: damage is copied to linked players. Players affected by Voodoo Dolls cannot enter the Spirit World.
- At 20% health Gara’jal gains faster, harder attacks and stops summoning Spirit Totems. Commit damage and defensive resources to the finish; healers keep supporting the tank and Voodoo Dolls targets.
Healers
- Assign healing and defensives. Do not assume that every boss effect can be dispelled.
- Actively heal the Voodoo Dolls and reduce damage to the tank: damage is copied to linked players. Players affected by Voodoo Dolls cannot enter the Spirit World.
- At 20% health Gara’jal gains faster, harder attacks and stops summoning Spirit Totems. Commit damage and defensive resources to the finish; healers keep supporting the tank and Voodoo Dolls targets.
DPS
- Follow this encounter’s target priorities. Interrupt only abilities confirmed to be interruptible.
- Break the totem only when the assigned Spirit World team is beside it. Nearby players cross over; Voodoo Dolls prevents entry.
- At 20% health Gara’jal gains faster, harder attacks and stops summoning Spirit Totems. Commit damage and defensive resources to the finish; healers keep supporting the tank and Voodoo Dolls targets.
Nerfs: what changed
- A separately sourced nerf or hotfix history is not yet provided for this encounter.
- Updated 2026-09-05.
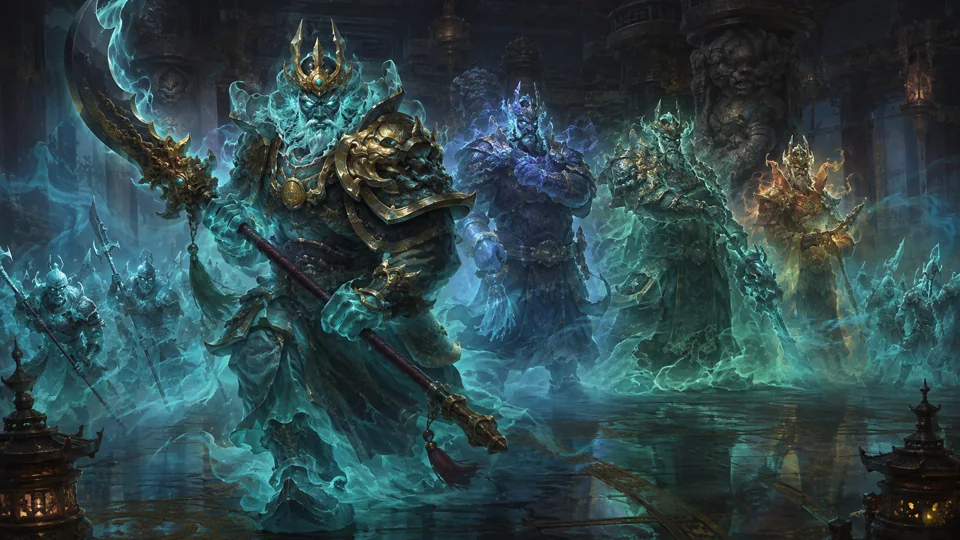
Encounter 4 / 6 · Mogu’shan Vaults
The Spirit Kings
Flanking Orders: Find a gap in the advancing soldiers and avoid the strikes in front of them. Qiang keeps this ability after defeat. While he is still active, coordinate the group's movement with the shared frontal damage of Massive Attacks. Maddening Shout: Players become hostile to one another. Deal only enough controlled damage to each affected ally to remove the effect; do not kill your raid members. Pillage: Move out of the eight-yard area after Subetai charges. Being hit reduces your damage and healing output and makes physical attacks more dangerous. Subetai keeps using Pillage after defeat.
Raid priorities
- Flanking Orders: Find a gap in the advancing soldiers and avoid the strikes in front of them. Qiang keeps this ability after defeat. While he is still active, coordinate the group's movement with the shared frontal damage of Massive Attacks.
- Maddening Shout: Players become hostile to one another. Deal only enough controlled damage to each affected ally to remove the effect; do not kill your raid members.
- Pillage: Move out of the eight-yard area after Subetai charges. Being hit reduces your damage and healing output and makes physical attacks more dangerous. Subetai keeps using Pillage after defeat.
Before the pull
- Assign roles and movement for this encounter and difficulty.
- Confirm which abilities can be interrupted and which effects can be dispelled.
Mechanics reference
Phase plan and tactic
Find a gap in the advancing soldiers and avoid the strikes in front of them. Qiang keeps this ability after defeat. While he is still active, coordinate the group's movement with the shared frontal damage of Massive Attacks.
Players become hostile to one another. Deal only enough controlled damage to each affected ally to remove the effect; do not kill your raid members.
Move out of the eight-yard area after Subetai charges. Being hit reduces your damage and healing output and makes physical attacks more dangerous. Subetai keeps using Pillage after defeat.
Role notes
Tanks
- Follow the encounter-specific tanking and movement plan; this general reminder does not define tank swaps.
- Find a gap in the advancing soldiers and avoid the strikes in front of them. Qiang keeps this ability after defeat. While he is still active, coordinate the group's movement with the shared frontal damage of Massive Attacks.
- Move out of the eight-yard area after Subetai charges. Being hit reduces your damage and healing output and makes physical attacks more dangerous. Subetai keeps using Pillage after defeat.
Healers
- Assign healing and defensives. Do not assume that every boss effect can be dispelled.
- Find a gap in the advancing soldiers and avoid the strikes in front of them. Qiang keeps this ability after defeat. While he is still active, coordinate the group's movement with the shared frontal damage of Massive Attacks.
- Move out of the eight-yard area after Subetai charges. Being hit reduces your damage and healing output and makes physical attacks more dangerous. Subetai keeps using Pillage after defeat.
DPS
- Follow this encounter’s target priorities. Interrupt only abilities confirmed to be interruptible.
- Players become hostile to one another. Deal only enough controlled damage to each affected ally to remove the effect; do not kill your raid members.
- Find a gap in the advancing soldiers and avoid the strikes in front of them. Qiang keeps this ability after defeat. While he is still active, coordinate the group's movement with the shared frontal damage of Massive Attacks.
- Move out of the eight-yard area after Subetai charges. Being hit reduces your damage and healing output and makes physical attacks more dangerous. Subetai keeps using Pillage after defeat.
Nerfs: what changed
- A separately sourced nerf or hotfix history is not yet provided for this encounter.
- Updated 2026-09-05.
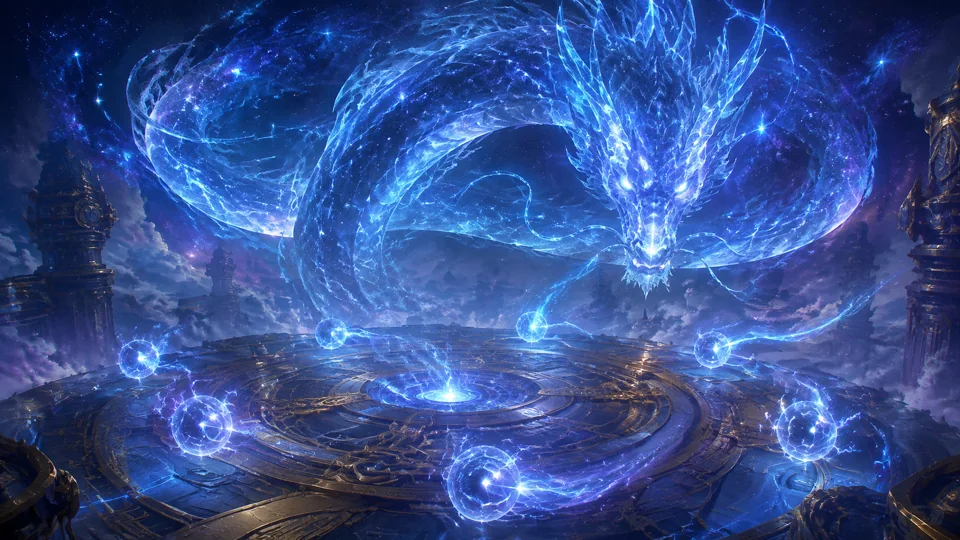
Encounter 5 / 6 · Mogu’shan Vaults
Elegon
Celestial Protector: Keep the add inside the Vortex until 25% health, then move it out and prepare for its death explosion. Heroic needs at least one receiver in 10-player, three in 25-player; a Destabilized player must not take another. Energy Charge: Assign DPS to six paths and destroy every charge before the edge. Clearing a wave creates a faster one; one escaping charge ends the phase. Healers prepare for the charges' death explosions. Overcharged: Each Overcharged stack increases damage you take by five percent. Step outside the Vortex to clear stacks before the extra damage becomes unsafe. On Heroic, the boundary blocks targeting across it: coordinate leaving with your healers.
Raid priorities
- Celestial Protector: Keep the add inside the Vortex until 25% health, then move it out and prepare for its death explosion. Heroic needs at least one receiver in 10-player, three in 25-player; a Destabilized player must not take another.
- Energy Charge: Assign DPS to six paths and destroy every charge before the edge. Clearing a wave creates a faster one; one escaping charge ends the phase. Healers prepare for the charges' death explosions.
- Overcharged: Each Overcharged stack increases damage you take by five percent. Step outside the Vortex to clear stacks before the extra damage becomes unsafe. On Heroic, the boundary blocks targeting across it: coordinate leaving with your healers.
Before the pull
- Assign roles and movement for this encounter and difficulty.
- Confirm which abilities can be interrupted and which effects can be dispelled.
Mechanics reference
Phase plan and tactic
Keep the add inside the Vortex until 25% health, then move it out and prepare for its death explosion. Heroic needs at least one receiver in 10-player, three in 25-player; a Destabilized player must not take another.
Assign DPS to six paths and destroy every charge before the edge. Clearing a wave creates a faster one; one escaping charge ends the phase. Healers prepare for the charges' death explosions.
Each Overcharged stack increases damage you take by five percent. Step outside the Vortex to clear stacks before the extra damage becomes unsafe. On Heroic, the boundary blocks targeting across it: coordinate leaving with your healers.
Role notes
Tanks
- Follow the encounter-specific tanking and movement plan; this general reminder does not define tank swaps.
- Keep the add inside the Vortex until 25% health, then move it out and prepare for its death explosion. Heroic needs at least one receiver in 10-player, three in 25-player; a Destabilized player must not take another.
- Each Overcharged stack increases damage you take by five percent. Step outside the Vortex to clear stacks before the extra damage becomes unsafe. On Heroic, the boundary blocks targeting across it: coordinate leaving with your healers.
Healers
- Assign healing and defensives. Do not assume that every boss effect can be dispelled.
- Keep the add inside the Vortex until 25% health, then move it out and prepare for its death explosion. Heroic needs at least one receiver in 10-player, three in 25-player; a Destabilized player must not take another.
- Assign DPS to six paths and destroy every charge before the edge. Clearing a wave creates a faster one; one escaping charge ends the phase. Healers prepare for the charges' death explosions.
- Each Overcharged stack increases damage you take by five percent. Step outside the Vortex to clear stacks before the extra damage becomes unsafe. On Heroic, the boundary blocks targeting across it: coordinate leaving with your healers.
DPS
- Follow this encounter’s target priorities. Interrupt only abilities confirmed to be interruptible.
- Keep the add inside the Vortex until 25% health, then move it out and prepare for its death explosion. Heroic needs at least one receiver in 10-player, three in 25-player; a Destabilized player must not take another.
- Assign DPS to six paths and destroy every charge before the edge. Clearing a wave creates a faster one; one escaping charge ends the phase. Healers prepare for the charges' death explosions.
- Each Overcharged stack increases damage you take by five percent. Step outside the Vortex to clear stacks before the extra damage becomes unsafe. On Heroic, the boundary blocks targeting across it: coordinate leaving with your healers.
Nerfs: what changed
- A separately sourced nerf or hotfix history is not yet provided for this encounter.
- Updated 2026-09-05.

Encounter 6 / 6 · Mogu’shan Vaults
Will of the Emperor
Devastating Combo: Dodge each directed arc and leave the nearby Stomp area; tanks must dodge too. The sequence has five attacks on Normal, ten on Heroic. A clean sequence briefly grants Opportunistic Strike. Do not rely on immunity. Titan Gas: Gas damages the raid and increases melee damage dealt by players and constructs alike. Coordinate raid healing and tank defensives; your damage bonus does not remove the need to dodge. Emperor’s Rage: A Rage add fixates on a player. Slow, root or otherwise control it and kill it before it reaches that target. This control advice applies to Rage, not every add type.
Raid priorities
- Devastating Combo: Dodge each directed arc and leave the nearby Stomp area; tanks must dodge too. The sequence has five attacks on Normal, ten on Heroic. A clean sequence briefly grants Opportunistic Strike. Do not rely on immunity.
- Titan Gas: Gas damages the raid and increases melee damage dealt by players and constructs alike. Coordinate raid healing and tank defensives; your damage bonus does not remove the need to dodge.
- Emperor’s Rage: A Rage add fixates on a player. Slow, root or otherwise control it and kill it before it reaches that target. This control advice applies to Rage, not every add type.
Before the pull
- Assign roles and movement for this encounter and difficulty.
- Confirm which abilities can be interrupted and which effects can be dispelled.
Mechanics reference
Phase plan and tactic
Dodge each directed arc and leave the nearby Stomp area; tanks must dodge too. The sequence has five attacks on Normal, ten on Heroic. A clean sequence briefly grants Opportunistic Strike. Do not rely on immunity.
Gas damages the raid and increases melee damage dealt by players and constructs alike. Coordinate raid healing and tank defensives; your damage bonus does not remove the need to dodge.
A Rage add fixates on a player. Slow, root or otherwise control it and kill it before it reaches that target. This control advice applies to Rage, not every add type.
Role notes
Tanks
- Follow the encounter-specific tanking and movement plan; this general reminder does not define tank swaps.
- Dodge each directed arc and leave the nearby Stomp area; tanks must dodge too. The sequence has five attacks on Normal, ten on Heroic. A clean sequence briefly grants Opportunistic Strike. Do not rely on immunity.
- Gas damages the raid and increases melee damage dealt by players and constructs alike. Coordinate raid healing and tank defensives; your damage bonus does not remove the need to dodge.
Healers
- Assign healing and defensives. Do not assume that every boss effect can be dispelled.
- Gas damages the raid and increases melee damage dealt by players and constructs alike. Coordinate raid healing and tank defensives; your damage bonus does not remove the need to dodge.
DPS
- Follow this encounter’s target priorities. Interrupt only abilities confirmed to be interruptible.
- Dodge each directed arc and leave the nearby Stomp area; tanks must dodge too. The sequence has five attacks on Normal, ten on Heroic. A clean sequence briefly grants Opportunistic Strike. Do not rely on immunity.
- Gas damages the raid and increases melee damage dealt by players and constructs alike. Coordinate raid healing and tank defensives; your damage bonus does not remove the need to dodge.
- A Rage add fixates on a player. Slow, root or otherwise control it and kill it before it reaches that target. This control advice applies to Rage, not every add type.
Nerfs: what changed
- A separately sourced nerf or hotfix history is not yet provided for this encounter.
- Updated 2026-09-05.
Sources and scope
Blizzard announcements provide content and release context; they do not establish every tactic on this page. Separate Encounter Journal links support the clarified mechanics.
- Blizzard — Mists of Pandaria Classic
worldofwarcraft.blizzard.com/en-us/news/24204923/world-of-warcraft-mists-of-pandaria-classic-arrives-july-21 - Blizzard — Scenarios and Challenge Modes
news.blizzard.com/en-us/article/24221824/scenarios-challenge-modes-in-mists-of-pandaria-classic - Blizzard — Mogu’shan Vaults
worldofwarcraft.blizzard.com/en-gb/news/24216437/mists-of-pandaria-classic-enter-the-mogushan-vaults-raid-31-july - Blizzard — Terrace of Endless Spring
worldofwarcraft.blizzard.com/en-us/news/24223022/mists-of-pandaria-classic-enter-the-terrace-of-endless-spring-raid-now - Blizzard — The Thunder King
worldofwarcraft.blizzard.com/en-us/news/24242434/mists-of-pandaria-classic-the-thunder-king-arrives-december-9 - Blizzard — Siege of Orgrimmar
worldofwarcraft.blizzard.com/en-us/news/24264421/mists-of-pandaria-classic-the-siege-of-orgrimmar-update-arrives-june-2 - The Stone Guard · Encounter Journal (Wowhead MoP Classic)
www.wowhead.com/mop-classic/npc=59915/jasper-guardian - The Spirit Kings · Encounter Journal (Wowhead MoP Classic)
www.wowhead.com/mop-classic/npc=60708/meng-the-demented - Gara’jal the Spiritbinder · Encounter Journal (Wowhead MoP Classic)
www.wowhead.com/mop-classic/npc=60143/garajal-the-spiritbinder - Encounter Journal · Feng the Accursed
www.wowhead.com/mop-classic/npc=60009/feng-the-accursed - Encounter Journal · Jan Xi
www.wowhead.com/mop-classic/it/npc=60400/jan-xi - Encounter Journal · Elegon
www.wowhead.com/mop-classic/npc=60410/elegon - Encounter Journal · Cobalt Mine
www.wowhead.com/mop-classic/spell=129460/cobalt-mine - Encounter Journal · Qiang The Merciless
www.wowhead.com/mop-classic/npc=60709/qiang-the-merciless - Encounter Journal · Overcharged
www.wowhead.com/mop-classic/spell=117878/overcharged
Updated 2026-09-05. The content update date is not a boss nerf or hotfix date.