Wrath of the Lich King · Tier 10 · Icecrown Citadel
Icecrown Citadel raid guide
Tactics for all 12 encounters, progression checklists and a documented change history from original Wrath to Wrath Classic.
How to use this guide
Read the change history and boss summaries before the detailed instructions. Boss cards cover core tactics and role assignments, with version-specific difficulty differences where applicable.
This guide covers level 80 Wrath. Level 60 Classic, Timewalking and legacy scaling from later expansions are outside its scope.
Icecrown Citadel in chronological Wrath progression
Tier 10’s 12 encounters span five sections, ending at the Frozen Throne. The guide distinguishes normal and heroic mechanics, the original limited-attempt system and the progressively increasing 5–30 percent raid buff.
Quick links
Icecrown Citadel: nerf and change history
The timeline separates intentional difficulty changes, release schedule, loot/catch-up changes, and actual bug fixes. Inaccurate pre/post figures are not filled with guesswork.
| Date | Documented change | Effect |
|---|---|---|
| Patch 3.3 · December 8, 2009 | Icecrown Citadel opened wing by wing; heroic and Lich King came in steps. | The publication structure limited the pace of progression. |
| March 2, 2010 | Strength of Wrynn / Hellscream's Warsong activated at 5%. | health, Healing and damage increased; buff could be turned off. |
| March 30 – July 20, 2010 | The bonus increased in steps of five percentage points to 10, 15, 20, 25 and finally 30 percent. | This was the raid's documented total progressive nerf. |
| Wrath Classic | In Wrath Classic, all 12 encounters opened on 12 October 2023 in both normal and heroic modes. | This simultaneous opening differs from the original wing-by-wing rollout; later buff changes and hotfixes are recorded separately. |
Each boss’s nerf section refers to this raid-wide timeline and highlights only changes relevant to that encounter.
Icecrown Citadel - bosses in order of progression
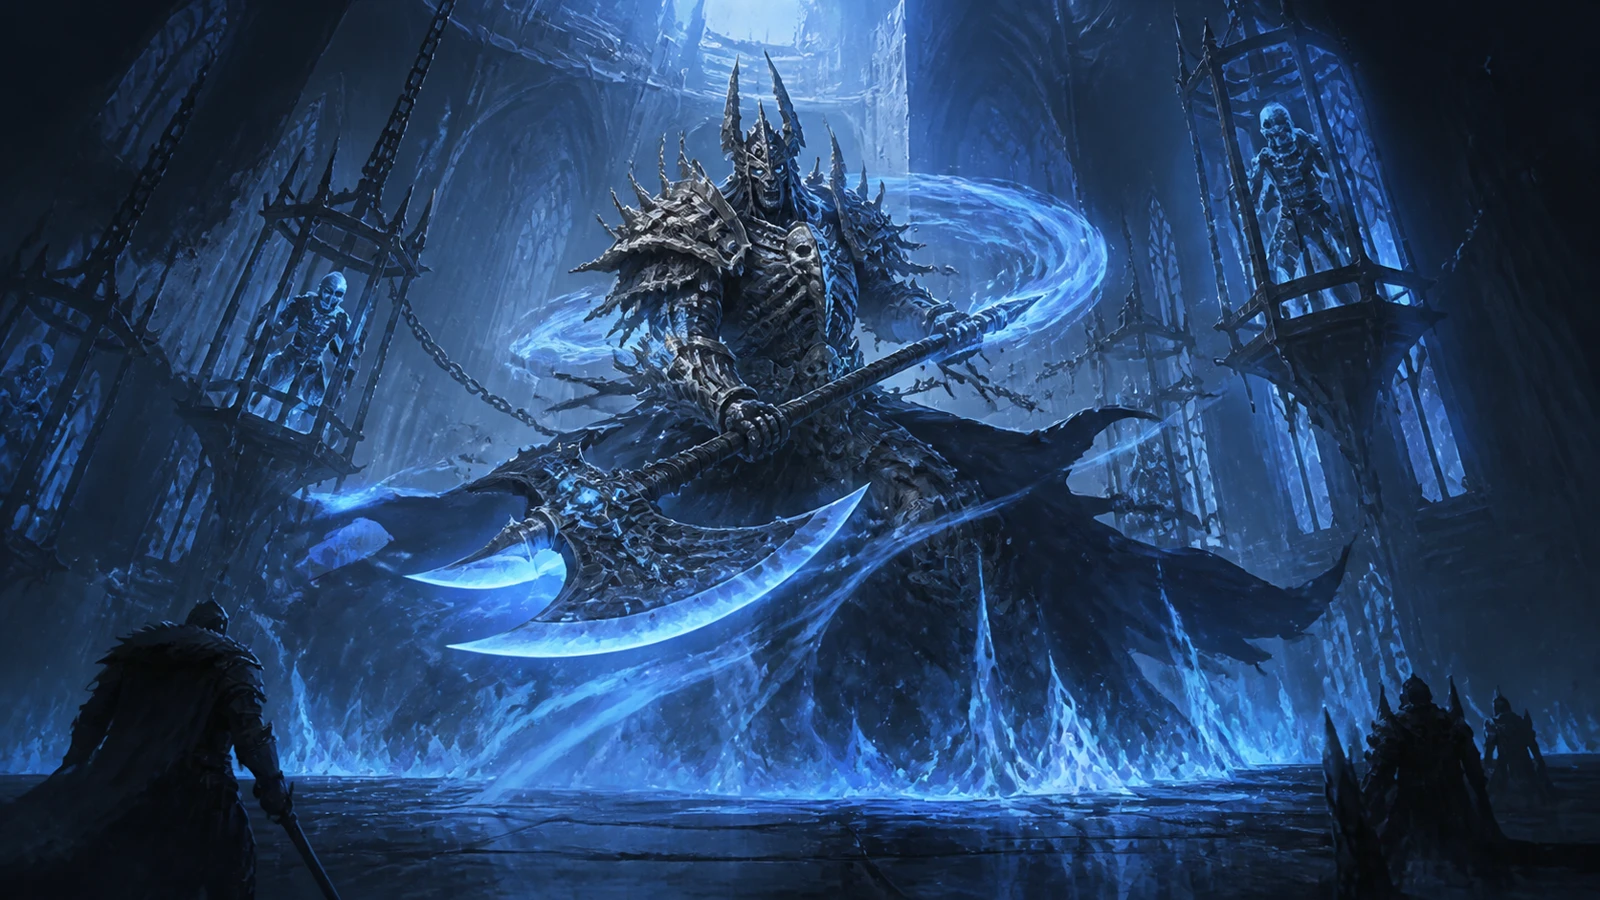
Encounter 1 / 12 · Icecrown Citadel
Lord Marrowgar
Lower Citadel · Bone Spike, Coldflame and Bone Storm.
Raid priorities
- Keep the tanks stacked together to share Saber Lash.
- Free every Bone Spike target immediately.
- Keep melee inside the boss’s hitbox while avoiding Coldflame.
- Spread during Bone Storm and stay away from Marrowgar.
Before the pull
- Review tanking, healing and damage responsibilities for Lord Marrowgar in a 10- or 25-player group.
- Assign tank stacking, Bone Spike targets and safe Bone Storm movement.
- Assign interrupts, dispels, crowd control and target swaps before the pull.
- Save raid and personal cooldowns for the encounter’s most dangerous phase.
Mechanics reference
Phase plan and tactic
Keep the tanks stacked together to share Saber Lash.
Free every Bone Spike target immediately.
Keep melee inside the boss’s hitbox while avoiding Coldflame.
Spread during Bone Storm and stay away from Marrowgar.
Role notes
Tanks
- Face the boss and adds away from the raid; swap tanks when required by debuffs or phase changes.
- Tell healers in advance when you will use defensive cooldowns or make a dangerous tank swap.
Healers
- Assign tank healing, raid healing and dispels before the pull.
- Plan raid cooldowns for the largest predictable damage window and avoid unnecessary overlap.
Melee DPS
- Stay clear of frontal and rear attacks, and switch to adds as soon as they are called.
- Don't sacrifice movement or soak mechanics for damage uptime.
Ranged DPS
- Maintain the required spacing and prioritize distant adds, orbs or moving targets.
- Save abilities used while moving for mandatory transitions.
Raid utility
- Agree on interrupt, purge, stun, slow and immunity rotations depending on the encounter.
- Use a combat resurrection only when the fallen player’s role is essential for the next mechanic.
Nerfs: what changed
- The boss-specific history is read in conjunction with the Icecrown Citadel raid timeline; original Wrath and Wrath Classic are kept separate.
- Numerical nerfs are only presented as confirmed when supported by patch or hotfix notes. Bug fixes are identified separately.
- Level squishes, Timewalking and changes to soloing from later expansions are outside the scope of these level 80 tactics.
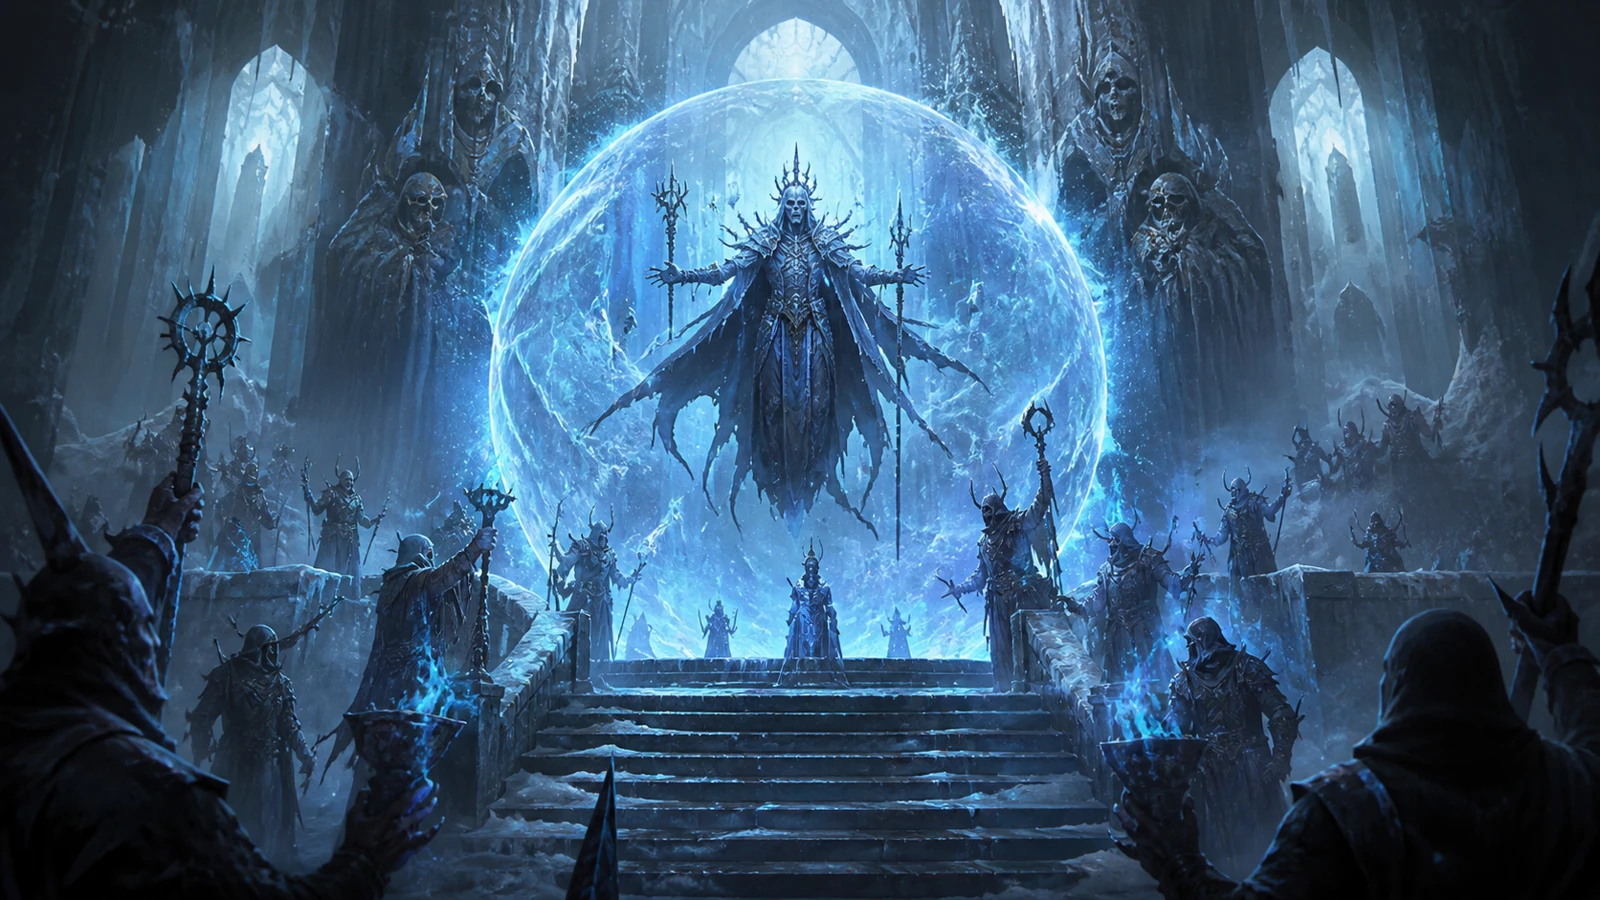
Encounter 2 / 12 · Icecrown Citadel
Lady Deathwhisper
Lower Citadel · Mana Shield, cultist adds and phase-2 threat management.
Raid priorities
- Assign add groups to both spawn sides.
- Prioritize Empowered and Deformed adds and interrupt casters.
- Break the Mana Shield during a clear add window.
- In phase 2, swap tanks for Touch of Insignificance: taunt on normal, manage threat order on heroic. Kite Vengeful Shades without letting them hit players.
Before the pull
- Review tanking, healing and damage responsibilities for Lady Deathwhisper in a 10- or 25-player group.
- Assign spawn coverage, interrupts, priority targets and a tank-swap plan for the chosen difficulty.
- Assign interrupts, dispels, crowd control and target swaps before the pull.
- Save raid and personal cooldowns for the encounter’s most dangerous phase.
Mechanics reference
Phase plan and tactic
Assign add groups to both spawn sides.
Prioritize Empowered and Deformed adds and interrupt casters.
Break the Mana Shield during a clear add window.
In phase 2, swap tanks for Touch of Insignificance: taunt on normal, manage threat order on heroic. Kite Vengeful Shades without letting them hit players.
Role notes
Tanks
- Face the boss and adds away from the raid; swap tanks when required by debuffs or phase changes.
- Tell healers in advance when you will use defensive cooldowns or make a dangerous tank swap.
Healers
- Assign tank healing, raid healing and dispels before the pull.
- Plan raid cooldowns for the largest predictable damage window and avoid unnecessary overlap.
Melee DPS
- Stay clear of frontal and rear attacks, and switch to adds as soon as they are called.
- Don't sacrifice movement or soak mechanics for damage uptime.
Ranged DPS
- Maintain the required spacing and prioritize distant adds, orbs or moving targets.
- Save abilities used while moving for mandatory transitions.
Raid utility
- Agree on interrupt, purge, stun, slow and immunity rotations depending on the encounter.
- Use a combat resurrection only when the fallen player’s role is essential for the next mechanic.
Nerfs: what changed
- The boss-specific history is read in conjunction with the Icecrown Citadel raid timeline; original Wrath and Wrath Classic are kept separate.
- Numerical nerfs are only presented as confirmed when supported by patch or hotfix notes. Bug fixes are identified separately.
- Level squishes, Timewalking and changes to soloing from later expansions are outside the scope of these level 80 tactics.

Encounter 3 / 12 · Icecrown Citadel
Icecrown Gunship Battle
Rampart of Skulls · Cannons, boarding squad and rocket dodge.
Raid priorities
- Assign two cannon users and a boarding team.
- Shoot enemy deck adds and the ship without overheating the cannons.
- Board behind the tank to kill the Battle-Mage, then return before the enemy commander’s stacks become dangerous.
- Avoid rocket markers on your own deck.
Before the pull
- Review tanking, healing and damage responsibilities for Icecrown Gunship Battle in a 10- or 25-player group.
- Assign cannon users, the boarding tank, mage damage and the return call.
- Assign interrupts, dispels, crowd control and target swaps before the pull.
- Save raid and personal cooldowns for the encounter’s most dangerous phase.
Mechanics reference
Phase plan and tactic
Assign two cannon users and a boarding team.
Shoot enemy deck adds and the ship without overheating the cannons.
Board behind the tank to kill the Battle-Mage, then return before the enemy commander’s stacks become dangerous.
Avoid rocket markers on your own deck.
Role notes
Tanks
- Face the boss and adds away from the raid; swap tanks when required by debuffs or phase changes.
- Tell healers in advance when you will use defensive cooldowns or make a dangerous tank swap.
Healers
- Assign tank healing, raid healing and dispels before the pull.
- Plan raid cooldowns for the largest predictable damage window and avoid unnecessary overlap.
Melee DPS
- Stay clear of frontal and rear attacks, and switch to adds as soon as they are called.
- Don't sacrifice movement or soak mechanics for damage uptime.
Ranged DPS
- Maintain the required spacing and prioritize distant adds, orbs or moving targets.
- Save abilities used while moving for mandatory transitions.
Raid utility
- Agree on interrupt, purge, stun, slow and immunity rotations depending on the encounter.
- Use a combat resurrection only when the fallen player’s role is essential for the next mechanic.
Nerfs: what changed
- The boss-specific history is read in conjunction with the Icecrown Citadel raid timeline; original Wrath and Wrath Classic are kept separate.
- Numerical nerfs are only presented as confirmed when supported by patch or hotfix notes. Bug fixes are identified separately.
- Level squishes, Timewalking and changes to soloing from later expansions are outside the scope of these level 80 tactics.

Encounter 4 / 12 · Icecrown Citadel
Deathbringer Saurfang
Deathbringer's Rise · Blood Power, Beasts and Mark healing.
Raid priorities
- Spread ranged players for Blood Nova.
- Swap tanks when Rune of Blood is applied.
- Control Blood Beasts with available stuns, slows and knockbacks, then kill them before contact.
- Save damage and healing cooldowns for the final pressure as Marks accumulate.
Before the pull
- Review tanking, healing and damage responsibilities for Deathbringer Saurfang in a 10- or 25-player group.
- Assign ranged spacing, Beast control and dedicated Mark healing.
- Assign interrupts, dispels, crowd control and target swaps before the pull.
- Save raid and personal cooldowns for the encounter’s most dangerous phase.
Mechanics reference
Phase plan and tactic
Spread ranged players for Blood Nova.
Swap tanks when Rune of Blood is applied.
Control Blood Beasts with available stuns, slows and knockbacks, then kill them before contact.
Save damage and healing cooldowns for the final pressure as Marks accumulate.
Role notes
Tanks
- Face the boss and adds away from the raid; swap tanks when required by debuffs or phase changes.
- Tell healers in advance when you will use defensive cooldowns or make a dangerous tank swap.
Healers
- Assign tank healing, raid healing and dispels before the pull.
- Plan raid cooldowns for the largest predictable damage window and avoid unnecessary overlap.
Melee DPS
- Stay clear of frontal and rear attacks, and switch to adds as soon as they are called.
- Don't sacrifice movement or soak mechanics for damage uptime.
Ranged DPS
- Maintain the required spacing and prioritize distant adds, orbs or moving targets.
- Save abilities used while moving for mandatory transitions.
Raid utility
- Agree on interrupt, purge, stun, slow and immunity rotations depending on the encounter.
- Use a combat resurrection only when the fallen player’s role is essential for the next mechanic.
Nerfs: what changed
- The boss-specific history is read in conjunction with the Icecrown Citadel raid timeline; original Wrath and Wrath Classic are kept separate.
- Numerical nerfs are only presented as confirmed when supported by patch or hotfix notes. Bug fixes are identified separately.
- Level squishes, Timewalking and changes to soloing from later expansions are outside the scope of these level 80 tactics.
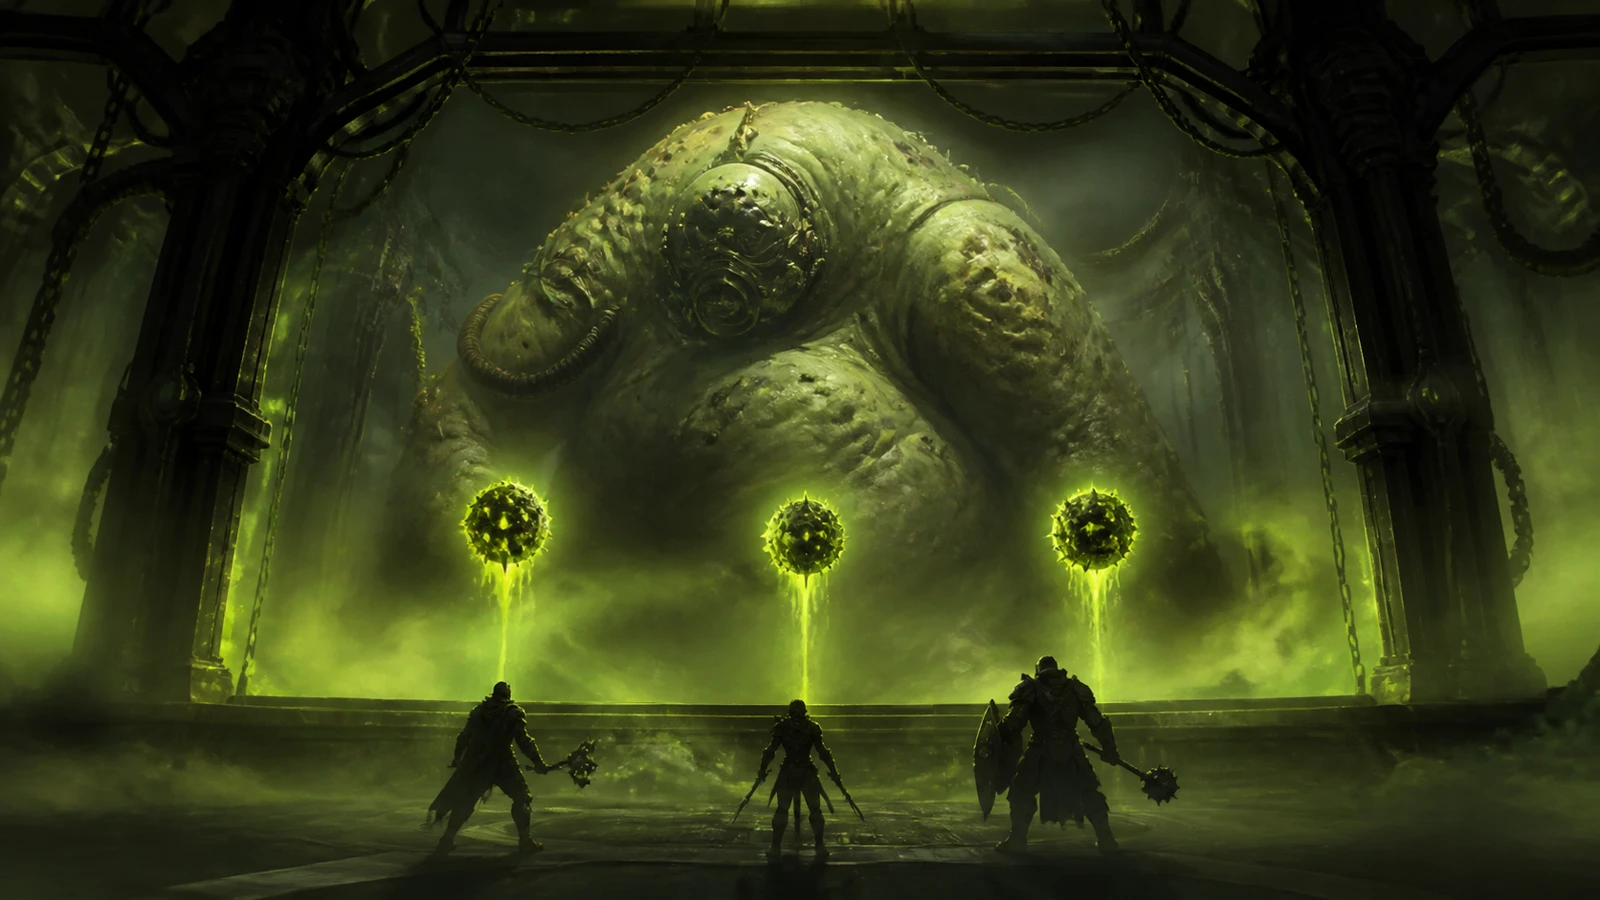
Encounter 5 / 12 · Icecrown Citadel
Festergut
Plagueworks · Inoculation, tank stacks and tight enrage.
Raid priorities
- Mark two Gas Spore gathering positions.
- Gain Inoculated from each spore while avoiding unnecessary overlapping splash.
- Swap tanks at nine Gastric Bloat stacks, before the tenth.
- Use cooldowns around the third Inhale and Pungent Blight.
Before the pull
- Review tanking, healing and damage responsibilities for Festergut in a 10- or 25-player group.
- Mark spore gathering points and assign tank swaps and Inhale cooldowns.
- Assign interrupts, dispels, crowd control and target swaps before the pull.
- Save raid and personal cooldowns for the encounter’s most dangerous phase.
Mechanics reference
Phase plan and tactic
Mark two Gas Spore gathering positions.
Gain Inoculated from each spore while avoiding unnecessary overlapping splash.
Swap tanks at nine Gastric Bloat stacks, before the tenth.
Use cooldowns around the third Inhale and Pungent Blight.
Role notes
Tanks
- Face the boss and adds away from the raid; swap tanks when required by debuffs or phase changes.
- Tell healers in advance when you will use defensive cooldowns or make a dangerous tank swap.
Healers
- Assign tank healing, raid healing and dispels before the pull.
- Plan raid cooldowns for the largest predictable damage window and avoid unnecessary overlap.
Melee DPS
- Stay clear of frontal and rear attacks, and switch to adds as soon as they are called.
- Don't sacrifice movement or soak mechanics for damage uptime.
Ranged DPS
- Maintain the required spacing and prioritize distant adds, orbs or moving targets.
- Save abilities used while moving for mandatory transitions.
Raid utility
- Agree on interrupt, purge, stun, slow and immunity rotations depending on the encounter.
- Use a combat resurrection only when the fallen player’s role is essential for the next mechanic.
Nerfs: what changed
- The boss-specific history is read in conjunction with the Icecrown Citadel raid timeline; original Wrath and Wrath Classic are kept separate.
- Numerical nerfs are only presented as confirmed when supported by patch or hotfix notes. Bug fixes are identified separately.
- Level squishes, Timewalking and changes to soloing from later expansions are outside the scope of these level 80 tactics.
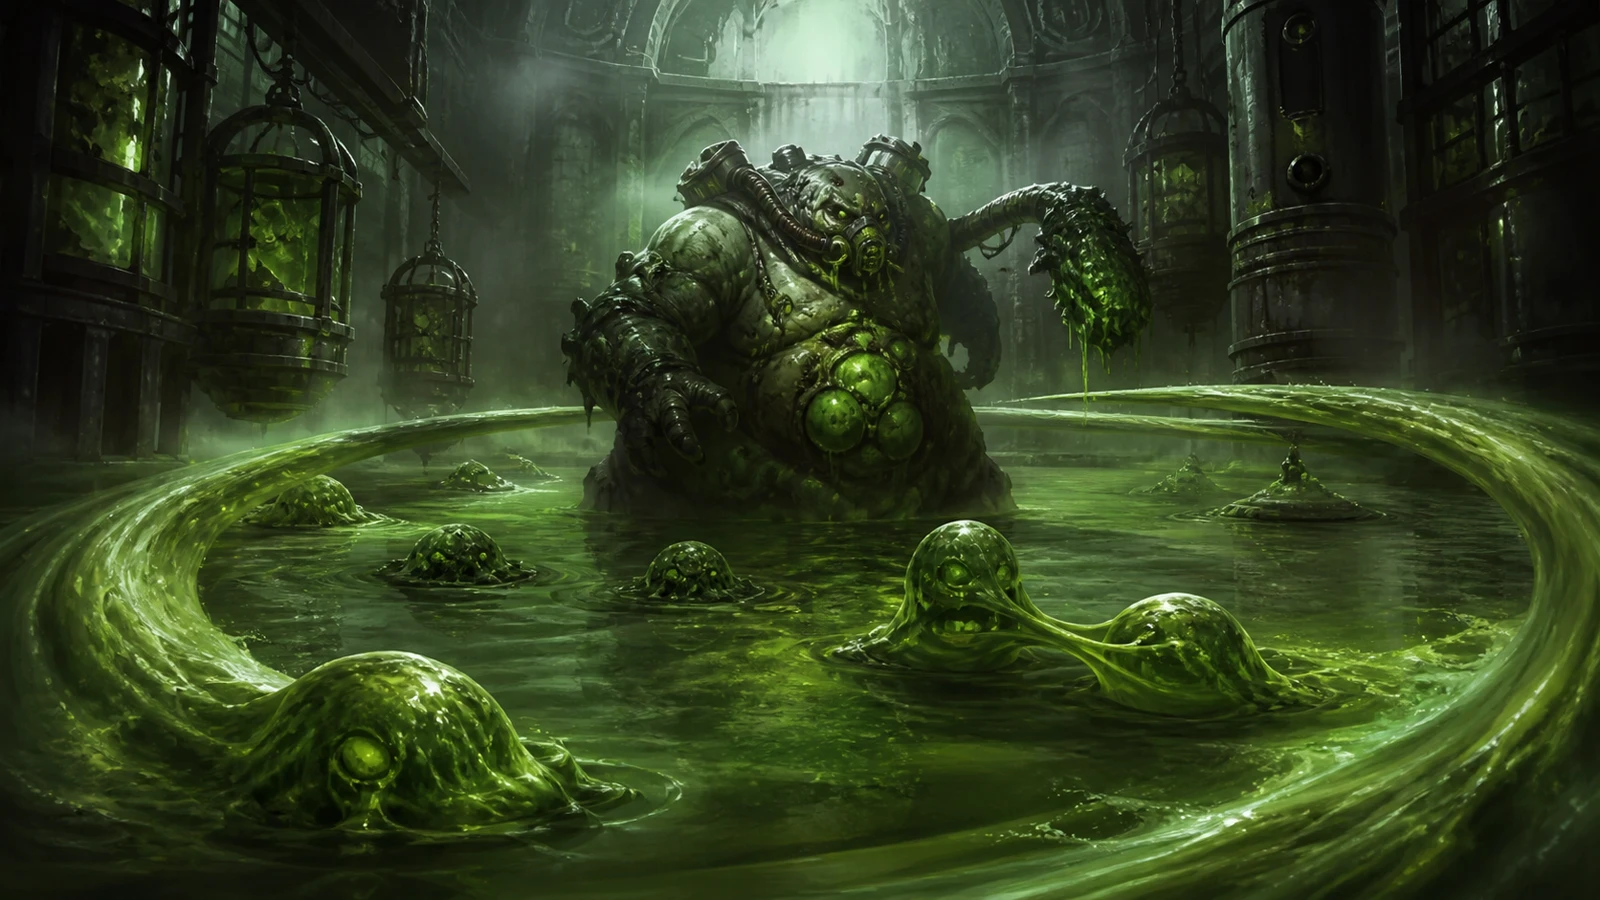
Encounter 6 / 12 · Icecrown Citadel
Rotface
Plagueworks · Ooze kiting and Slime Spray.
Raid priorities
- Players with Mutated Infection move to the assigned kiting tank before being dispelled.
- Merge oozes carefully, then move away from them.
- The boss group avoids Slime Spray together.
- When the Big Ooze explodes, leave your current position and return only after the projectiles land.
Before the pull
- Review tanking, healing and damage responsibilities for Rotface in a 10- or 25-player group.
- Assign the kiting tank, infection handoff route and coordinated explosion movement.
- Assign interrupts, dispels, crowd control and target swaps before the pull.
- Save raid and personal cooldowns for the encounter’s most dangerous phase.
Mechanics reference
Phase plan and tactic
Players with Mutated Infection move to the assigned kiting tank before being dispelled.
Merge oozes carefully, then move away from them.
The boss group avoids Slime Spray together.
When the Big Ooze explodes, leave your current position and return only after the projectiles land.
Role notes
Tanks
- Face the boss and adds away from the raid; swap tanks when required by debuffs or phase changes.
- Tell healers in advance when you will use defensive cooldowns or make a dangerous tank swap.
Healers
- Assign tank healing, raid healing and dispels before the pull.
- Plan raid cooldowns for the largest predictable damage window and avoid unnecessary overlap.
Melee DPS
- Stay clear of frontal and rear attacks, and switch to adds as soon as they are called.
- Don't sacrifice movement or soak mechanics for damage uptime.
Ranged DPS
- Maintain the required spacing and prioritize distant adds, orbs or moving targets.
- Save abilities used while moving for mandatory transitions.
Raid utility
- Agree on interrupt, purge, stun, slow and immunity rotations depending on the encounter.
- Use a combat resurrection only when the fallen player’s role is essential for the next mechanic.
Nerfs: what changed
- The boss-specific history is read in conjunction with the Icecrown Citadel raid timeline; original Wrath and Wrath Classic are kept separate.
- Numerical nerfs are only presented as confirmed when supported by patch or hotfix notes. Bug fixes are identified separately.
- Level squishes, Timewalking and changes to soloing from later expansions are outside the scope of these level 80 tactics.
Encounter 7 / 12 · Icecrown Citadel
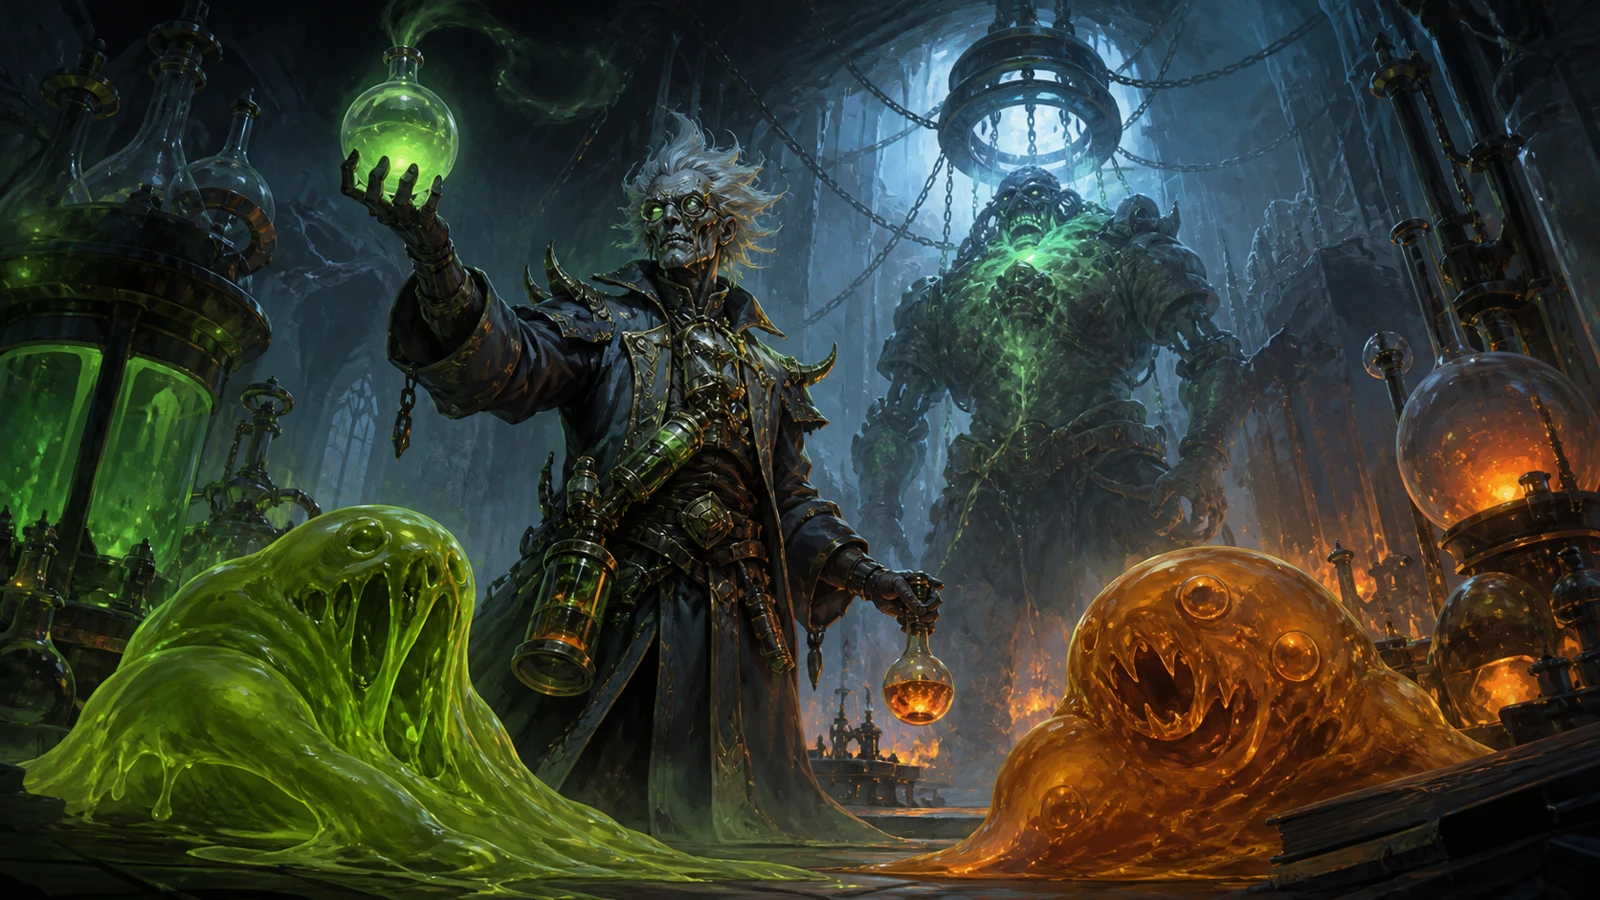
Professor Putricide
Plagueworks · Abomination, two add types and a phase 3 tank cycle.
Raid priorities
- Assign an Abomination driver to consume slime and slow adds.
- Group on Volatile Ooze targets to share the impact; kite Gas Clouds instead.
- Kill remaining adds before the normal-mode Tear Gas transition, which incapacitates the raid. Heroic replaces Tear Gas with two simultaneous adds; in 25-player heroic, follow the Ooze and Gas Variable assignments.
- In phase 3, use the planned tank rotation to keep Mutated Plague stacks under control.
Before the pull
- Review tanking, healing and damage responsibilities for Professor Putricide in a 10- or 25-player group.
- Assign the Abomination driver, add responses, transition timing and final tank rotation.
- Assign interrupts, dispels, crowd control and target swaps before the pull.
- Save raid and personal cooldowns for the encounter’s most dangerous phase.
Mechanics reference
Phase plan and tactic
Assign an Abomination driver to consume slime and slow adds.
Group on Volatile Ooze targets to share the impact; kite Gas Clouds instead.
Kill remaining adds before the normal-mode Tear Gas transition, which incapacitates the raid. Heroic replaces Tear Gas with two simultaneous adds; in 25-player heroic, follow the Ooze and Gas Variable assignments.
In phase 3, use the planned tank rotation to keep Mutated Plague stacks under control.
Role notes
Tanks
- Face the boss and adds away from the raid; swap tanks when required by debuffs or phase changes.
- Tell healers in advance when you will use defensive cooldowns or make a dangerous tank swap.
Healers
- Assign tank healing, raid healing and dispels before the pull.
- Plan raid cooldowns for the largest predictable damage window and avoid unnecessary overlap.
Melee DPS
- Stay clear of frontal and rear attacks, and switch to adds as soon as they are called.
- Don't sacrifice movement or soak mechanics for damage uptime.
Ranged DPS
- Maintain the required spacing and prioritize distant adds, orbs or moving targets.
- Save abilities used while moving for mandatory transitions.
Raid utility
- Agree on interrupt, purge, stun, slow and immunity rotations depending on the encounter.
- Use a combat resurrection only when the fallen player’s role is essential for the next mechanic.
Nerfs: what changed
- The boss-specific history is read in conjunction with the Icecrown Citadel raid timeline; original Wrath and Wrath Classic are kept separate.
- Numerical nerfs are only presented as confirmed when supported by patch or hotfix notes. Bug fixes are identified separately.
- Level squishes, Timewalking and changes to soloing from later expansions are outside the scope of these level 80 tactics.

Encounter 8 / 12 · Icecrown Citadel
Blood Prince Council
Crimson Hall · Kinetic Bombs, the empowered prince and orb control.
Raid priorities
- Assign a watcher to every Kinetic Bomb.
- Switch damage to the prince empowered by Invocation of Blood.
- Spread for Valanar’s empowerment and place players along the Flame Orb’s travel path to reduce it.
- The Keleseth tank gathers Dark Nuclei before his empowerment.
Before the pull
- Review tanking, healing and damage responsibilities for Blood Prince Council in a 10- or 25-player group.
- Assign bomb watchers, prince tanks, spread positions and Flame Orb interception.
- Assign interrupts, dispels, crowd control and target swaps before the pull.
- Save raid and personal cooldowns for the encounter’s most dangerous phase.
Mechanics reference
Phase plan and tactic
Assign a watcher to every Kinetic Bomb.
Switch damage to the prince empowered by Invocation of Blood.
Spread for Valanar’s empowerment and place players along the Flame Orb’s travel path to reduce it.
The Keleseth tank gathers Dark Nuclei before his empowerment.
Role notes
Tanks
- Face the boss and adds away from the raid; swap tanks when required by debuffs or phase changes.
- Tell healers in advance when you will use defensive cooldowns or make a dangerous tank swap.
Healers
- Assign tank healing, raid healing and dispels before the pull.
- Plan raid cooldowns for the largest predictable damage window and avoid unnecessary overlap.
Melee DPS
- Stay clear of frontal and rear attacks, and switch to adds as soon as they are called.
- Don't sacrifice movement or soak mechanics for damage uptime.
Ranged DPS
- Maintain the required spacing and prioritize distant adds, orbs or moving targets.
- Save abilities used while moving for mandatory transitions.
Raid utility
- Agree on interrupt, purge, stun, slow and immunity rotations depending on the encounter.
- Use a combat resurrection only when the fallen player’s role is essential for the next mechanic.
Nerfs: what changed
- The boss-specific history is read in conjunction with the Icecrown Citadel raid timeline; original Wrath and Wrath Classic are kept separate.
- Numerical nerfs are only presented as confirmed when supported by patch or hotfix notes. Bug fixes are identified separately.
- Level squishes, Timewalking and changes to soloing from later expansions are outside the scope of these level 80 tactics.

Encounter 9 / 12 · Icecrown Citadel
Blood-Queen Lana’thel
Crimson Hall · Vampire bite rotation and air-phase spreading.
Raid priorities
- Plan the entire bite order before pulling.
- Pact of the Darkfallen targets meet in the middle immediately.
- Drop Swarming Shadows in a controlled line along the wall.
- Spread for the air phase and use planned fear protection and raid cooldowns.
Before the pull
- Review tanking, healing and damage responsibilities for Blood-Queen Lana’thel in a 10- or 25-player group.
- Assign bite targets, a Pact meeting point and safe Shadow trails.
- Assign interrupts, dispels, crowd control and target swaps before the pull.
- Save raid and personal cooldowns for the encounter’s most dangerous phase.
Mechanics reference
Phase plan and tactic
Plan the entire bite order before pulling.
Pact of the Darkfallen targets meet in the middle immediately.
Drop Swarming Shadows in a controlled line along the wall.
Spread for the air phase and use planned fear protection and raid cooldowns.
Role notes
Tanks
- Face the boss and adds away from the raid; swap tanks when required by debuffs or phase changes.
- Tell healers in advance when you will use defensive cooldowns or make a dangerous tank swap.
Healers
- Assign tank healing, raid healing and dispels before the pull.
- Plan raid cooldowns for the largest predictable damage window and avoid unnecessary overlap.
Melee DPS
- Stay clear of frontal and rear attacks, and switch to adds as soon as they are called.
- Don't sacrifice movement or soak mechanics for damage uptime.
Ranged DPS
- Maintain the required spacing and prioritize distant adds, orbs or moving targets.
- Save abilities used while moving for mandatory transitions.
Raid utility
- Agree on interrupt, purge, stun, slow and immunity rotations depending on the encounter.
- Use a combat resurrection only when the fallen player’s role is essential for the next mechanic.
Nerfs: what changed
- The boss-specific history is read in conjunction with the Icecrown Citadel raid timeline; original Wrath and Wrath Classic are kept separate.
- Numerical nerfs are only presented as confirmed when supported by patch or hotfix notes. Bug fixes are identified separately.
- Level squishes, Timewalking and changes to soloing from later expansions are outside the scope of these level 80 tactics.
Encounter 10 / 12 · Icecrown Citadel
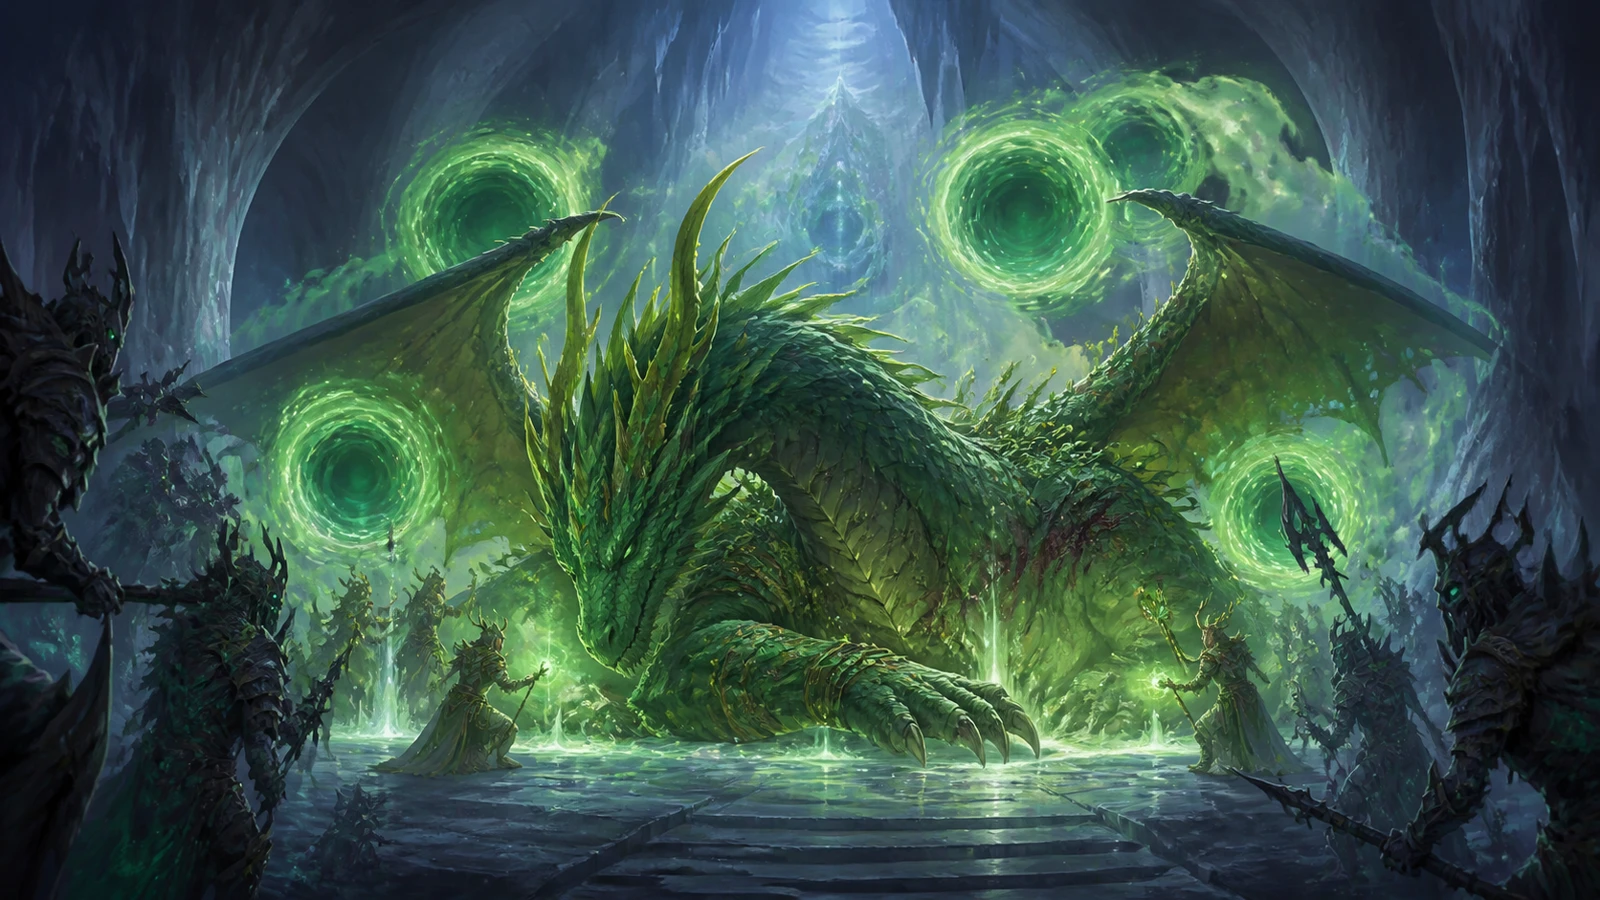
Valithria Dreamwalker
Frostwing Halls · Heal boss, portals and add priority.
Raid priorities
- Assign portal healers to collect clouds without letting their stacks expire.
- Prioritize Blazing Skeletons, then Suppressors and dangerous casters.
- Tank Abominations away from the raid and kill their Rot Worms with area damage.
- Use Bloodlust and healing cooldowns when the healers have high buff stacks.
Before the pull
- Review tanking, healing and damage responsibilities for Valithria Dreamwalker in a 10- or 25-player group.
- Assign portal healers, external healers, add tanks and priority damage targets.
- Assign interrupts, dispels, crowd control and target swaps before the pull.
- Save raid and personal cooldowns for the encounter’s most dangerous phase.
Mechanics reference
Phase plan and tactic
Assign portal healers to collect clouds without letting their stacks expire.
Prioritize Blazing Skeletons, then Suppressors and dangerous casters.
Tank Abominations away from the raid and kill their Rot Worms with area damage.
Use Bloodlust and healing cooldowns when the healers have high buff stacks.
Role notes
Tanks
- Face the boss and adds away from the raid; swap tanks when required by debuffs or phase changes.
- Tell healers in advance when you will use defensive cooldowns or make a dangerous tank swap.
Healers
- Assign tank healing, raid healing and dispels before the pull.
- Plan raid cooldowns for the largest predictable damage window and avoid unnecessary overlap.
Melee DPS
- Stay clear of frontal and rear attacks, and switch to adds as soon as they are called.
- Don't sacrifice movement or soak mechanics for damage uptime.
Ranged DPS
- Maintain the required spacing and prioritize distant adds, orbs or moving targets.
- Save abilities used while moving for mandatory transitions.
Raid utility
- Agree on interrupt, purge, stun, slow and immunity rotations depending on the encounter.
- Use a combat resurrection only when the fallen player’s role is essential for the next mechanic.
Nerfs: what changed
- The boss-specific history is read in conjunction with the Icecrown Citadel raid timeline; original Wrath and Wrath Classic are kept separate.
- Numerical nerfs are only presented as confirmed when supported by patch or hotfix notes. Bug fixes are identified separately.
- Level squishes, Timewalking and changes to soloing from later expansions are outside the scope of these level 80 tactics.

Encounter 11 / 12 · Icecrown Citadel
Sindragosa
Frostwing Halls · Unchained Magic, tombs and Mystic Buffet.
Raid priorities
- Keep the raid at Sindragosa’s sides and run away after Icy Grip.
- With Unchained Magic, stop casting at the agreed Instability limit.
- Place air-phase Ice Tombs on the markers and use them as cover from Frost Bombs. Free trapped players after the final bomb.
- In phase 3, alternate boss damage with breaking line of sight behind a tomb to reset Mystic Buffet.
Before the pull
- Review tanking, healing and damage responsibilities for Sindragosa in a 10- or 25-player group.
- Mark tomb positions and assign air-phase cover, tomb damage and Buffet resets.
- Assign interrupts, dispels, crowd control and target swaps before the pull.
- Save raid and personal cooldowns for the encounter’s most dangerous phase.
Mechanics reference
Phase plan and tactic
Keep the raid at Sindragosa’s sides and run away after Icy Grip.
With Unchained Magic, stop casting at the agreed Instability limit.
Place air-phase Ice Tombs on the markers and use them as cover from Frost Bombs. Free trapped players after the final bomb.
In phase 3, alternate boss damage with breaking line of sight behind a tomb to reset Mystic Buffet.
Role notes
Tanks
- Face the boss and adds away from the raid; swap tanks when required by debuffs or phase changes.
- Tell healers in advance when you will use defensive cooldowns or make a dangerous tank swap.
Healers
- Assign tank healing, raid healing and dispels before the pull.
- Plan raid cooldowns for the largest predictable damage window and avoid unnecessary overlap.
Melee DPS
- Stay clear of frontal and rear attacks, and switch to adds as soon as they are called.
- Don't sacrifice movement or soak mechanics for damage uptime.
Ranged DPS
- Maintain the required spacing and prioritize distant adds, orbs or moving targets.
- Save abilities used while moving for mandatory transitions.
Raid utility
- Agree on interrupt, purge, stun, slow and immunity rotations depending on the encounter.
- Use a combat resurrection only when the fallen player’s role is essential for the next mechanic.
Nerfs: what changed
- The boss-specific history is read in conjunction with the Icecrown Citadel raid timeline; original Wrath and Wrath Classic are kept separate.
- Numerical nerfs are only presented as confirmed when supported by patch or hotfix notes. Bug fixes are identified separately.
- Level squishes, Timewalking and changes to soloing from later expansions are outside the scope of these level 80 tactics.

Encounter 12 / 12 · Icecrown Citadel
The Lich King
The Frozen Throne · Infest, Val’kyr, Defile and Frostmourne.
Raid priorities
- In phase 1, transfer Necrotic Plague to the adds with controlled dispels and kill each Shambling Horror before the next arrives.
- During transitions, move to the edge and focus Raging Spirits.
- In phase 2, spread for Defile but gather for Val’kyr, using stuns and slows to save carried players.
- In phase 3, avoid Vile Spirits and carry out your Frostmourne role.
- On heroic, the raid handles the Frostmourne phase together.
Before the pull
- Review tanking, healing and damage responsibilities for The Lich King in a 10- or 25-player group.
- Assign plague dispels, Spirit tanks, Val’kyr control, Defile movement and Frostmourne roles.
- Assign interrupts, dispels, crowd control and target swaps before the pull.
- Save raid and personal cooldowns for the encounter’s most dangerous phase.
Mechanics reference
Phase plan and tactic
In phase 1, transfer Necrotic Plague to the adds with controlled dispels and kill each Shambling Horror before the next arrives.
During transitions, move to the edge and focus Raging Spirits.
In phase 2, spread for Defile but gather for Val’kyr, using stuns and slows to save carried players.
In phase 3, avoid Vile Spirits and carry out your Frostmourne role.
On heroic, the raid handles the Frostmourne phase together.
Role notes
Tanks
- Face the boss and adds away from the raid; swap tanks when required by debuffs or phase changes.
- Tell healers in advance when you will use defensive cooldowns or make a dangerous tank swap.
Healers
- Assign tank healing, raid healing and dispels before the pull.
- Plan raid cooldowns for the largest predictable damage window and avoid unnecessary overlap.
Melee DPS
- Stay clear of frontal and rear attacks, and switch to adds as soon as they are called.
- Don't sacrifice movement or soak mechanics for damage uptime.
Ranged DPS
- Maintain the required spacing and prioritize distant adds, orbs or moving targets.
- Save abilities used while moving for mandatory transitions.
Raid utility
- Agree on interrupt, purge, stun, slow and immunity rotations depending on the encounter.
- Use a combat resurrection only when the fallen player’s role is essential for the next mechanic.
Nerfs: what changed
- The boss-specific history is read in conjunction with the Icecrown Citadel raid timeline; original Wrath and Wrath Classic are kept separate.
- Numerical nerfs are only presented as confirmed when supported by patch or hotfix notes. Bug fixes are identified separately.
- Level squishes, Timewalking and changes to soloing from later expansions are outside the scope of these level 80 tactics.
Sources and version scope
Boss counts, release structure and Classic availability have been checked against Blizzard’s publications. Mechanics and original patch changes are cross-checked against Warcraft Wiki encounter guides and patch histories.
- Blizzard — Icecrown Citadel is open
worldofwarcraft.blizzard.com/en-us/news/24013834 - Blizzard — Fall of the Lich King is live
worldofwarcraft.blizzard.com/en-gb/news/24013830 - Warcraft Wiki — Hellscream's Warsong
warcraft.wiki.gg/wiki/Hellscream%27s_Warsong - Warcraft Wiki — 2010 hotfix Archive
warcraft.wiki.gg/wiki/Hotfixes/2010_Archive
Updated 19 August 2026. Legacy changes from later expansions are excluded.