World of Warcraft Classic · Tier 1 · Molten Core
Molten Core tactics
Comprehensive 40-player raid guide: chronological order of bosses, role-specific instructions and documented changes from the Vanilla era separated from seasonal versions.
How to use the guides
Open a boss guide and read the quick summary and priorities first. Then review preparation, mechanics, phases and your role. The history section distinguishes Classic 1.12 mechanics from later seasonal changes.
Numerical values are not guessed. If a patch note only says that an encounter changed, the guide makes that limitation clear.
The foundation of Classic raiding
Molten Core progresses from Lucifron to Ragnaros in the established order of ten bosses. The first part tests dispels and add control, the middle part tests positioning and individual responsibility, and Ragnaros combines tank changes, Fire resistance preparation and a controlled add phase.
Quick links
Nerf-history scope
This guide covers the 1.12-based, 40-player Molten Core on Classic Era and Anniversary realms. Each boss’s history lists documented changes from the original 2004–2006 Vanilla period.
| Version | Covered by these tactics | Scope |
|---|---|---|
| Classic Era / Anniversary | Yes | The guide's target version and core 40-player mechanics. |
| Original Vanilla | As history | Only patch and hotfix changes documented in sources. |
| Season of Mastery | No | New adds and mechanics are mentioned only to clarify the scope. |
| Season of Discovery | No | The 20-player Heat levels and additional boss are a different raid version. |
The Anniversary version removes the buff and debuff limits, but the core tactics of the bosses are still Classic-based.
Molten Core in chronological order
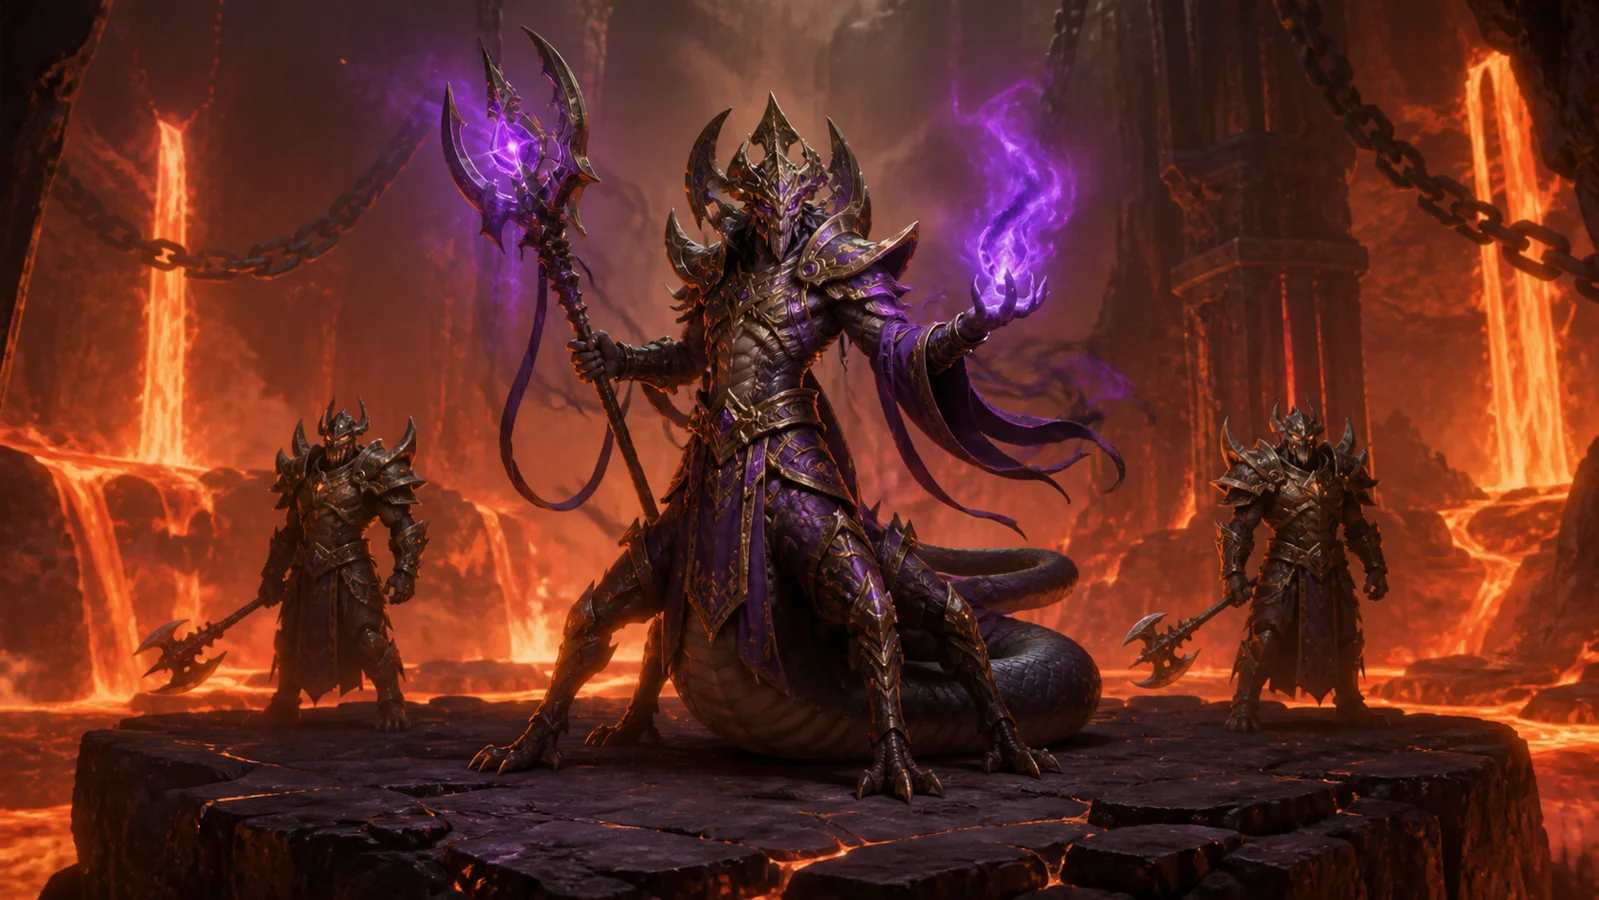
Encounter 1 / 10 · Molten Core
Lucifron
Two Protectors, mind control and two raid-wide debuffs.
Raid priorities
- Protectors' mind control and cleave are managed before going to the boss.
- Impending Doom is dispelled before the ten second explosion.
- Lucifron's Curse is removed especially from healers and tanks as it doubles the cost of abilities.
Before the pull
- Mark both Protectors and agree on the kill order.
- Distribute tanks to the boss and both adds.
- Form magic and curse dispel groups before the pull.
Mechanics reference
Phase plan and tactic
Tank the Protectors apart and kill them one at a time. Keep Lucifron off to the side.
Once the adds are dead, position the raid behind Lucifron and keep removing debuffs.
Prioritize Dominate Mind, then remove Impending Doom before it expires, followed by Lucifron’s Curse.
Role notes
Tanks
- Keep frontal attacks facing away from the raid and announce tank swaps.
- Follow the encounter's add and placement plan.
DPS
- Follow the marked kill order and stop attacking when called.
- Move out of ground effects before starting your next cast.
Healers
- Anticipate tank and raid damage spikes.
- Save mana for a long encounter and keep the agreed dispel priority.
Utility
- Use interrupts, dispels and controls according to a pre-arranged rotation.
Nerfs: what changed
- Classic Era and Anniversary use 1.12 based encounter; there is no identified Lucifron numerical nerf in the original Vanilla patch notes.
- Season of Mastery's four Protectors and other seasonal changes are not part of this tactic.

Encounter 2 / 10 · Molten Core
Magmadar
Frenzy, raid fear and Lava Bombs that fall to the ground.
Raid priorities
- Hunters maintain a reliable Tranquilizing Shot rotation with backup coverage.
- Melee stays on the hind legs and away from the front cone.
- Ranged does not stack Lava Bomb areas under the raid.
Before the pull
- Make sure the assigned hunters have learned Tranquilizing Shot from Lucifron's drop.
- Assign a Tranquilizing Shot rotation and a backup hunter.
- Leave room for the ranged to spread throughout the room.
Mechanics reference
Phase plan and tactic
The tank holds the boss in place and turns his head towards the wall; melee hits from behind.
A hunter uses Tranquilizing Shot as soon as Frenzy appears; the next hunter is ready to cover a miss.
Ranged players sidestep the fire while keeping movement lanes clear.
Role notes
Tanks
- Keep frontal attacks facing away from the raid and announce tank swaps.
- Follow the encounter's add and placement plan.
DPS
- Follow the marked kill order and stop attacking when called.
- Move out of ground effects before starting your next cast.
Healers
- Anticipate tank and raid damage spikes.
- Save mana for a long encounter and keep the agreed dispel priority.
Utility
- Use interrupts, dispels and controls according to a pre-arranged rotation.
Nerfs: what changed
- Patch 1.8 added Core Leather to Magmadar's skinning, but did not change the battle difficulty.
- In Classic 1.12, the core tactics are the same: Frenzy, Panic and Lava Bomb determine success.
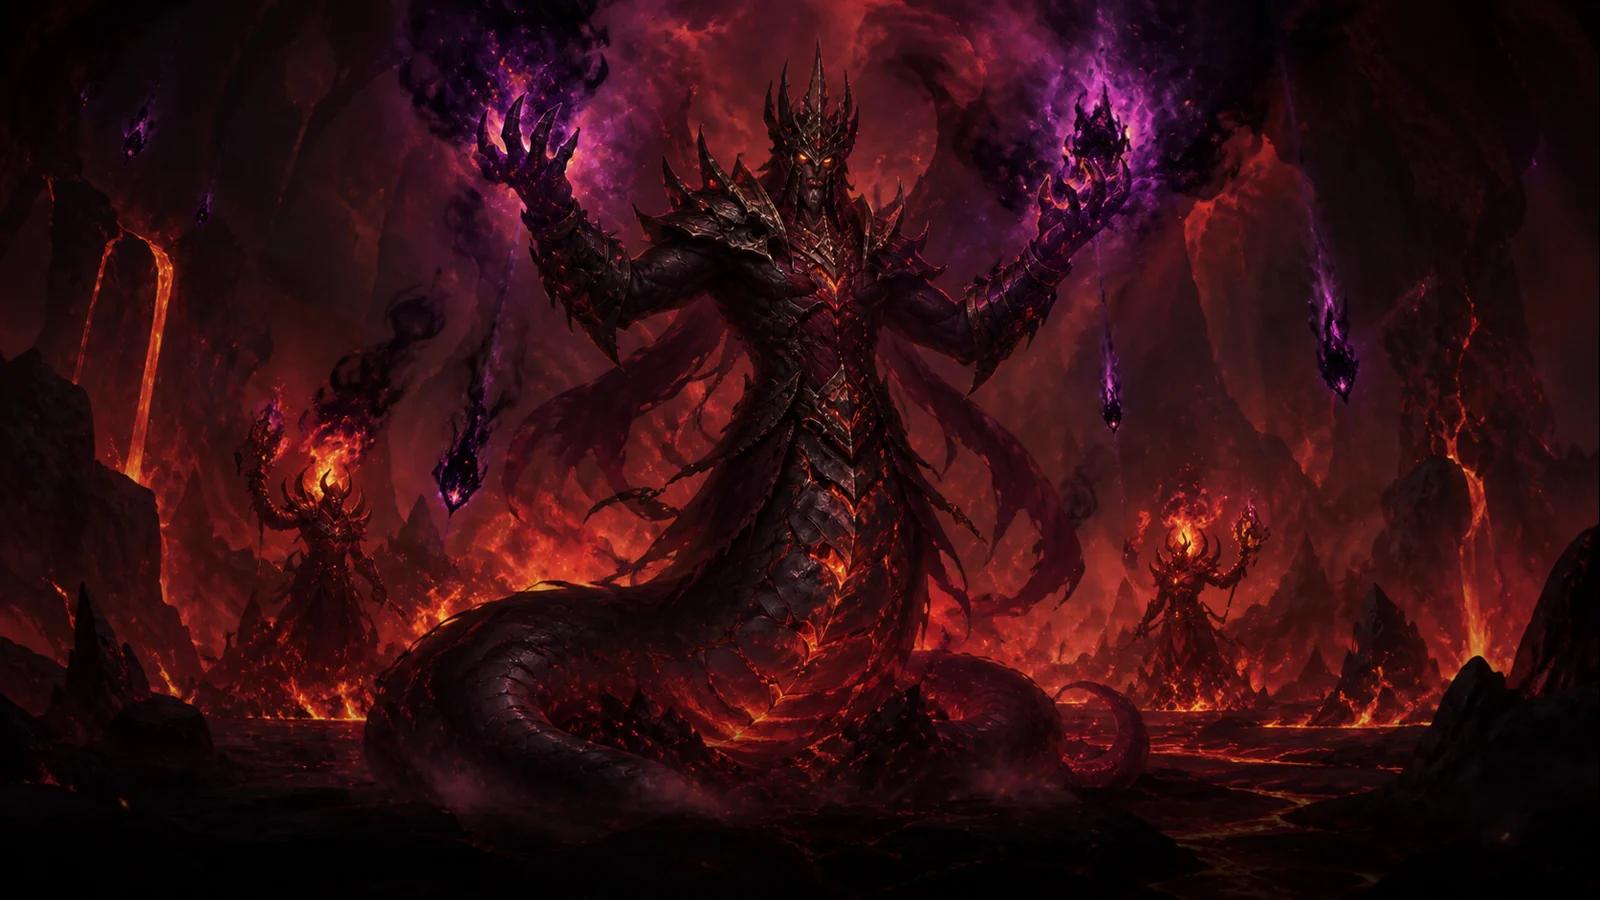
Encounter 3 / 10 · Molten Core
Gehennas
Two guards, a healing-reduction curse and Rain of Fire.
Raid priorities
- Guards die in a controlled manner one at a time.
- Healing reduction curse must not remain on the tank.
- Move out of Rain of Fire immediately without breaking up the raid.
Before the pull
- Mark the guards and assign a tank to each one.
- Prioritize tanks when assigning curse dispels.
- Pull the group into an open area with room to move out of Rain of Fire.
Mechanics reference
Phase plan and tactic
Separate the boss and guards so that cleaves don't hit the same group.
Kill the marked guard, switch to another and keep Gehennas in check.
Focus DPS on the boss, avoid fire and keep the curse off the tank.
Role notes
Tanks
- Keep frontal attacks facing away from the raid and announce tank swaps.
- Follow the encounter's add and placement plan.
DPS
- Follow the marked kill order and stop attacking when called.
- Move out of ground effects before starting your next cast.
Healers
- Anticipate tank and raid damage spikes.
- Save mana for a long encounter and keep the agreed dispel priority.
Utility
- Use interrupts, dispels and controls according to a pre-arranged rotation.
Nerfs: what changed
- The original Vanilla patch notes do not have a unique numerical nerf for Gehennas before 1.12.
- The new mechanics of the season editions are not part of the Classic Era / Anniversary guide.

Encounter 4 / 10 · Molten Core
Garr
Eight Firesworn, banish control and adds' bursts.
Raid priorities
- Before the pull, assign every Firesworn a tank, a Banish or a place in the kill order.
- Stagger add deaths so their Eruption explosions do not overlap.
- Expect Garr to remove magic buffs; do not make the strategy depend on keeping them.
Before the pull
- Mark all eight adds and assign a tank or warlock to each.
- Agree on who refreshes each Banish and the kill order for released adds.
- Leave room for dying adds on the outer edge of the raid.
Mechanics reference
Phase plan and tactic
Tanks and warlocks pick up their assigned adds. The raid waits until control is stable before dealing damage.
Kill one Firesworn at a time at a safe edge and wait for the raid to stabilize between bursts.
When the adds are gone, tank Garr centrally and finish the encounter.
Role notes
Tanks
- Keep frontal attacks facing away from the raid and announce tank swaps.
- Follow the encounter's add and placement plan.
DPS
- Follow the marked kill order and stop attacking when called.
- Move out of ground effects before starting your next cast.
Healers
- Anticipate tank and raid damage spikes.
- Save mana for a long encounter and keep the agreed dispel priority.
Utility
- Use interrupts, dispels and controls according to a pre-arranged rotation.
Nerfs: what changed
- Patch 1.4 changed the instance so that Lava Surgers no longer respawn after Garr's death; the change made the raid environment easier, not the core boss fight.
- Additional mechanics from Season of Mastery are not part of the add plan for this Classic 1.12 guide.

Encounter 5 / 10 · Molten Core
Baron Geddon
Inferno, Mana Burn and Living Bomb require careful spacing.
Raid priorities
- Do not let Living Bomb explode among the raid.
- Melee exits every Inferno in time.
- Healers conserve mana and respond to Ignite Mana.
Before the pull
- Clear a wide battle area without patrols.
- Agree on Living Bomb exit directions and a clear call.
- Place the ranged and healers in an open ring.
Mechanics reference
Phase plan and tactic
The tank brings Geddon into the open and the rest of the raid forms a loose perimeter.
Melee runs out of Inferno; Living Bomb immediately moves outside the raid.
Save cooldowns for the last few percent of health and keep following the Living Bomb plan until the boss dies.
Role notes
Tanks
- Keep frontal attacks facing away from the raid and announce tank swaps.
- Follow the encounter's add and placement plan.
DPS
- Follow the marked kill order and stop attacking when called.
- Move out of ground effects before starting your next cast.
Healers
- Anticipate tank and raid damage spikes.
- Save mana for a long encounter and keep the agreed dispel priority.
Utility
- Use interrupts, dispels and controls according to a pre-arranged rotation.
Nerfs: what changed
- The original Vanilla patch notes do not document a specific numerical nerf to Baron Geddon that supports a reliable before-and-after comparison.
- Season of Discovery's Heat-level changes to Armageddon and Living Bomb belong to a different version of the encounter and are not covered here.
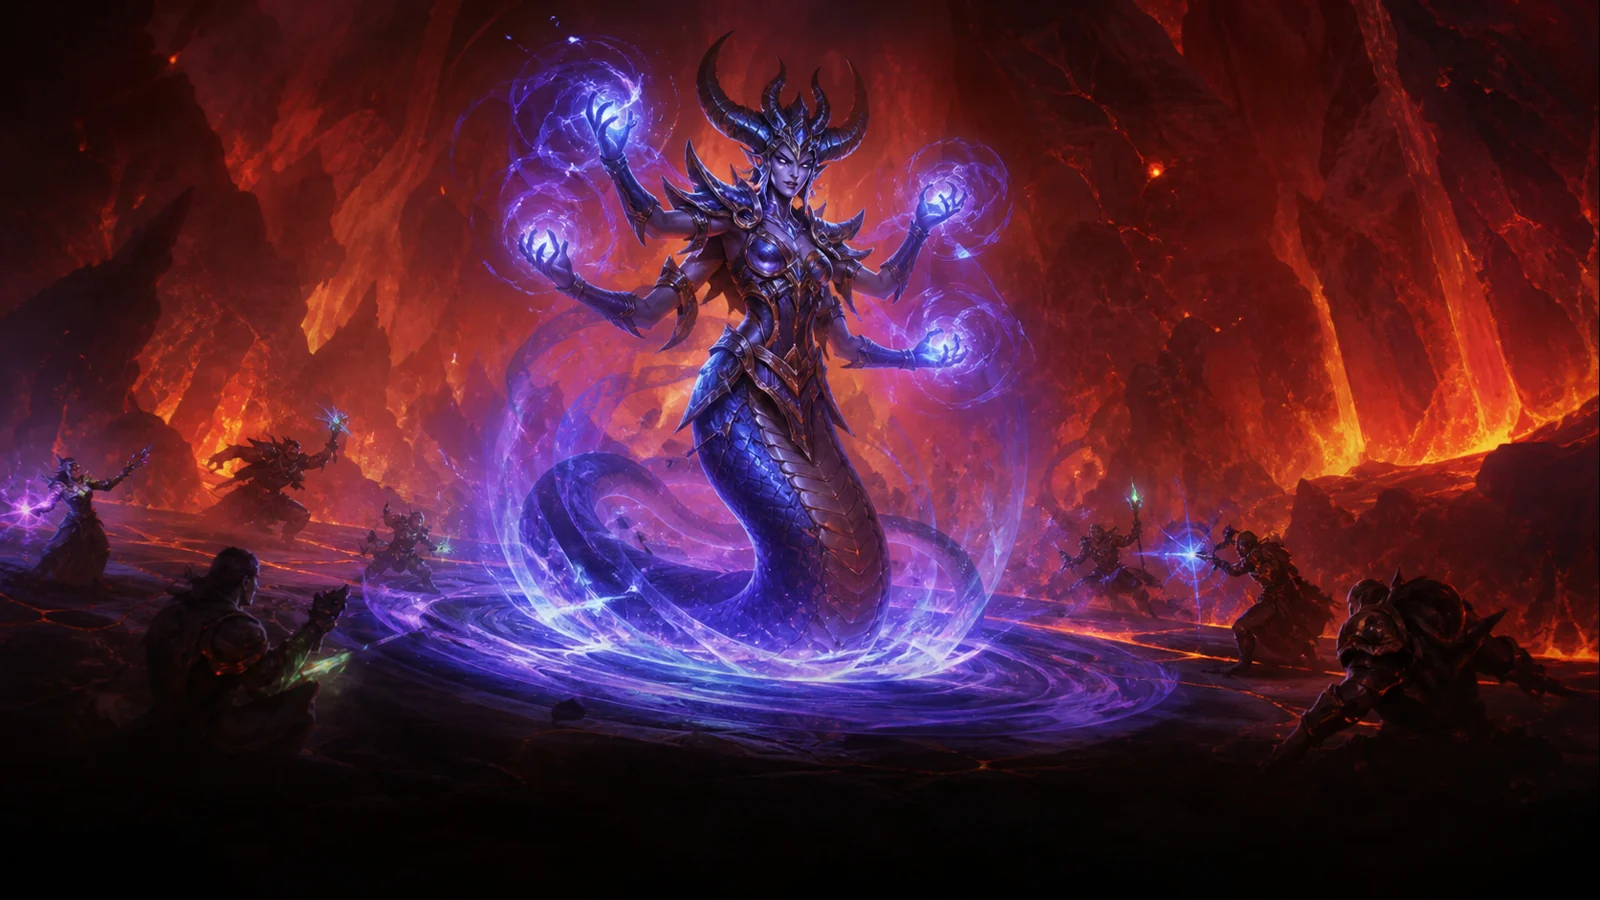
Encounter 6 / 10 · Molten Core
Shazzrah
Teleport, Arcane Explosion and a dispellable defensive buff.
Raid priorities
- Players clear the teleport landing area while the tank immediately regains control.
- Deaden Magic is removed by purge or dispel.
- Shazzrah's Curse is removed to prevent Arcane damage from increasing.
Before the pull
- Set ranged in a wide circle.
- Assign a player to purge or dispel Deaden Magic.
- Agree that melee players stop attacking during each teleport.
Mechanics reference
Phase plan and tactic
Spread ranged and keep melee just to the safe side of the boss.
After Shazzrah teleports, the tank follows, restores positioning and calls for DPS to resume.
Quickly remove Deaden Magic from the boss and Shazzrah’s Curse from players throughout the fight.
Role notes
Tanks
- Keep frontal attacks facing away from the raid and announce tank swaps.
- Follow the encounter's add and placement plan.
DPS
- Follow the marked kill order and stop attacking when called.
- Move out of ground effects before starting your next cast.
Healers
- Anticipate tank and raid damage spikes.
- Save mana for a long encounter and keep the agreed dispel priority.
Utility
- Use interrupts, dispels and controls according to a pre-arranged rotation.
Nerfs: what changed
- Patch 1.4 states that the Shazzrah encounter changed but does not specify numerical or mechanical details. A particular nerf therefore cannot be established from that note.
- The guide describes the established behavior of the 1.12-based Classic version.
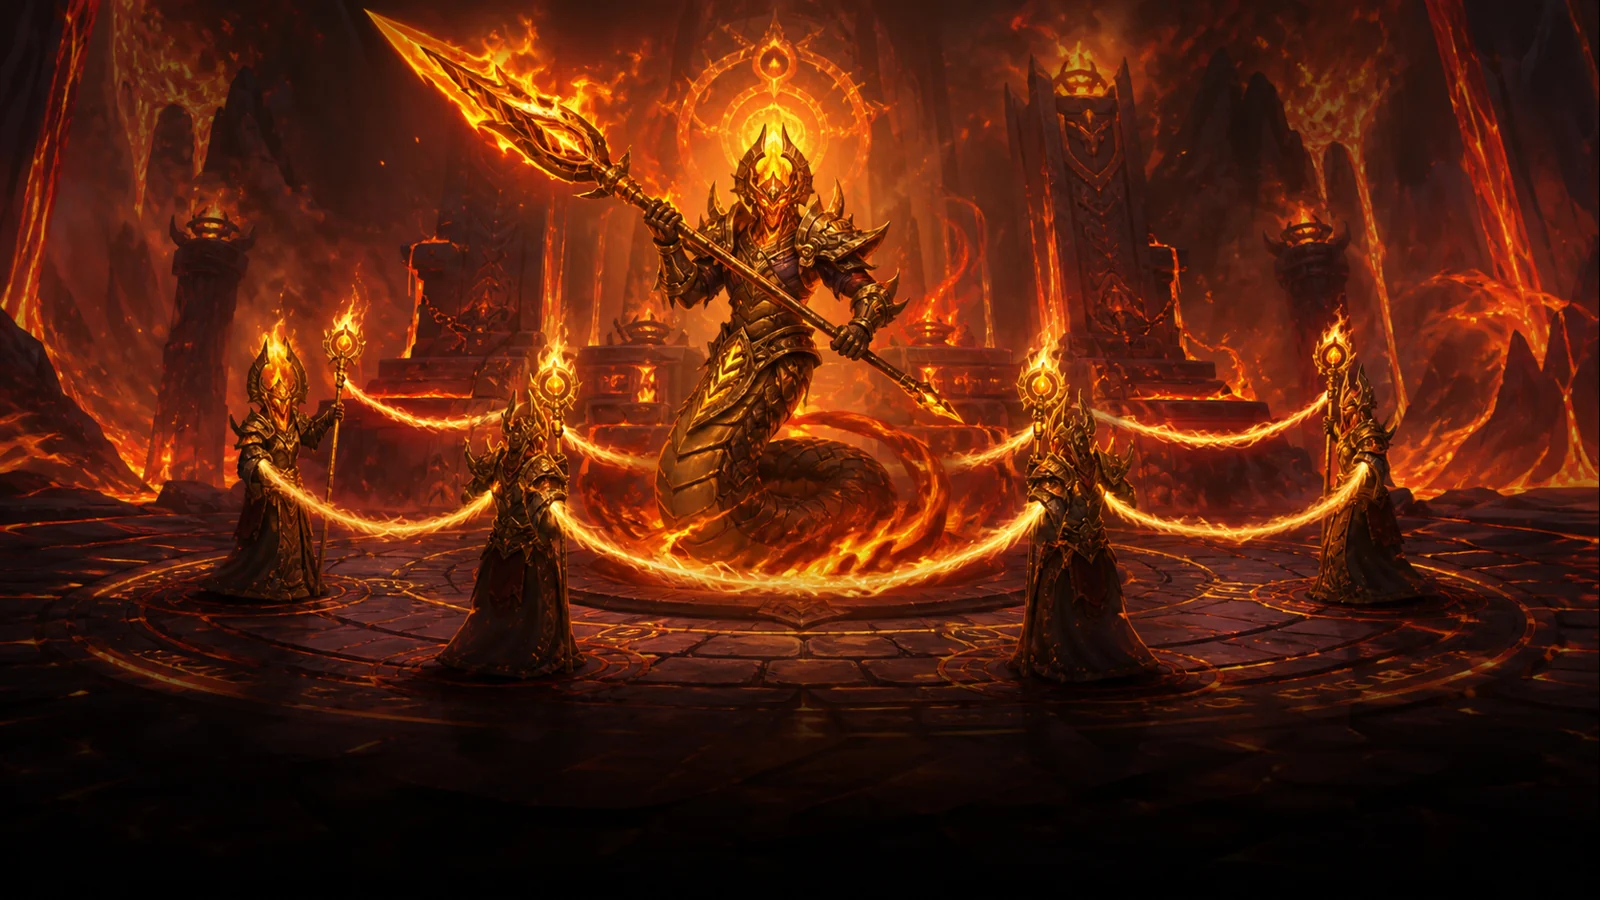
Encounter 7 / 10 · Molten Core
Sulfuron Harbinger
Four Flamewaker Priests whose healing must be interrupted.
Raid priorities
- Dark Mending must not go through.
- Focus damage on the marked Priest.
- Sulfuron stays separate from the add group and off the front of the raid.
Before the pull
- Mark all four Priests and assign each a tank.
- Build an uninterrupted interrupt rotation for the current kill target.
- Assign magic dispels for Shadow Word: Pain.
Mechanics reference
Phase plan and tactic
Tank Sulfuron to the side and place the Priests separately, keeping their frontal attacks from overlapping.
Kill one marked add at a time and rotate interrupts on Dark Mending.
Once the adds are dead, focus the raid on Sulfuron and keep melee players ready for knockbacks.
Role notes
Tanks
- Keep frontal attacks facing away from the raid and announce tank swaps.
- Follow the encounter's add and placement plan.
DPS
- Follow the marked kill order and stop attacking when called.
- Move out of ground effects before starting your next cast.
Healers
- Anticipate tank and raid damage spikes.
- Save mana for a long encounter and keep the agreed dispel priority.
Utility
- Use interrupts, dispels and controls according to a pre-arranged rotation.
Nerfs: what changed
- There is no unique Sulfuron pre/post numerical nerf found in the original Vanilla patch notes.
- Classic 1.12 encounter difficulty still depends primarily on adds' separation and heal interruptions.

Encounter 8 / 10 · Molten Core
Golemagg the Incinerator
Two immortal Core Ragers, Magma Splash and a dangerous execute phase.
Raid priorities
- Ragers stay on off-tanks and don't go through the raid.
- Track Magma Splash stacks on the main tank and increase healing as the damage rises.
- Save defensive and damage cooldowns for the final few percent of health.
Before the pull
- Name the main tank and the two Rager tanks.
- Place the Ragers on different sides of the boss away from the raid.
- Plan cooldowns for the final phase and a tank swap if needed.
Mechanics reference
Phase plan and tactic
The main tank keeps Golemagg in the center while off-tanks take the Ragers to the sides.
All DPS is on the boss, healers maintain three tanks, and the raid heals Pyroblasts.
Use your available Classic damage cooldowns, defensives and consumables to finish Golemagg. Do not switch to a Core Rager.
Role notes
Tanks
- Keep frontal attacks facing away from the raid and announce tank swaps.
- Follow the encounter's add and placement plan.
DPS
- Follow the marked kill order and stop attacking when called.
- Move out of ground effects before starting your next cast.
Healers
- Anticipate tank and raid damage spikes.
- Save mana for a long encounter and keep the agreed dispel priority.
Utility
- Use interrupts, dispels and controls according to a pre-arranged rotation.
Nerfs: what changed
- Patch 1.4 announced changes to Golemagg without giving numerical details. The guide does not invent before-and-after values.
- Classic guide uses a 1.12 based mode where Ragers are controlled and Golemagg is killed first.
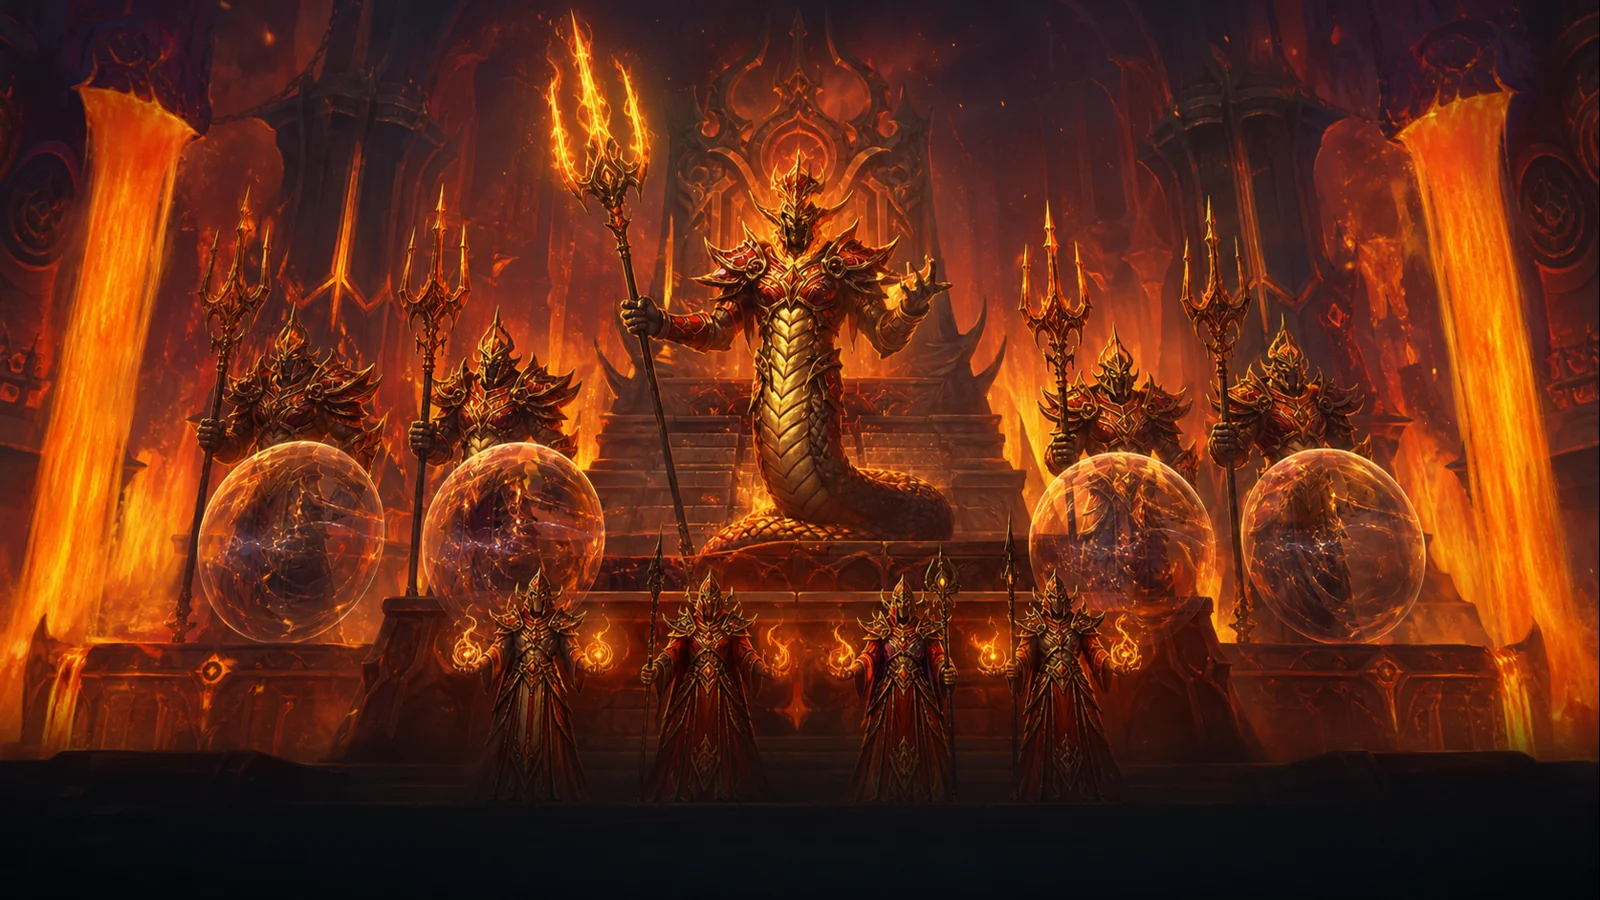
Encounter 9 / 10 · Molten Core
Majordomo Executus
An encounter built around controlling eight adds; Executus is not killed.
Raid priorities
- Each of the eight adds has a tank, polymorph, or clear kill order.
- Interrupt or crowd-control the Healers to stop their healing.
- Adjust physical and spell damage to the active damage-reflection shields.
Before the pull
- Mark four Elites and four Healers with separate marks.
- Assign a mage to each Polymorph target and a backup in case of resists.
- Agree on Elite/Healer kill order based on raid tank count.
Mechanics reference
Phase plan and tactic
Polymorph the assigned Healers and have each tank collect their Elite.
Kill one target at a time, refresh crowd control immediately and adjust your attacks to the active shields.
When the eighth add dies, Executus surrenders and moves to summon Ragnaros.
Role notes
Tanks
- Keep frontal attacks facing away from the raid and announce tank swaps.
- Follow the encounter's add and placement plan.
DPS
- Follow the marked kill order and stop attacking when called.
- Move out of ground effects before starting your next cast.
Healers
- Anticipate tank and raid damage spikes.
- Save mana for a long encounter and keep the agreed dispel priority.
Utility
- Use interrupts, dispels and controls according to a pre-arranged rotation.
Nerfs: what changed
- Patch 1.4 made it harder to leave combat during Molten Core boss fights, closing older recovery exploits.
- Patch 1.6 increased Majordomo's chest epic quest item drop to 100%; this was a loot change, not a combat nerf.
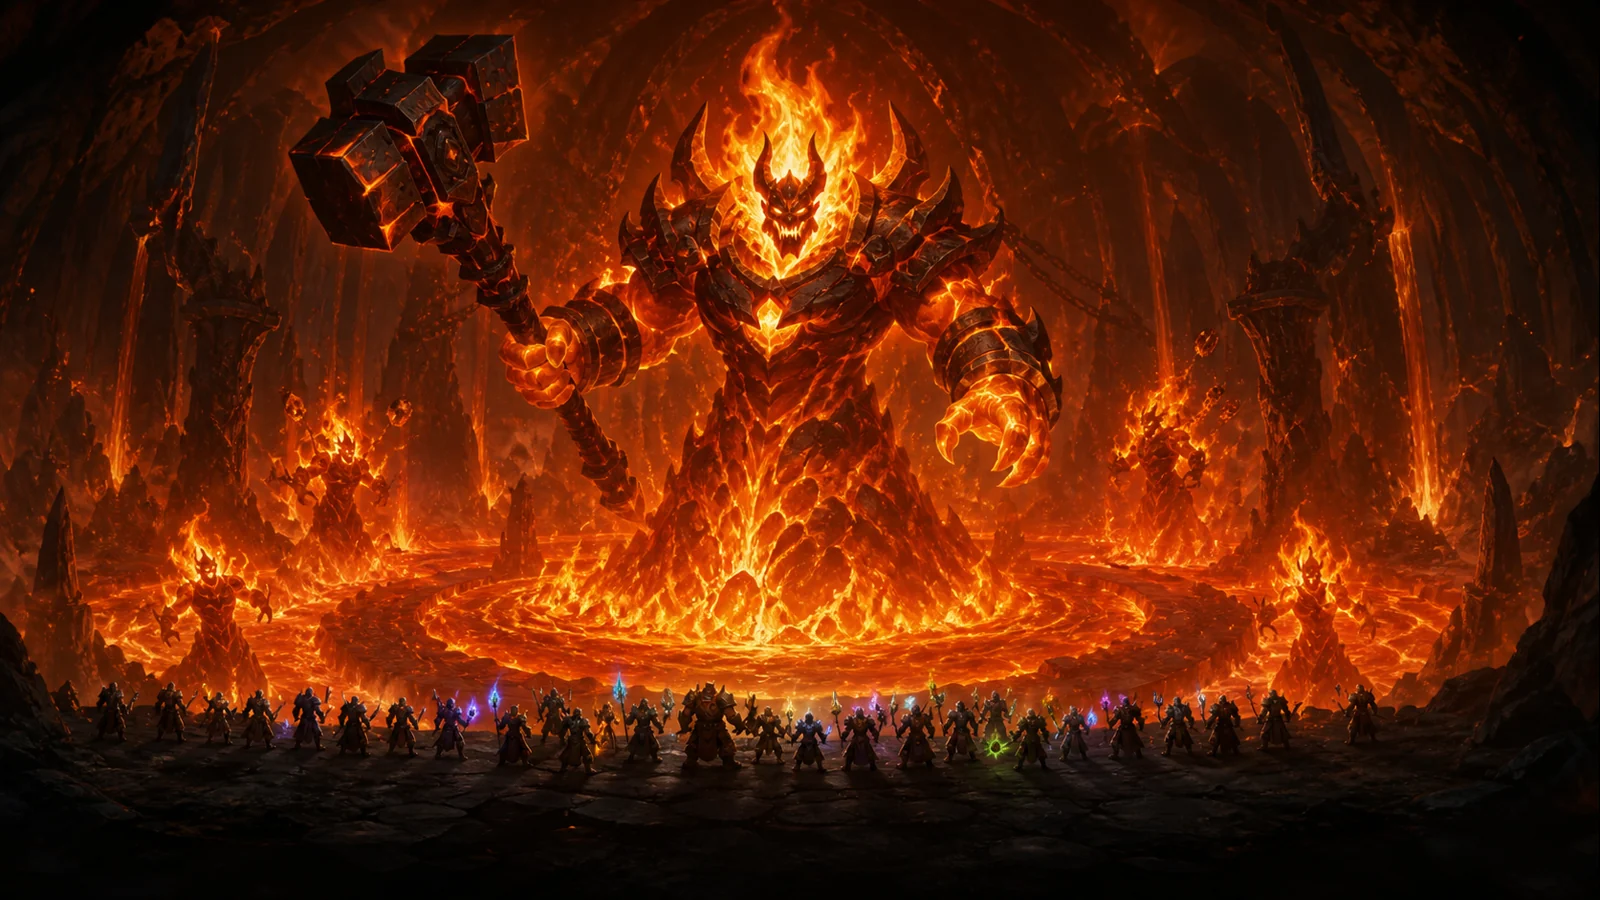
Encounter 10 / 10 · Molten Core
Ragnaros
Fire resistance, knockbacks and Sons of Flame submerge.
Raid priorities
- Main tank does not fly into lava; backup tank takes boss after Wrath.
- Melee players move out for Wrath of Ragnaros on the raid leader’s timed call.
- Sons of Flame are slowed, stunned, and killed before draining the healers' mana.
Before the pull
- Distribute the raid to the safe rock spots in the circle and mark the tank points.
- Agree on Wrath timing, the tank swap and when melee players move out.
- Assign Sons of Flame groups, crowd control and kill targets before the pull.
Mechanics reference
Phase plan and tactic
The main tank builds threat, melee players time their move out for Wrath, and ranged players spread out while staying within healing range.
Gather the Sons under control, use stuns and slows, and kill them in the assigned order.
The tank is in position before Ragnaros resurfaces. Everyone returns to their starting position and uses their remaining cooldowns.
Role notes
Tanks
- Keep frontal attacks facing away from the raid and announce tank swaps.
- Follow the encounter's add and placement plan.
DPS
- Follow the marked kill order and stop attacking when called.
- Move out of ground effects before starting your next cast.
Healers
- Anticipate tank and raid damage spikes.
- Save mana for a long encounter and keep the agreed dispel priority.
Utility
- Use interrupts, dispels and controls according to a pre-arranged rotation.
Nerfs: what changed
- Patch 1.5 made the platform eruptions occur only during combat with Ragnaros. They became less frequent, dealt less damage and could be resisted: an environmental nerf.
- After Patch 1.6, Ragnaros submerged too frequently because of a bug. A hotfix on 12 July 2005 corrected it; this was not an intended difficulty variant.
Sources and limits of the evidence
The version covered is based on Blizzard’s Anniversary and Classic announcements. Boss order, mechanics and historical patch entries were checked against Warcraft Wiki’s raid, boss and patch documentation. Seasonal changes are kept separate.
- Blizzard — 20th Anniversary: Molten Core and Onyxia's Lair now live
worldofwarcraft.blizzard.com - Blizzard — WoW Classic patch 1.15.5
us.forums.blizzard.com - Warcraft Wiki — Molten Core
warcraft.wiki.gg/wiki/Molten_Core - Warcraft Wiki — Classic raid instance bosses
warcraft.wiki.gg/wiki/Classic_raid_instance_bosses - Warcraft Wiki — Patch 1.4.0
warcraft.wiki.gg/wiki/Patch_1.4.0 - Warcraft Wiki — Patch 1.5.0
warcraft.wiki.gg/wiki/Patch_1.5.0 - Warcraft Wiki — Patch 1.6.0
warcraft.wiki.gg/wiki/Patch_1.6.0 - Warcraft Wiki — Ragnaros Tactics
warcraft.wiki.gg/wiki/Ragnaros_(tactics)
When the historical patch note doesn't detail change numbers or exact mechanics, the guide doesn't fill the gap with community memory. Updated 8/18/2026.