Mists of Pandaria Classic · Tier 14 · Raid
Heart of Fear: encounter overview
An encounter list with brief reminders for selected mechanics.
How to use this page
This page covers selected mechanics, not every phase or difficulty-specific role assignment. Check the Encounter Journal for your difficulty before the pull.
Updated 2026-09-05. Mists of Pandaria Classic.
Heart of Fear: encounter overview
Heart of Fear: 6 encounters, from Imperial Vizier Zor’lok to Grand Empress Shek’zeer, with selected mechanic reminders for Mists of Pandaria Classic.
Quick links
Version and scope
This page covers selected mechanics, not every phase or difficulty-specific role assignment. Check the Encounter Journal for your difficulty before the pull.
Blizzard announcements provide content and release context; they do not establish every tactic on this page. Separate Encounter Journal links support the clarified mechanics.
Heart of Fear · Bosses
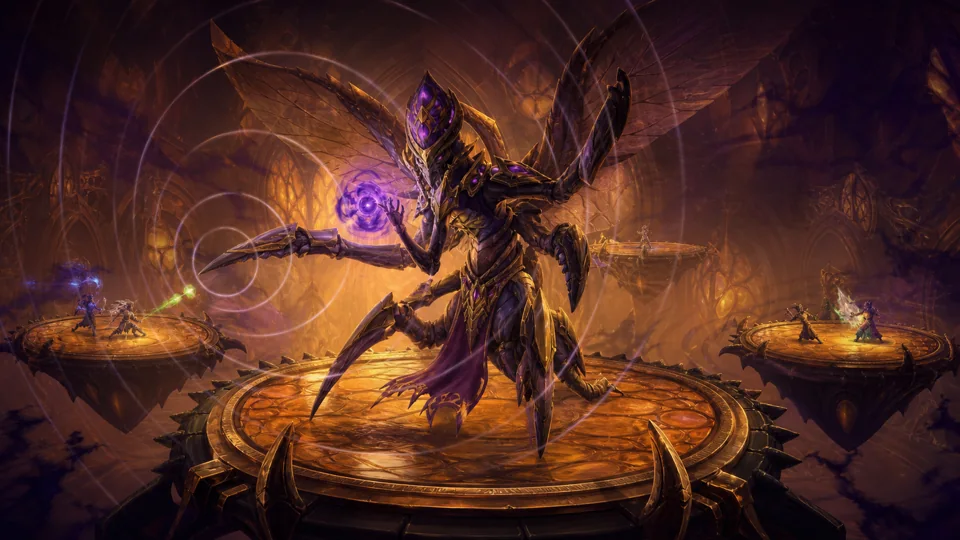
Encounter 1 / 6 · Heart of Fear
Imperial Vizier Zor’lok
Exhale: An assigned durable player stands between Zor’lok and the Exhale target: the beam hits the first intervening player rather than splitting across a group. Healers watch both the target and the interceptor. Attenuation: Move through gaps in the spiralling sonic rings. On Heroic, dodge the additional Sonic Pulses as well; simply following the boss does not avoid them. Convert: Deal controlled damage to mind-controlled players until they reach 50% health and Convert ends. Stop then; do not kill your raid members.
Raid priorities
- Exhale: An assigned durable player stands between Zor’lok and the Exhale target: the beam hits the first intervening player rather than splitting across a group. Healers watch both the target and the interceptor.
- Attenuation: Move through gaps in the spiralling sonic rings. On Heroic, dodge the additional Sonic Pulses as well; simply following the boss does not avoid them.
- Convert: Deal controlled damage to mind-controlled players until they reach 50% health and Convert ends. Stop then; do not kill your raid members.
Before the pull
- Assign roles and movement for this encounter and difficulty.
- Confirm which abilities can be interrupted and which effects can be dispelled.
Mechanics reference
Phase plan and tactic
An assigned durable player stands between Zor’lok and the Exhale target: the beam hits the first intervening player rather than splitting across a group. Healers watch both the target and the interceptor.
Move through gaps in the spiralling sonic rings. On Heroic, dodge the additional Sonic Pulses as well; simply following the boss does not avoid them.
Deal controlled damage to mind-controlled players until they reach 50% health and Convert ends. Stop then; do not kill your raid members.
Role notes
Tanks
- Follow the encounter-specific tanking and movement plan; this general reminder does not define tank swaps.
- An assigned durable player stands between Zor’lok and the Exhale target: the beam hits the first intervening player rather than splitting across a group. Healers watch both the target and the interceptor.
- Move through gaps in the spiralling sonic rings. On Heroic, dodge the additional Sonic Pulses as well; simply following the boss does not avoid them.
Healers
- Assign healing and defensives. Do not assume that every boss effect can be dispelled.
- An assigned durable player stands between Zor’lok and the Exhale target: the beam hits the first intervening player rather than splitting across a group. Healers watch both the target and the interceptor.
- Move through gaps in the spiralling sonic rings. On Heroic, dodge the additional Sonic Pulses as well; simply following the boss does not avoid them.
DPS
- Follow this encounter’s target priorities. Interrupt only abilities confirmed to be interruptible.
- Deal controlled damage to mind-controlled players until they reach 50% health and Convert ends. Stop then; do not kill your raid members.
- Move through gaps in the spiralling sonic rings. On Heroic, dodge the additional Sonic Pulses as well; simply following the boss does not avoid them.
Nerfs: what changed
- A separately sourced nerf or hotfix history is not yet provided for this encounter.
- Updated 2026-09-05.

Encounter 2 / 6 · Heart of Fear
Blade Lord Ta’yak
Unseen Strike: Stack with the marked player in the strike’s frontal cone to share Unseen Strike. Standing at a separate raid marker does not help if the target and cone are elsewhere. Wind Step: Keep eight yards from other players except when stacking for Unseen Strike: Ta’yak’s leap applies a bleed to the target and nearby players. Healers sustain the bleeding targets. Storm Unleashed: When the final storm carries the raid to one end of the hall, advance toward Ta’yak at the opposite end while dodging oncoming tornadoes. Being caught carries you off course; healers cover the ongoing raid damage.
Raid priorities
- Unseen Strike: Stack with the marked player in the strike’s frontal cone to share Unseen Strike. Standing at a separate raid marker does not help if the target and cone are elsewhere.
- Wind Step: Keep eight yards from other players except when stacking for Unseen Strike: Ta’yak’s leap applies a bleed to the target and nearby players. Healers sustain the bleeding targets.
- Storm Unleashed: When the final storm carries the raid to one end of the hall, advance toward Ta’yak at the opposite end while dodging oncoming tornadoes. Being caught carries you off course; healers cover the ongoing raid damage.
Before the pull
- Assign roles and movement for this encounter and difficulty.
- Confirm which abilities can be interrupted and which effects can be dispelled.
Mechanics reference
Phase plan and tactic
Stack with the marked player in the strike’s frontal cone to share Unseen Strike. Standing at a separate raid marker does not help if the target and cone are elsewhere.
Keep eight yards from other players except when stacking for Unseen Strike: Ta’yak’s leap applies a bleed to the target and nearby players. Healers sustain the bleeding targets.
When the final storm carries the raid to one end of the hall, advance toward Ta’yak at the opposite end while dodging oncoming tornadoes. Being caught carries you off course; healers cover the ongoing raid damage.
Role notes
Tanks
- Follow the encounter-specific tanking and movement plan; this general reminder does not define tank swaps.
- Stack with the marked player in the strike’s frontal cone to share Unseen Strike. Standing at a separate raid marker does not help if the target and cone are elsewhere.
- When the final storm carries the raid to one end of the hall, advance toward Ta’yak at the opposite end while dodging oncoming tornadoes. Being caught carries you off course; healers cover the ongoing raid damage.
Healers
- Assign healing and defensives. Do not assume that every boss effect can be dispelled.
- Stack with the marked player in the strike’s frontal cone to share Unseen Strike. Standing at a separate raid marker does not help if the target and cone are elsewhere.
- Keep eight yards from other players except when stacking for Unseen Strike: Ta’yak’s leap applies a bleed to the target and nearby players. Healers sustain the bleeding targets.
- When the final storm carries the raid to one end of the hall, advance toward Ta’yak at the opposite end while dodging oncoming tornadoes. Being caught carries you off course; healers cover the ongoing raid damage.
DPS
- Follow this encounter’s target priorities. Interrupt only abilities confirmed to be interruptible.
- Stack with the marked player in the strike’s frontal cone to share Unseen Strike. Standing at a separate raid marker does not help if the target and cone are elsewhere.
- Keep eight yards from other players except when stacking for Unseen Strike: Ta’yak’s leap applies a bleed to the target and nearby players. Healers sustain the bleeding targets.
- When the final storm carries the raid to one end of the hall, advance toward Ta’yak at the opposite end while dodging oncoming tornadoes. Being caught carries you off course; healers cover the ongoing raid damage.
Nerfs: what changed
- A separately sourced nerf or hotfix history is not yet provided for this encounter.
- Updated 2026-09-05.
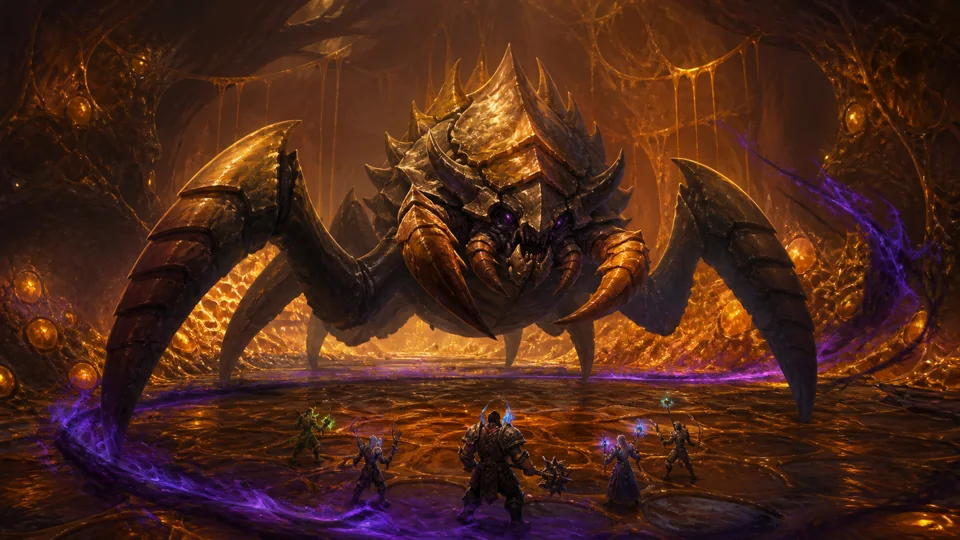
Encounter 3 / 6 · Heart of Fear
Garalon
Pheromones: Assign carriers and deliberate close-range handoffs for Pheromones. The carrier guides the following Garalon while keeping damaging trails off travel routes. In Heroic’s Damaged final phase, Garalon stops following Pheromones and must be tanked normally. Crush: Stay out from under Garalon’s body: entering beneath him triggers Crush and is especially dangerous there. On Normal, a Pheromones handoff also triggers it; on Heroic, Crush is periodic. Healers plan defensives for the raid-wide hit, which spreading does not prevent. Legs: Attack a leg from its own Weak Point area without stepping under the body. Breaking a leg damages and slows Garalon; Mend Leg restores legs later. The proximity bonus applies to that leg, not every target.
Raid priorities
- Pheromones: Assign carriers and deliberate close-range handoffs for Pheromones. The carrier guides the following Garalon while keeping damaging trails off travel routes. In Heroic’s Damaged final phase, Garalon stops following Pheromones and must be tanked normally.
- Crush: Stay out from under Garalon’s body: entering beneath him triggers Crush and is especially dangerous there. On Normal, a Pheromones handoff also triggers it; on Heroic, Crush is periodic. Healers plan defensives for the raid-wide hit, which spreading does not prevent.
- Legs: Attack a leg from its own Weak Point area without stepping under the body. Breaking a leg damages and slows Garalon; Mend Leg restores legs later. The proximity bonus applies to that leg, not every target.
Before the pull
- Assign roles and movement for this encounter and difficulty.
- Confirm which abilities can be interrupted and which effects can be dispelled.
Mechanics reference
Phase plan and tactic
Assign carriers and deliberate close-range handoffs for Pheromones. The carrier guides the following Garalon while keeping damaging trails off travel routes. In Heroic’s Damaged final phase, Garalon stops following Pheromones and must be tanked normally.
Stay out from under Garalon’s body: entering beneath him triggers Crush and is especially dangerous there. On Normal, a Pheromones handoff also triggers it; on Heroic, Crush is periodic. Healers plan defensives for the raid-wide hit, which spreading does not prevent.
Attack a leg from its own Weak Point area without stepping under the body. Breaking a leg damages and slows Garalon; Mend Leg restores legs later. The proximity bonus applies to that leg, not every target.
Role notes
Tanks
- Follow the encounter-specific tanking and movement plan; this general reminder does not define tank swaps.
- Assign carriers and deliberate close-range handoffs for Pheromones. The carrier guides the following Garalon while keeping damaging trails off travel routes. In Heroic’s Damaged final phase, Garalon stops following Pheromones and must be tanked normally.
- Stay out from under Garalon’s body: entering beneath him triggers Crush and is especially dangerous there. On Normal, a Pheromones handoff also triggers it; on Heroic, Crush is periodic. Healers plan defensives for the raid-wide hit, which spreading does not prevent.
Healers
- Assign healing and defensives. Do not assume that every boss effect can be dispelled.
- Assign carriers and deliberate close-range handoffs for Pheromones. The carrier guides the following Garalon while keeping damaging trails off travel routes. In Heroic’s Damaged final phase, Garalon stops following Pheromones and must be tanked normally.
- Stay out from under Garalon’s body: entering beneath him triggers Crush and is especially dangerous there. On Normal, a Pheromones handoff also triggers it; on Heroic, Crush is periodic. Healers plan defensives for the raid-wide hit, which spreading does not prevent.
DPS
- Follow this encounter’s target priorities. Interrupt only abilities confirmed to be interruptible.
- Assign carriers and deliberate close-range handoffs for Pheromones. The carrier guides the following Garalon while keeping damaging trails off travel routes. In Heroic’s Damaged final phase, Garalon stops following Pheromones and must be tanked normally.
- Stay out from under Garalon’s body: entering beneath him triggers Crush and is especially dangerous there. On Normal, a Pheromones handoff also triggers it; on Heroic, Crush is periodic. Healers plan defensives for the raid-wide hit, which spreading does not prevent.
- Attack a leg from its own Weak Point area without stepping under the body. Breaking a leg damages and slows Garalon; Mend Leg restores legs later. The proximity bonus applies to that leg, not every target.
Nerfs: what changed
- A separately sourced nerf or hotfix history is not yet provided for this encounter.
- Updated 2026-09-05.
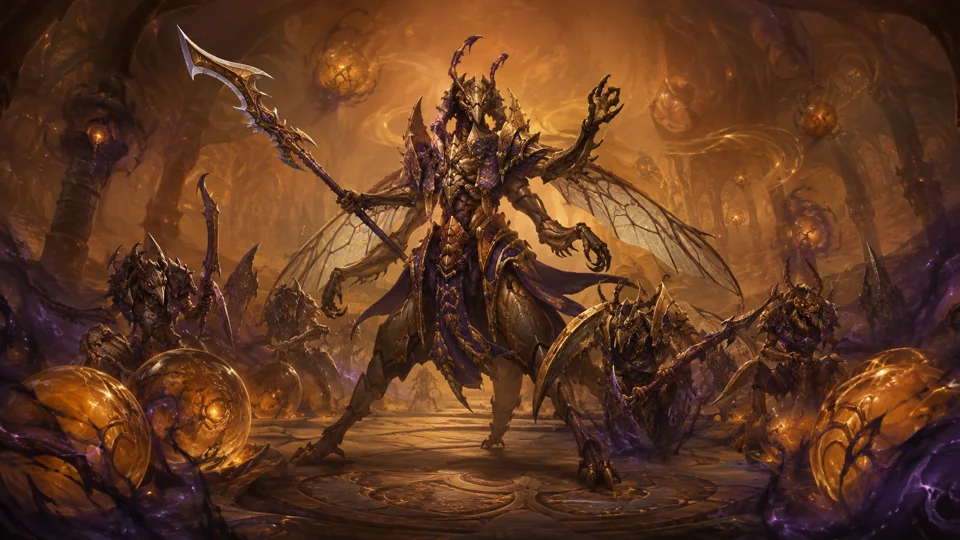
Encounter 4 / 6 · Heart of Fear
Wind Lord Mel’jarak
Wind Bomb: Leave the bomb’s landing area and do not approach it once armed: a nearby player triggers a raid-wide explosion. Preserve safe travel lanes because the bombs remain on the field. Recklessness: An add group's death increases Mel'jarak's damage dealt and taken. Use the boss's vulnerability while preparing defensives for the increased damage. On Normal the effect stacks for the rest of the fight; on Heroic the vulnerability window is temporary. Mantid adds: Assign crowd-control targets: on Normal the limit falls from four to two to zero as add groups die; on Heroic it stays at three. Exceeding it breaks all control. Do not break Impaling Spear with direct damage. Interrupt Mending and remove Quickening from enemies with a suitable ability; tanks collect uncontrolled adds.
Raid priorities
- Wind Bomb: Leave the bomb’s landing area and do not approach it once armed: a nearby player triggers a raid-wide explosion. Preserve safe travel lanes because the bombs remain on the field.
- Recklessness: An add group's death increases Mel'jarak's damage dealt and taken. Use the boss's vulnerability while preparing defensives for the increased damage. On Normal the effect stacks for the rest of the fight; on Heroic the vulnerability window is temporary.
- Mantid adds: Assign crowd-control targets: on Normal the limit falls from four to two to zero as add groups die; on Heroic it stays at three. Exceeding it breaks all control. Do not break Impaling Spear with direct damage. Interrupt Mending and remove Quickening from enemies with a suitable ability; tanks collect uncontrolled adds.
Before the pull
- Assign roles and movement for this encounter and difficulty.
- Confirm which abilities can be interrupted and which effects can be dispelled.
Mechanics reference
Phase plan and tactic
Leave the bomb’s landing area and do not approach it once armed: a nearby player triggers a raid-wide explosion. Preserve safe travel lanes because the bombs remain on the field.
An add group's death increases Mel'jarak's damage dealt and taken. Use the boss's vulnerability while preparing defensives for the increased damage. On Normal the effect stacks for the rest of the fight; on Heroic the vulnerability window is temporary.
Assign crowd-control targets: on Normal the limit falls from four to two to zero as add groups die; on Heroic it stays at three. Exceeding it breaks all control. Do not break Impaling Spear with direct damage. Interrupt Mending and remove Quickening from enemies with a suitable ability; tanks collect uncontrolled adds.
Role notes
Tanks
- Follow the encounter-specific tanking and movement plan; this general reminder does not define tank swaps.
- An add group's death increases Mel'jarak's damage dealt and taken. Use the boss's vulnerability while preparing defensives for the increased damage. On Normal the effect stacks for the rest of the fight; on Heroic the vulnerability window is temporary.
- Leave the bomb’s landing area and do not approach it once armed: a nearby player triggers a raid-wide explosion. Preserve safe travel lanes because the bombs remain on the field.
- Assign crowd-control targets: on Normal the limit falls from four to two to zero as add groups die; on Heroic it stays at three. Exceeding it breaks all control. Do not break Impaling Spear with direct damage. Interrupt Mending and remove Quickening from enemies with a suitable ability; tanks collect uncontrolled adds.
Healers
- Assign healing and defensives. Do not assume that every boss effect can be dispelled.
- An add group's death increases Mel'jarak's damage dealt and taken. Use the boss's vulnerability while preparing defensives for the increased damage. On Normal the effect stacks for the rest of the fight; on Heroic the vulnerability window is temporary.
- Leave the bomb’s landing area and do not approach it once armed: a nearby player triggers a raid-wide explosion. Preserve safe travel lanes because the bombs remain on the field.
- Assign crowd-control targets: on Normal the limit falls from four to two to zero as add groups die; on Heroic it stays at three. Exceeding it breaks all control. Do not break Impaling Spear with direct damage. Interrupt Mending and remove Quickening from enemies with a suitable ability; tanks collect uncontrolled adds.
DPS
- Follow this encounter’s target priorities. Interrupt only abilities confirmed to be interruptible.
- An add group's death increases Mel'jarak's damage dealt and taken. Use the boss's vulnerability while preparing defensives for the increased damage. On Normal the effect stacks for the rest of the fight; on Heroic the vulnerability window is temporary.
- Leave the bomb’s landing area and do not approach it once armed: a nearby player triggers a raid-wide explosion. Preserve safe travel lanes because the bombs remain on the field.
- Assign crowd-control targets: on Normal the limit falls from four to two to zero as add groups die; on Heroic it stays at three. Exceeding it breaks all control. Do not break Impaling Spear with direct damage. Interrupt Mending and remove Quickening from enemies with a suitable ability; tanks collect uncontrolled adds.
Nerfs: what changed
- A separately sourced nerf or hotfix history is not yet provided for this encounter.
- Updated 2026-09-05.

Encounter 5 / 6 · Heart of Fear
Amber-Shaper Un’sok
Mutated Construct: The transformed player stops their own Amber Explosion with Struggle for Control and the Monstrosity's explosion with Amber Strike. Maintain Willpower; movement alone does not handle the transformation. Amber Scalpel: Avoid the ground-cutting beam and its Molten Amber trail. Living Amber formed from the trail follows players; its death explosion damages nearby players and heals other Living Amber. Do not kill a tightly packed group on top of the raid. Amber Monstrosity: Focus the Monstrosity because Un’sok remains shielded until it dies. A normal tank holds it; its melee attacks drain a transformed player’s Willpower. A transformed player interrupts Amber Explosion with Amber Strike, not a regular interrupt.
Raid priorities
- Mutated Construct: The transformed player stops their own Amber Explosion with Struggle for Control and the Monstrosity's explosion with Amber Strike. Maintain Willpower; movement alone does not handle the transformation.
- Amber Scalpel: Avoid the ground-cutting beam and its Molten Amber trail. Living Amber formed from the trail follows players; its death explosion damages nearby players and heals other Living Amber. Do not kill a tightly packed group on top of the raid.
- Amber Monstrosity: Focus the Monstrosity because Un’sok remains shielded until it dies. A normal tank holds it; its melee attacks drain a transformed player’s Willpower. A transformed player interrupts Amber Explosion with Amber Strike, not a regular interrupt.
Before the pull
- Assign roles and movement for this encounter and difficulty.
- Confirm which abilities can be interrupted and which effects can be dispelled.
Mechanics reference
Phase plan and tactic
The transformed player stops their own Amber Explosion with Struggle for Control and the Monstrosity's explosion with Amber Strike. Maintain Willpower; movement alone does not handle the transformation.
Avoid the ground-cutting beam and its Molten Amber trail. Living Amber formed from the trail follows players; its death explosion damages nearby players and heals other Living Amber. Do not kill a tightly packed group on top of the raid.
Focus the Monstrosity because Un’sok remains shielded until it dies. A normal tank holds it; its melee attacks drain a transformed player’s Willpower. A transformed player interrupts Amber Explosion with Amber Strike, not a regular interrupt.
Role notes
Tanks
- Follow the encounter-specific tanking and movement plan; this general reminder does not define tank swaps.
- Avoid the ground-cutting beam and its Molten Amber trail. Living Amber formed from the trail follows players; its death explosion damages nearby players and heals other Living Amber. Do not kill a tightly packed group on top of the raid.
- Focus the Monstrosity because Un’sok remains shielded until it dies. A normal tank holds it; its melee attacks drain a transformed player’s Willpower. A transformed player interrupts Amber Explosion with Amber Strike, not a regular interrupt.
Healers
- Assign healing and defensives. Do not assume that every boss effect can be dispelled.
- Avoid the ground-cutting beam and its Molten Amber trail. Living Amber formed from the trail follows players; its death explosion damages nearby players and heals other Living Amber. Do not kill a tightly packed group on top of the raid.
DPS
- Follow this encounter’s target priorities. Interrupt only abilities confirmed to be interruptible.
- The transformed player stops their own Amber Explosion with Struggle for Control and the Monstrosity's explosion with Amber Strike. Maintain Willpower; movement alone does not handle the transformation.
- Avoid the ground-cutting beam and its Molten Amber trail. Living Amber formed from the trail follows players; its death explosion damages nearby players and heals other Living Amber. Do not kill a tightly packed group on top of the raid.
- Focus the Monstrosity because Un’sok remains shielded until it dies. A normal tank holds it; its melee attacks drain a transformed player’s Willpower. A transformed player interrupts Amber Explosion with Amber Strike, not a regular interrupt.
Nerfs: what changed
- A separately sourced nerf or hotfix history is not yet provided for this encounter.
- Updated 2026-09-05.
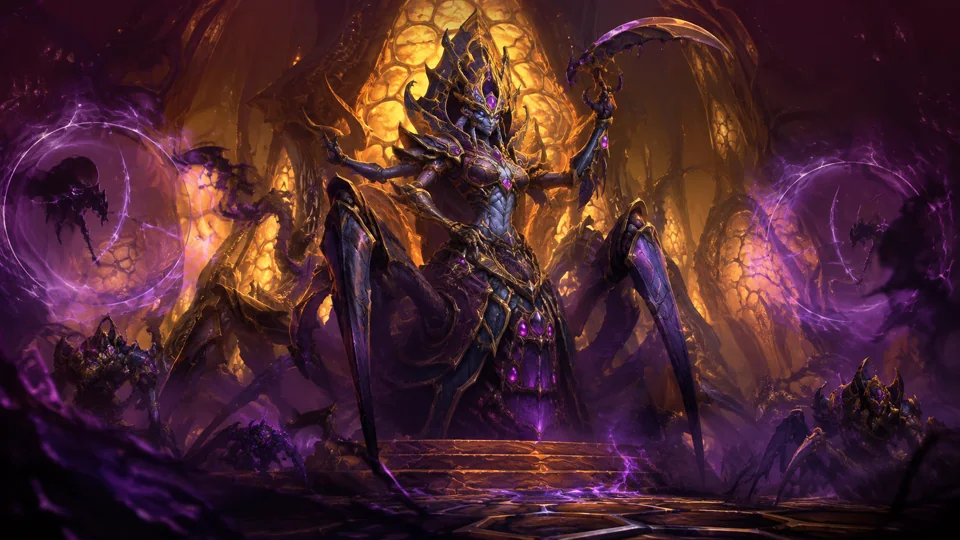
Encounter 6 / 6 · Heart of Fear
Grand Empress Shek’zeer
Dissonance Field: Fields lose resonance as they absorb nearby magical effects; casting inside them also drains it. At zero, a field releases Sonic Discharge across the raid. Coordinate staggered discharges and reserve healing and defensives for the explosions. Cry of Terror: The Cry of Terror target repeatedly deals Shadow damage across the raid. Spreading alone does not stop it: healers cover the damage and the raid coordinates with the Dissonance Field discharge plan. Do not confuse it with Dread Screech’s nearby splash damage. Sha Energy: In the final phase, Sha Energy hits random players with Shadow damage. Healers promptly recover those targets amid the increasing raid damage; personal defensives help when threatened. This attack is distinct from the boss’s similarly named resource bar.
Raid priorities
- Dissonance Field: Fields lose resonance as they absorb nearby magical effects; casting inside them also drains it. At zero, a field releases Sonic Discharge across the raid. Coordinate staggered discharges and reserve healing and defensives for the explosions.
- Cry of Terror: The Cry of Terror target repeatedly deals Shadow damage across the raid. Spreading alone does not stop it: healers cover the damage and the raid coordinates with the Dissonance Field discharge plan. Do not confuse it with Dread Screech’s nearby splash damage.
- Sha Energy: In the final phase, Sha Energy hits random players with Shadow damage. Healers promptly recover those targets amid the increasing raid damage; personal defensives help when threatened. This attack is distinct from the boss’s similarly named resource bar.
Before the pull
- Assign roles and movement for this encounter and difficulty.
- Confirm which abilities can be interrupted and which effects can be dispelled.
Mechanics reference
Phase plan and tactic
Fields lose resonance as they absorb nearby magical effects; casting inside them also drains it. At zero, a field releases Sonic Discharge across the raid. Coordinate staggered discharges and reserve healing and defensives for the explosions.
The Cry of Terror target repeatedly deals Shadow damage across the raid. Spreading alone does not stop it: healers cover the damage and the raid coordinates with the Dissonance Field discharge plan. Do not confuse it with Dread Screech’s nearby splash damage.
In the final phase, Sha Energy hits random players with Shadow damage. Healers promptly recover those targets amid the increasing raid damage; personal defensives help when threatened. This attack is distinct from the boss’s similarly named resource bar.
Role notes
Tanks
- Follow the encounter-specific tanking and movement plan; this general reminder does not define tank swaps.
- Fields lose resonance as they absorb nearby magical effects; casting inside them also drains it. At zero, a field releases Sonic Discharge across the raid. Coordinate staggered discharges and reserve healing and defensives for the explosions.
Healers
- Assign healing and defensives. Do not assume that every boss effect can be dispelled.
- Fields lose resonance as they absorb nearby magical effects; casting inside them also drains it. At zero, a field releases Sonic Discharge across the raid. Coordinate staggered discharges and reserve healing and defensives for the explosions.
- The Cry of Terror target repeatedly deals Shadow damage across the raid. Spreading alone does not stop it: healers cover the damage and the raid coordinates with the Dissonance Field discharge plan. Do not confuse it with Dread Screech’s nearby splash damage.
- In the final phase, Sha Energy hits random players with Shadow damage. Healers promptly recover those targets amid the increasing raid damage; personal defensives help when threatened. This attack is distinct from the boss’s similarly named resource bar.
DPS
- Follow this encounter’s target priorities. Interrupt only abilities confirmed to be interruptible.
- Fields lose resonance as they absorb nearby magical effects; casting inside them also drains it. At zero, a field releases Sonic Discharge across the raid. Coordinate staggered discharges and reserve healing and defensives for the explosions.
- The Cry of Terror target repeatedly deals Shadow damage across the raid. Spreading alone does not stop it: healers cover the damage and the raid coordinates with the Dissonance Field discharge plan. Do not confuse it with Dread Screech’s nearby splash damage.
Nerfs: what changed
- A separately sourced nerf or hotfix history is not yet provided for this encounter.
- Updated 2026-09-05.
Sources and scope
Blizzard announcements provide content and release context; they do not establish every tactic on this page. Separate Encounter Journal links support the clarified mechanics.
- Blizzard — Mists of Pandaria Classic
worldofwarcraft.blizzard.com/en-us/news/24204923/world-of-warcraft-mists-of-pandaria-classic-arrives-july-21 - Blizzard — Scenarios and Challenge Modes
news.blizzard.com/en-us/article/24221824/scenarios-challenge-modes-in-mists-of-pandaria-classic - Blizzard — Mogu’shan Vaults
worldofwarcraft.blizzard.com/en-gb/news/24216437/mists-of-pandaria-classic-enter-the-mogushan-vaults-raid-31-july - Blizzard — Terrace of Endless Spring
worldofwarcraft.blizzard.com/en-us/news/24223022/mists-of-pandaria-classic-enter-the-terrace-of-endless-spring-raid-now - Blizzard — The Thunder King
worldofwarcraft.blizzard.com/en-us/news/24242434/mists-of-pandaria-classic-the-thunder-king-arrives-december-9 - Blizzard — Siege of Orgrimmar
worldofwarcraft.blizzard.com/en-us/news/24264421/mists-of-pandaria-classic-the-siege-of-orgrimmar-update-arrives-june-2 - Amber-Shaper Un’sok · Encounter Journal (Wowhead MoP Classic)
www.wowhead.com/mop-classic/npc=62511/amber-shaper-unsok - Imperial Vizier Zor’lok · Encounter Journal (Wowhead MoP Classic)
www.wowhead.com/mop-classic/npc=62980/imperial-vizier-zorlok - Wind Lord Mel’jarak · Encounter Journal (Wowhead MoP Classic)
www.wowhead.com/mop-classic/npc=62397/wind-lord-meljarak - Blade Lord Ta’yak · Encounter Journal (Wowhead MoP Classic)
www.wowhead.com/mop-classic/npc=62543/blade-lord-tayak - Garalon · Encounter Journal (Wowhead MoP Classic)
www.wowhead.com/mop-classic/npc=62164/garalon - Grand Empress Shek’zeer · Encounter Journal (Wowhead MoP Classic)
www.wowhead.com/mop-classic/npc=62837/grand-empress-shekzeer
Updated 2026-09-05. The content update date is not a boss nerf or hotfix date.