Wrath of the Lich King · Tier 8 · Ulduar
Ulduar raid guide
Tactics for all 14 encounters, progression checklists and a documented change history from original Wrath to Wrath Classic.
How to use this guide
Read the change history and boss summaries before the detailed instructions. Boss cards cover core tactics and role assignments, with version-specific difficulty differences where applicable.
This guide covers level 80 Wrath. Level 60 Classic, Timewalking and legacy scaling from later expansions are outside its scope.
Ulduar in chronological Wrath progression
Ulduar's 14 bosses are connected by vehicles, branching progression and hard modes activated within the encounter. The guide explains normal and hard mode solutions in the same boss card.
Quick links
Ulduar: nerf and change history
The timeline separates intentional difficulty changes, release schedule, loot/catch-up changes, and actual bug fixes. Inaccurate pre/post figures are not filled with guesswork.
| Date | Documented change | Effect |
|---|---|---|
| Patch 3.1 · April 14, 2009 | Ulduar was released as a raid with 14 bosses. | Hard modes were activated with encounter functions, not with a separate difficulty menu. |
| Patches 3.1.1 to 3.1.3 | Several encounters were adjusted: among others, XT, Hodir, Mimiron, Vezax and Yogg received fixes and nerfs. | Nerf history is boss specific and not one raid buff. |
| Wrath Classic 2023 | Ulduar was released with a strong pre-nerf base and increased item levels; XT hard mode health reduced while keeping the six minute berserk. | The Classic change is not the same as the end state of 2009. |
| Wrath Classic 2024 | The Val'anyr fragments drop was increased as an end-of-season catch-up. | The loot change did not change the combat difficulty of the encounter. |
Each boss’s nerf section refers to this raid-wide timeline and highlights only changes relevant to that encounter.
Ulduar - bosses in order of progression
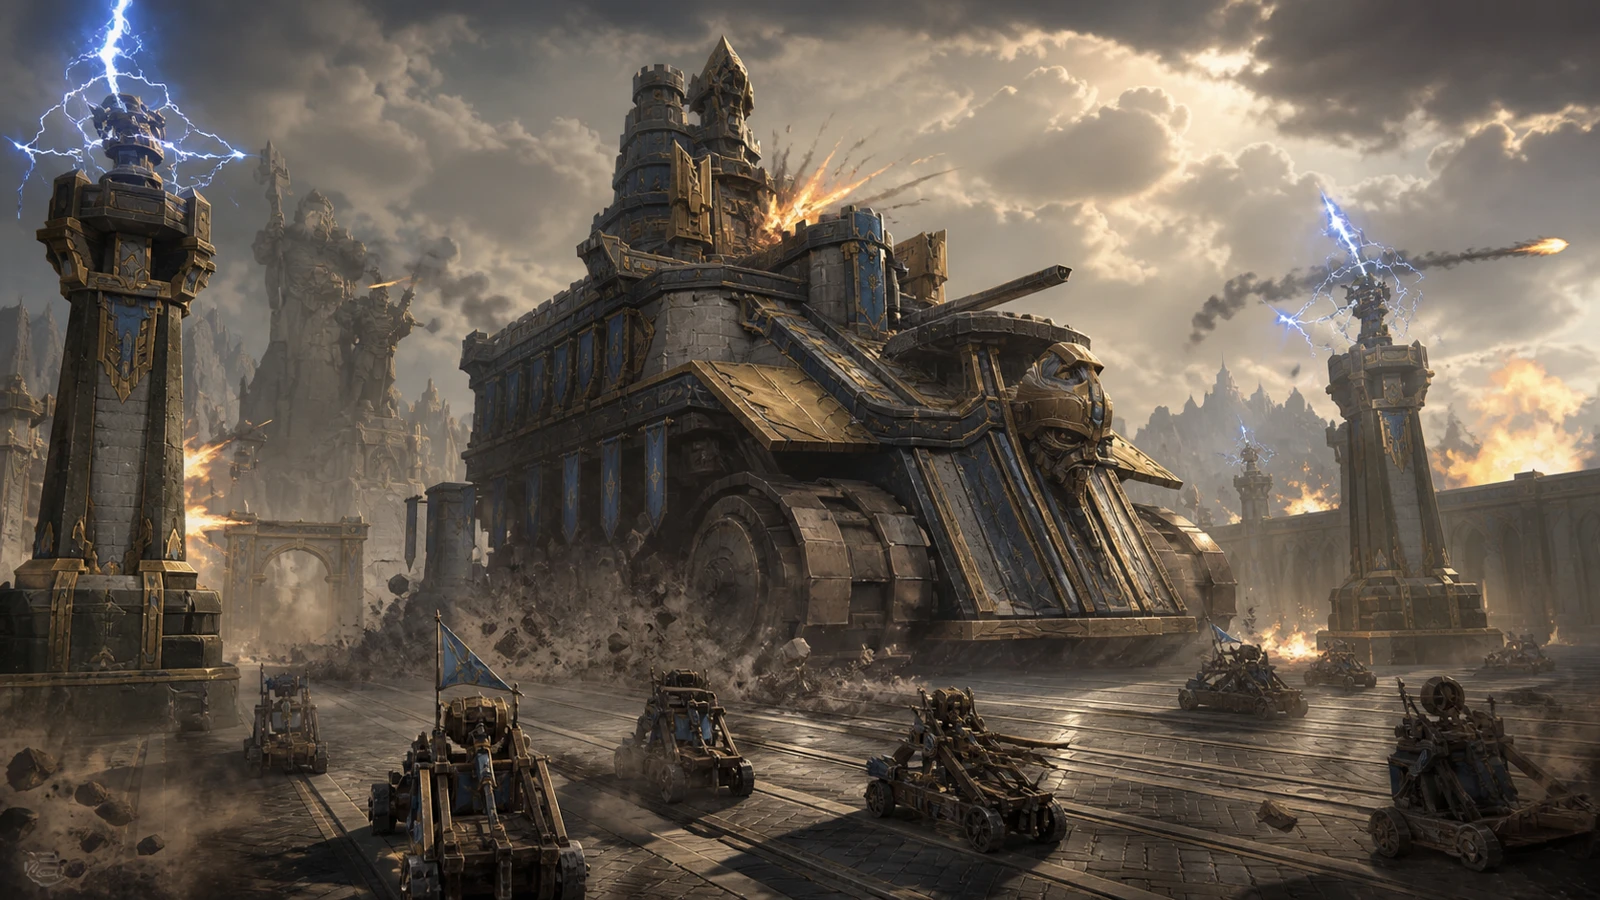
Encounter 1 / 14 · Ulduar
Flame Leviathan
Siege of Ulduar · Vehicle roles, pursuit kiting and 0–4 active towers.
Raid priorities
- Assign vehicles and passengers before moving out.
- The pursued vehicle kites while Demolishers maintain Pyrite damage-over-time stacks.
- In hard mode, avoid tower hazards and coordinate turret shutdowns.
Before the pull
- Review the tanking, healing and damage responsibilities for Flame Leviathan in a 10- or 25-player group.
- Assign drivers, passengers, interrupts, Pyrite collection and player rescue.
- Assign interrupts, dispels, crowd control and target swaps before the pull.
- Save raid and personal cooldowns for the encounter’s most dangerous phase.
Mechanics reference
Phase plan and tactic
Assign vehicles and passengers before moving out.
The pursued vehicle kites while Demolishers maintain Pyrite damage-over-time stacks.
In hard mode, avoid tower hazards and coordinate turret shutdowns.
Role notes
Tanks
- Face the boss and adds away from the raid; swap tanks when required by debuffs or phase changes.
- Tell healers in advance when you will use defensive cooldowns or make a dangerous tank swap.
Healers
- Assign tank healing, raid healing and dispels before the pull.
- Plan raid cooldowns for the largest predictable damage window and avoid unnecessary overlap.
Melee DPS
- Stay clear of frontal and rear attacks, and switch to adds as soon as they are called.
- Don't sacrifice movement or soak mechanics for damage uptime.
Ranged DPS
- Maintain the required spacing and prioritize distant adds, orbs or moving targets.
- Save abilities used while moving for mandatory transitions.
Raid utility
- Agree on interrupt, purge, stun, slow and immunity rotations depending on the encounter.
- Use a combat resurrection only when the fallen player’s role is essential for the next mechanic.
Nerfs: what changed
- The boss-specific history is read in conjunction with the Ulduar raid timeline; original Wrath and Wrath Classic are kept separate.
- Numerical nerfs are only presented as confirmed when supported by patch or hotfix notes. Bug fixes are identified separately.
- Level squishes, Timewalking and changes to soloing from later expansions are outside the scope of these level 80 tactics.
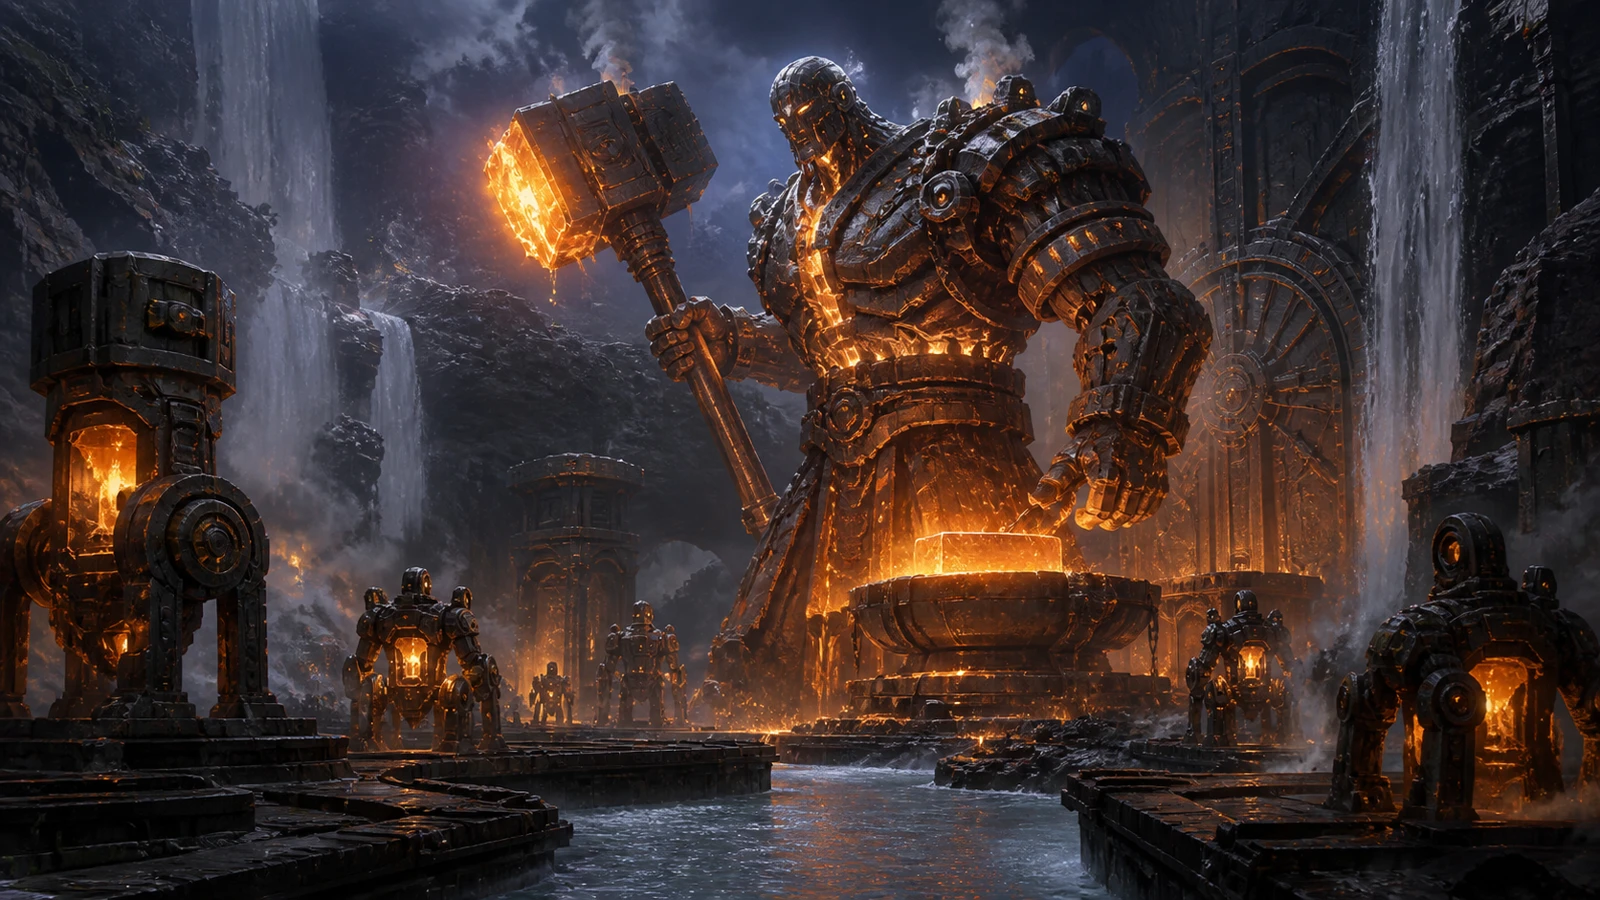
Encounter 2 / 14 · Ulduar
Ignis the Furnace Master
The Colossal Forge · Scorch, Iron Construct chain and Slag Pot.
Raid priorities
- Move Ignis along the agreed tanking route.
- The off-tank heats one active Construct at a time, then moves it into water.
- Shatter Brittle Constructs with a large hit and heal players in Slag Pot.
Before the pull
- Review the tanking, healing and damage responsibilities for Ignis the Furnace Master in a 10- or 25-player group.
- Mark Scorch placement, the Construct route to water and Slag Pot healing assignments.
- Assign interrupts, dispels, crowd control and target swaps before the pull.
- Save raid and personal cooldowns for the encounter’s most dangerous phase.
Mechanics reference
Phase plan and tactic
Move Ignis along the agreed tanking route.
The off-tank heats one active Construct at a time, then moves it into water.
Shatter Brittle Constructs with a large hit and heal players in Slag Pot.
Role notes
Tanks
- Face the boss and adds away from the raid; swap tanks when required by debuffs or phase changes.
- Tell healers in advance when you will use defensive cooldowns or make a dangerous tank swap.
Healers
- Assign tank healing, raid healing and dispels before the pull.
- Plan raid cooldowns for the largest predictable damage window and avoid unnecessary overlap.
Melee DPS
- Stay clear of frontal and rear attacks, and switch to adds as soon as they are called.
- Don't sacrifice movement or soak mechanics for damage uptime.
Ranged DPS
- Maintain the required spacing and prioritize distant adds, orbs or moving targets.
- Save abilities used while moving for mandatory transitions.
Raid utility
- Agree on interrupt, purge, stun, slow and immunity rotations depending on the encounter.
- Use a combat resurrection only when the fallen player’s role is essential for the next mechanic.
Nerfs: what changed
- The boss-specific history is read in conjunction with the Ulduar raid timeline; original Wrath and Wrath Classic are kept separate.
- Numerical nerfs are only presented as confirmed when supported by patch or hotfix notes. Bug fixes are identified separately.
- Level squishes, Timewalking and changes to soloing from later expansions are outside the scope of these level 80 tactics.

Encounter 3 / 14 · Ulduar
Razorscale
The Colossal Forge · Harpoon grounds, add waves and permanent phase 2.
Raid priorities
- Assign tanks to cover the Mole Machine spawn areas.
- Prioritize Sentinels and interrupt Watchers.
- Coordinate harpoons and focus Razorscale during ground windows.
- Once she stays grounded, swap tanks to manage Fuse Armor.
Before the pull
- Review the tanking, healing and damage responsibilities for Razorscale in a 10- or 25-player group.
- Assign add-spawn coverage, harpoon users and tank swaps for the final ground phase.
- Assign interrupts, dispels, crowd control and target swaps before the pull.
- Save raid and personal cooldowns for the encounter’s most dangerous phase.
Mechanics reference
Phase plan and tactic
Assign tanks to cover the Mole Machine spawn areas.
Prioritize Sentinels and interrupt Watchers.
Coordinate harpoons and focus Razorscale during ground windows.
Once she stays grounded, swap tanks to manage Fuse Armor.
Role notes
Tanks
- Face the boss and adds away from the raid; swap tanks when required by debuffs or phase changes.
- Tell healers in advance when you will use defensive cooldowns or make a dangerous tank swap.
Healers
- Assign tank healing, raid healing and dispels before the pull.
- Plan raid cooldowns for the largest predictable damage window and avoid unnecessary overlap.
Melee DPS
- Stay clear of frontal and rear attacks, and switch to adds as soon as they are called.
- Don't sacrifice movement or soak mechanics for damage uptime.
Ranged DPS
- Maintain the required spacing and prioritize distant adds, orbs or moving targets.
- Save abilities used while moving for mandatory transitions.
Raid utility
- Agree on interrupt, purge, stun, slow and immunity rotations depending on the encounter.
- Use a combat resurrection only when the fallen player’s role is essential for the next mechanic.
Nerfs: what changed
- The boss-specific history is read in conjunction with the Ulduar raid timeline; original Wrath and Wrath Classic are kept separate.
- Numerical nerfs are only presented as confirmed when supported by patch or hotfix notes. Bug fixes are identified separately.
- Level squishes, Timewalking and changes to soloing from later expansions are outside the scope of these level 80 tactics.

Encounter 4 / 14 · Ulduar
XT-002 Deconstructor
Scrapyard · Tantrum, Light/Gravity Bomb and Heart hard mode.
Raid priorities
- Assign separate drop areas for Searing Light and Gravity Bomb, plus add-control roles.
- Use a raid defensive for Tympanic Tantrum.
- Kill Scrapbots before they reach XT-002 and use Boombot explosions against adds.
- Destroy the Heart only when deliberately choosing hard mode and ready for its damage requirement.
Before the pull
- Review the tanking, healing and damage responsibilities for XT-002 Deconstructor in a 10- or 25-player group.
- Mark separate debuff positions and assign add control and Tantrum cooldowns.
- Assign interrupts, dispels, crowd control and target swaps before the pull.
- Save raid and personal cooldowns for the encounter’s most dangerous phase.
Mechanics reference
Phase plan and tactic
Assign separate drop areas for Searing Light and Gravity Bomb, plus add-control roles.
Use a raid defensive for Tympanic Tantrum.
Kill Scrapbots before they reach XT-002 and use Boombot explosions against adds.
Destroy the Heart only when deliberately choosing hard mode and ready for its damage requirement.
Role notes
Tanks
- Face the boss and adds away from the raid; swap tanks when required by debuffs or phase changes.
- Tell healers in advance when you will use defensive cooldowns or make a dangerous tank swap.
Healers
- Assign tank healing, raid healing and dispels before the pull.
- Plan raid cooldowns for the largest predictable damage window and avoid unnecessary overlap.
Melee DPS
- Stay clear of frontal and rear attacks, and switch to adds as soon as they are called.
- Don't sacrifice movement or soak mechanics for damage uptime.
Ranged DPS
- Maintain the required spacing and prioritize distant adds, orbs or moving targets.
- Save abilities used while moving for mandatory transitions.
Raid utility
- Agree on interrupt, purge, stun, slow and immunity rotations depending on the encounter.
- Use a combat resurrection only when the fallen player’s role is essential for the next mechanic.
Nerfs: what changed
- The boss-specific history is read in conjunction with the Ulduar raid timeline; original Wrath and Wrath Classic are kept separate.
- Numerical nerfs are only presented as confirmed when supported by patch or hotfix notes. Bug fixes are identified separately.
- Level squishes, Timewalking and changes to soloing from later expansions are outside the scope of these level 80 tactics.
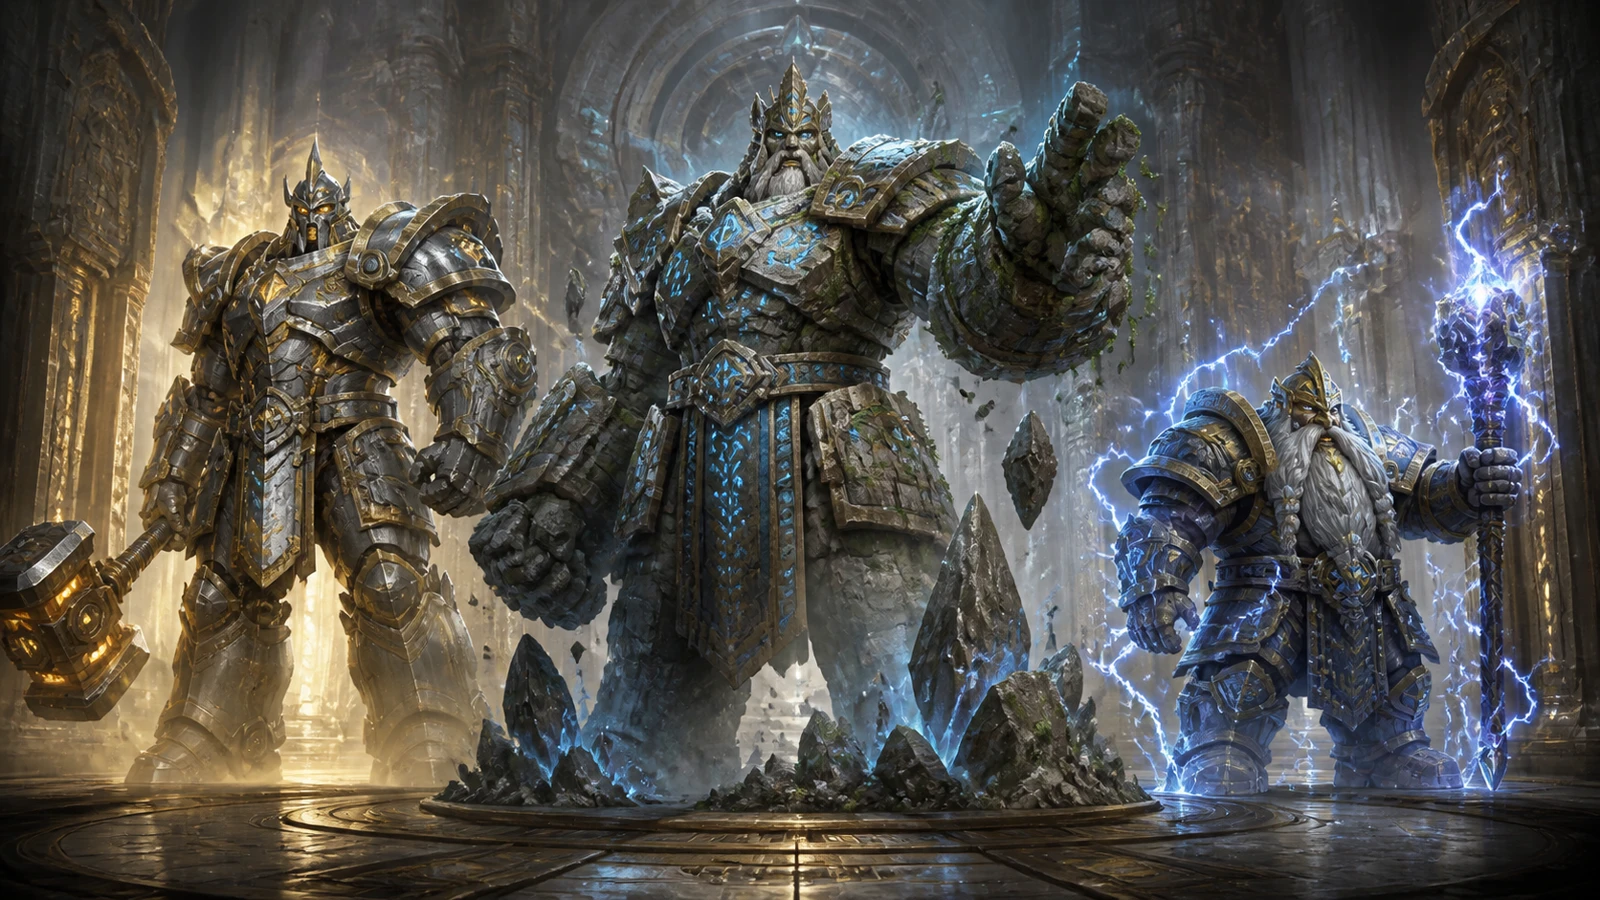
Encounter 5 / 14 · Ulduar
The Assembly of Iron
The Antechamber · Kill order determines abilities and hard mode.
Raid priorities
- Choose the normal order Steelbreaker, Molgeim, then Brundir, or leave Steelbreaker last for hard mode.
- Remove Fusion Punch immediately.
- Use Rune of Power for damage and leave Rune of Death.
- Interrupt Brundir’s casts and avoid his dangerous abilities.
Before the pull
- Review the tanking, healing and damage responsibilities for The Assembly of Iron in a 10- or 25-player group.
- Agree on kill order, Fusion Punch removal, interrupts and rune positioning.
- Assign interrupts, dispels, crowd control and target swaps before the pull.
- Save raid and personal cooldowns for the encounter’s most dangerous phase.
Mechanics reference
Phase plan and tactic
Choose the normal order Steelbreaker, Molgeim, then Brundir, or leave Steelbreaker last for hard mode.
Remove Fusion Punch immediately.
Use Rune of Power for damage and leave Rune of Death.
Interrupt Brundir’s casts and avoid his dangerous abilities.
Role notes
Tanks
- Face the boss and adds away from the raid; swap tanks when required by debuffs or phase changes.
- Tell healers in advance when you will use defensive cooldowns or make a dangerous tank swap.
Healers
- Assign tank healing, raid healing and dispels before the pull.
- Plan raid cooldowns for the largest predictable damage window and avoid unnecessary overlap.
Melee DPS
- Stay clear of frontal and rear attacks, and switch to adds as soon as they are called.
- Don't sacrifice movement or soak mechanics for damage uptime.
Ranged DPS
- Maintain the required spacing and prioritize distant adds, orbs or moving targets.
- Save abilities used while moving for mandatory transitions.
Raid utility
- Agree on interrupt, purge, stun, slow and immunity rotations depending on the encounter.
- Use a combat resurrection only when the fallen player’s role is essential for the next mechanic.
Nerfs: what changed
- The boss-specific history is read in conjunction with the Ulduar raid timeline; original Wrath and Wrath Classic are kept separate.
- Numerical nerfs are only presented as confirmed when supported by patch or hotfix notes. Bug fixes are identified separately.
- Level squishes, Timewalking and changes to soloing from later expansions are outside the scope of these level 80 tactics.

Encounter 6 / 14 · Ulduar
Kologarn
The Shattered Walkway · Hand priority, eyebeams and rubble-adds.
Raid priorities
- Keep the raid on the platform while leaving a clear escape route for Eyebeam targets.
- Damage the right arm to free players caught by Stone Grip.
- The off-tank collects Rubble for controlled area damage.
- Stay safely on the platform when Kologarn dies.
Before the pull
- Review the tanking, healing and damage responsibilities for Kologarn in a 10- or 25-player group.
- Mark Eyebeam escape routes and assign right-arm damage and Rubble tanking.
- Assign interrupts, dispels, crowd control and target swaps before the pull.
- Save raid and personal cooldowns for the encounter’s most dangerous phase.
Mechanics reference
Phase plan and tactic
Keep the raid on the platform while leaving a clear escape route for Eyebeam targets.
Damage the right arm to free players caught by Stone Grip.
The off-tank collects Rubble for controlled area damage.
Stay safely on the platform when Kologarn dies.
Role notes
Tanks
- Face the boss and adds away from the raid; swap tanks when required by debuffs or phase changes.
- Tell healers in advance when you will use defensive cooldowns or make a dangerous tank swap.
Healers
- Assign tank healing, raid healing and dispels before the pull.
- Plan raid cooldowns for the largest predictable damage window and avoid unnecessary overlap.
Melee DPS
- Stay clear of frontal and rear attacks, and switch to adds as soon as they are called.
- Don't sacrifice movement or soak mechanics for damage uptime.
Ranged DPS
- Maintain the required spacing and prioritize distant adds, orbs or moving targets.
- Save abilities used while moving for mandatory transitions.
Raid utility
- Agree on interrupt, purge, stun, slow and immunity rotations depending on the encounter.
- Use a combat resurrection only when the fallen player’s role is essential for the next mechanic.
Nerfs: what changed
- The boss-specific history is read in conjunction with the Ulduar raid timeline; original Wrath and Wrath Classic are kept separate.
- Numerical nerfs are only presented as confirmed when supported by patch or hotfix notes. Bug fixes are identified separately.
- Level squishes, Timewalking and changes to soloing from later expansions are outside the scope of these level 80 tactics.

Encounter 7 / 14 · Ulduar
Auriaya
The Antechamber · Sentry-pull, fear-interrupt and Feral Defender.
Raid priorities
- Use a controlled line-of-sight pull so the tanks receive the Sentries.
- Protect the assigned interrupters with Fear Ward or Tremor Totem and interrupt Sentinel Blast.
- Kill the Feral Defender at the agreed edge location or keep it controlled.
Before the pull
- Review the tanking, healing and damage responsibilities for Auriaya in a 10- or 25-player group.
- Plan the line-of-sight pull, fear protection, interrupts and Defender drop location.
- Assign interrupts, dispels, crowd control and target swaps before the pull.
- Save raid and personal cooldowns for the encounter’s most dangerous phase.
Mechanics reference
Phase plan and tactic
Use a controlled line-of-sight pull so the tanks receive the Sentries.
Protect the assigned interrupters with Fear Ward or Tremor Totem and interrupt Sentinel Blast.
Kill the Feral Defender at the agreed edge location or keep it controlled.
Role notes
Tanks
- Face the boss and adds away from the raid; swap tanks when required by debuffs or phase changes.
- Tell healers in advance when you will use defensive cooldowns or make a dangerous tank swap.
Healers
- Assign tank healing, raid healing and dispels before the pull.
- Plan raid cooldowns for the largest predictable damage window and avoid unnecessary overlap.
Melee DPS
- Stay clear of frontal and rear attacks, and switch to adds as soon as they are called.
- Don't sacrifice movement or soak mechanics for damage uptime.
Ranged DPS
- Maintain the required spacing and prioritize distant adds, orbs or moving targets.
- Save abilities used while moving for mandatory transitions.
Raid utility
- Agree on interrupt, purge, stun, slow and immunity rotations depending on the encounter.
- Use a combat resurrection only when the fallen player’s role is essential for the next mechanic.
Nerfs: what changed
- The boss-specific history is read in conjunction with the Ulduar raid timeline; original Wrath and Wrath Classic are kept separate.
- Numerical nerfs are only presented as confirmed when supported by patch or hotfix notes. Bug fixes are identified separately.
- Level squishes, Timewalking and changes to soloing from later expansions are outside the scope of these level 80 tactics.

Encounter 8 / 14 · Ulduar
Hodir
The Keepers · NPC buffs, Flash Freeze and hard mode time limit.
Raid priorities
- Free the friendly NPCs immediately.
- Share Storm Power with damage groups and make use of Starlight.
- Move regularly to manage Biting Cold.
- Stand on a snowdrift before Flash Freeze finishes, then free anyone who was frozen.
Before the pull
- Review the tanking, healing and damage responsibilities for Hodir in a 10- or 25-player group.
- Assign NPC release, Storm Power sharing and movement to snowdrifts.
- Assign interrupts, dispels, crowd control and target swaps before the pull.
- Save raid and personal cooldowns for the encounter’s most dangerous phase.
Mechanics reference
Phase plan and tactic
Free the friendly NPCs immediately.
Share Storm Power with damage groups and make use of Starlight.
Move regularly to manage Biting Cold.
Stand on a snowdrift before Flash Freeze finishes, then free anyone who was frozen.
Role notes
Tanks
- Face the boss and adds away from the raid; swap tanks when required by debuffs or phase changes.
- Tell healers in advance when you will use defensive cooldowns or make a dangerous tank swap.
Healers
- Assign tank healing, raid healing and dispels before the pull.
- Plan raid cooldowns for the largest predictable damage window and avoid unnecessary overlap.
Melee DPS
- Stay clear of frontal and rear attacks, and switch to adds as soon as they are called.
- Don't sacrifice movement or soak mechanics for damage uptime.
Ranged DPS
- Maintain the required spacing and prioritize distant adds, orbs or moving targets.
- Save abilities used while moving for mandatory transitions.
Raid utility
- Agree on interrupt, purge, stun, slow and immunity rotations depending on the encounter.
- Use a combat resurrection only when the fallen player’s role is essential for the next mechanic.
Nerfs: what changed
- The boss-specific history is read in conjunction with the Ulduar raid timeline; original Wrath and Wrath Classic are kept separate.
- Numerical nerfs are only presented as confirmed when supported by patch or hotfix notes. Bug fixes are identified separately.
- Level squishes, Timewalking and changes to soloing from later expansions are outside the scope of these level 80 tactics.
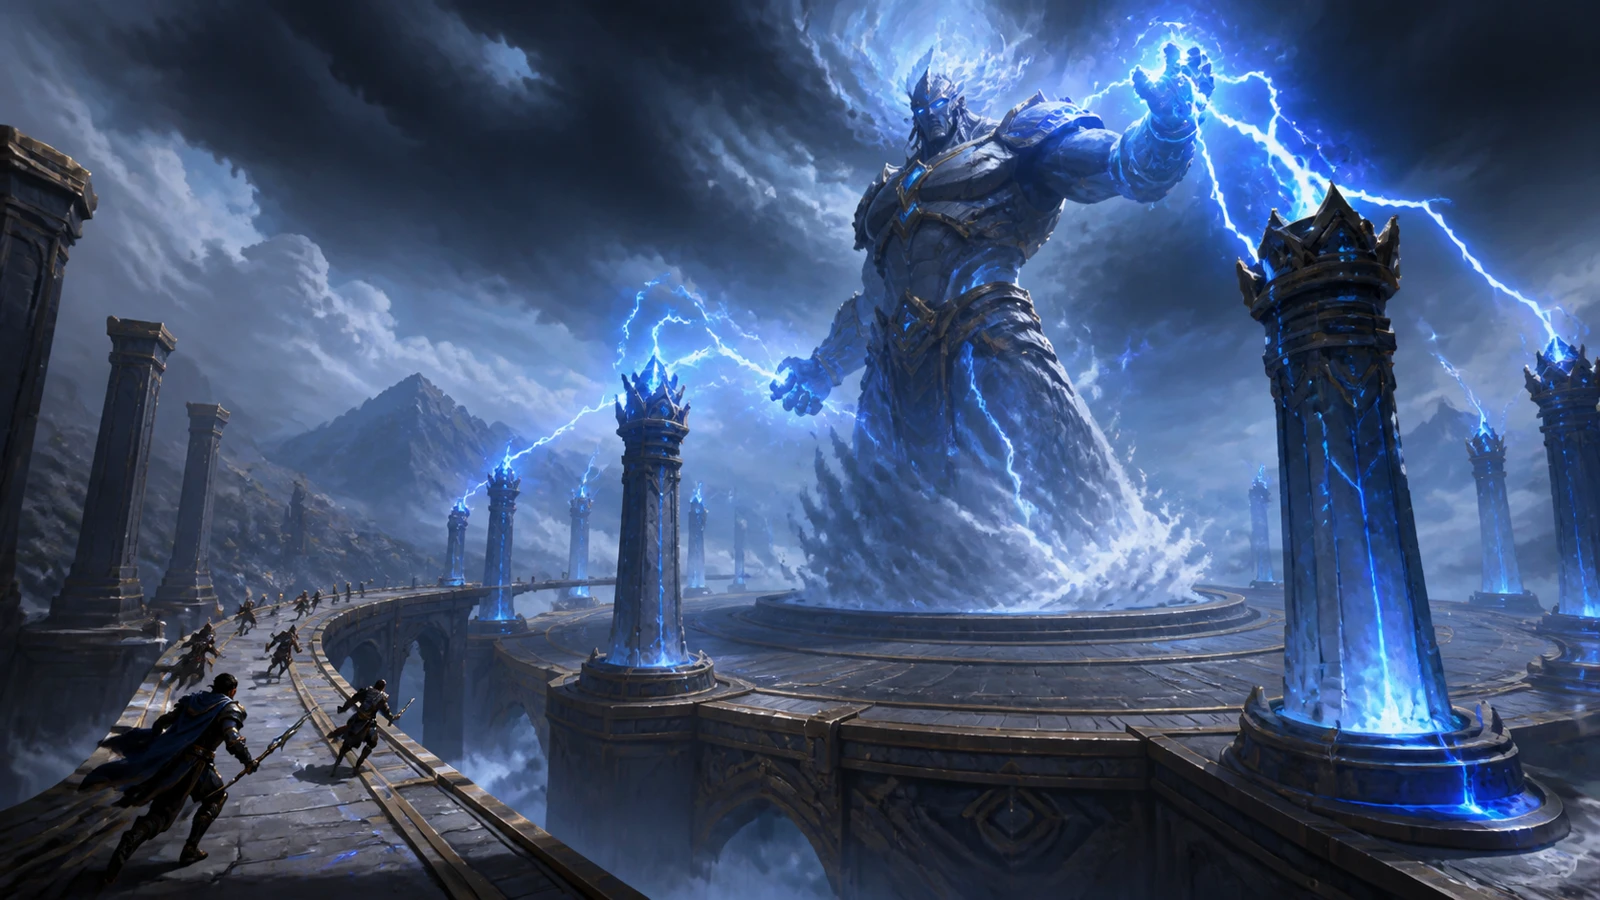
Encounter 9 / 14 · Ulduar
Thorim
The Keepers · Arena/gauntlet split and Sif hard mode.
Raid priorities
- Split into balanced arena and gauntlet teams.
- Clear the gauntlet quickly if attempting hard mode.
- Once Thorim joins, swap tanks for Unbalancing Strike and avoid the charged side.
- In hard mode, handle Sif’s Blizzard and Frostbolt Volley as well.
Before the pull
- Review the tanking, healing and damage responsibilities for Thorim in a 10- or 25-player group.
- Assign arena and gauntlet groups, tank swaps and safe movement from charged sides.
- Assign interrupts, dispels, crowd control and target swaps before the pull.
- Save raid and personal cooldowns for the encounter’s most dangerous phase.
Mechanics reference
Phase plan and tactic
Split into balanced arena and gauntlet teams.
Clear the gauntlet quickly if attempting hard mode.
Once Thorim joins, swap tanks for Unbalancing Strike and avoid the charged side.
In hard mode, handle Sif’s Blizzard and Frostbolt Volley as well.
Role notes
Tanks
- Face the boss and adds away from the raid; swap tanks when required by debuffs or phase changes.
- Tell healers in advance when you will use defensive cooldowns or make a dangerous tank swap.
Healers
- Assign tank healing, raid healing and dispels before the pull.
- Plan raid cooldowns for the largest predictable damage window and avoid unnecessary overlap.
Melee DPS
- Stay clear of frontal and rear attacks, and switch to adds as soon as they are called.
- Don't sacrifice movement or soak mechanics for damage uptime.
Ranged DPS
- Maintain the required spacing and prioritize distant adds, orbs or moving targets.
- Save abilities used while moving for mandatory transitions.
Raid utility
- Agree on interrupt, purge, stun, slow and immunity rotations depending on the encounter.
- Use a combat resurrection only when the fallen player’s role is essential for the next mechanic.
Nerfs: what changed
- The boss-specific history is read in conjunction with the Ulduar raid timeline; original Wrath and Wrath Classic are kept separate.
- Numerical nerfs are only presented as confirmed when supported by patch or hotfix notes. Bug fixes are identified separately.
- Level squishes, Timewalking and changes to soloing from later expansions are outside the scope of these level 80 tactics.

Encounter 10 / 14 · Ulduar
Freya
The Keepers · Three add waves, Attuned stacks and 0-3 Elder hard mode.
Raid priorities
- Identify each add wave and use the matching plan.
- Kill Detonating Lashers at a controlled pace while keeping their explosions safe.
- Balance the trio’s health and kill all three within seconds of one another.
- Kill Eonar’s Gift promptly to prevent healing.
- In hard mode, prioritize roots, beams and ground hazards.
Before the pull
- Review the tanking, healing and damage responsibilities for Freya in a 10- or 25-player group.
- Assign wave-specific targets, trio kill timing and immediate Eonar’s Gift damage.
- Assign interrupts, dispels, crowd control and target swaps before the pull.
- Save raid and personal cooldowns for the encounter’s most dangerous phase.
Mechanics reference
Phase plan and tactic
Identify each add wave and use the matching plan.
Kill Detonating Lashers at a controlled pace while keeping their explosions safe.
Balance the trio’s health and kill all three within seconds of one another.
Kill Eonar’s Gift promptly to prevent healing.
In hard mode, prioritize roots, beams and ground hazards.
Role notes
Tanks
- Face the boss and adds away from the raid; swap tanks when required by debuffs or phase changes.
- Tell healers in advance when you will use defensive cooldowns or make a dangerous tank swap.
Healers
- Assign tank healing, raid healing and dispels before the pull.
- Plan raid cooldowns for the largest predictable damage window and avoid unnecessary overlap.
Melee DPS
- Stay clear of frontal and rear attacks, and switch to adds as soon as they are called.
- Don't sacrifice movement or soak mechanics for damage uptime.
Ranged DPS
- Maintain the required spacing and prioritize distant adds, orbs or moving targets.
- Save abilities used while moving for mandatory transitions.
Raid utility
- Agree on interrupt, purge, stun, slow and immunity rotations depending on the encounter.
- Use a combat resurrection only when the fallen player’s role is essential for the next mechanic.
Nerfs: what changed
- The boss-specific history is read in conjunction with the Ulduar raid timeline; original Wrath and Wrath Classic are kept separate.
- Numerical nerfs are only presented as confirmed when supported by patch or hotfix notes. Bug fixes are identified separately.
- Level squishes, Timewalking and changes to soloing from later expansions are outside the scope of these level 80 tactics.
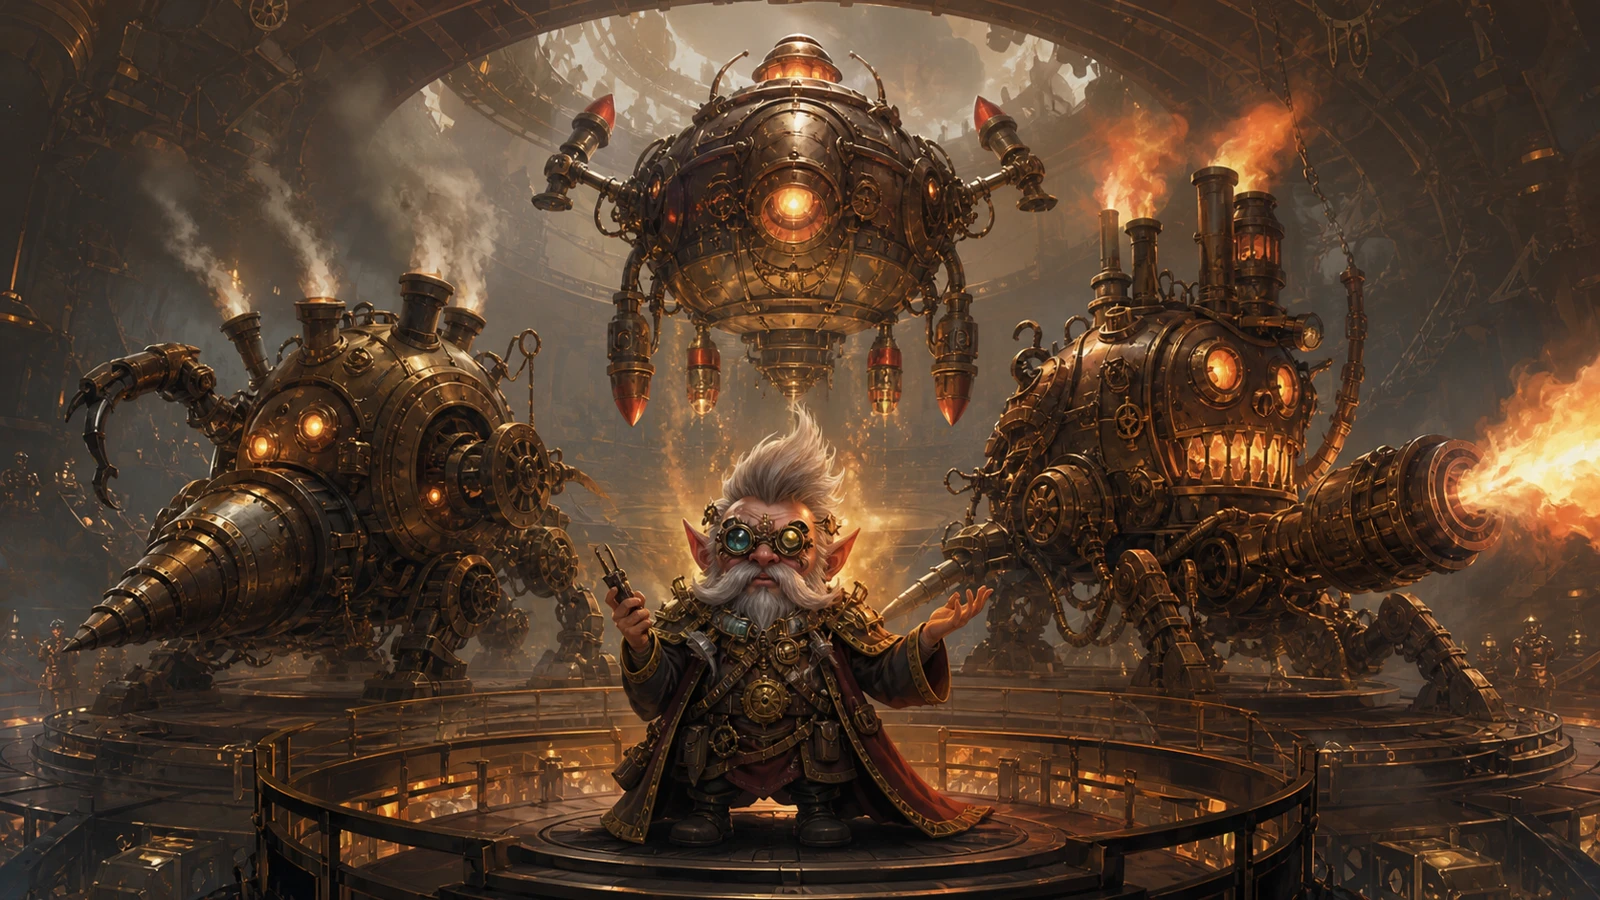
Encounter 11 / 14 · Ulduar
Mimiron
The Keepers · Four stages and Big Red Button hard mode.
Raid priorities
- Position the encounter carefully and stay clear of mines.
- Watch rocket markers and the direction of Laser Barrage.
- Balance damage across all three parts and finish them almost simultaneously in phase 4.
- In Firefighter mode, guide spreading flames along the agreed route and stay clear when Frost Bomb clears fire.
Before the pull
- Review the tanking, healing and damage responsibilities for Mimiron in a 10- or 25-player group.
- Agree on safe movement, rocket calls, phase-4 target balance and the Firefighter route.
- Assign interrupts, dispels, crowd control and target swaps before the pull.
- Save raid and personal cooldowns for the encounter’s most dangerous phase.
Mechanics reference
Phase plan and tactic
Position the encounter carefully and stay clear of mines.
Watch rocket markers and the direction of Laser Barrage.
Balance damage across all three parts and finish them almost simultaneously in phase 4.
In Firefighter mode, guide spreading flames along the agreed route and stay clear when Frost Bomb clears fire.
Role notes
Tanks
- Face the boss and adds away from the raid; swap tanks when required by debuffs or phase changes.
- Tell healers in advance when you will use defensive cooldowns or make a dangerous tank swap.
Healers
- Assign tank healing, raid healing and dispels before the pull.
- Plan raid cooldowns for the largest predictable damage window and avoid unnecessary overlap.
Melee DPS
- Stay clear of frontal and rear attacks, and switch to adds as soon as they are called.
- Don't sacrifice movement or soak mechanics for damage uptime.
Ranged DPS
- Maintain the required spacing and prioritize distant adds, orbs or moving targets.
- Save abilities used while moving for mandatory transitions.
Raid utility
- Agree on interrupt, purge, stun, slow and immunity rotations depending on the encounter.
- Use a combat resurrection only when the fallen player’s role is essential for the next mechanic.
Nerfs: what changed
- The boss-specific history is read in conjunction with the Ulduar raid timeline; original Wrath and Wrath Classic are kept separate.
- Numerical nerfs are only presented as confirmed when supported by patch or hotfix notes. Bug fixes are identified separately.
- Level squishes, Timewalking and changes to soloing from later expansions are outside the scope of these level 80 tactics.

Encounter 12 / 14 · Ulduar
General Vezax
Descent into Madness · mana vapors, Shadow Crash and Saronite Animus.
Raid priorities
- Spread ranged players, avoid Shadow Crash impacts and use the pools for spell damage.
- Players with Mark of the Faceless move away from everyone else.
- On normal mode, use Saronite Vapor carefully in short intervals to recover mana.
- For hard mode, leave all vapors alive and use raid cooldowns while killing the Saronite Animus.
Before the pull
- Review the tanking, healing and damage responsibilities for General Vezax in a 10- or 25-player group.
- Plan ranged spacing, Mark escape routes and whether vapors will be used or preserved.
- Assign interrupts, dispels, crowd control and target swaps before the pull.
- Save raid and personal cooldowns for the encounter’s most dangerous phase.
Mechanics reference
Phase plan and tactic
Spread ranged players, avoid Shadow Crash impacts and use the pools for spell damage.
Players with Mark of the Faceless move away from everyone else.
On normal mode, use Saronite Vapor carefully in short intervals to recover mana.
For hard mode, leave all vapors alive and use raid cooldowns while killing the Saronite Animus.
Role notes
Tanks
- Face the boss and adds away from the raid; swap tanks when required by debuffs or phase changes.
- Tell healers in advance when you will use defensive cooldowns or make a dangerous tank swap.
Healers
- Assign tank healing, raid healing and dispels before the pull.
- Plan raid cooldowns for the largest predictable damage window and avoid unnecessary overlap.
Melee DPS
- Stay clear of frontal and rear attacks, and switch to adds as soon as they are called.
- Don't sacrifice movement or soak mechanics for damage uptime.
Ranged DPS
- Maintain the required spacing and prioritize distant adds, orbs or moving targets.
- Save abilities used while moving for mandatory transitions.
Raid utility
- Agree on interrupt, purge, stun, slow and immunity rotations depending on the encounter.
- Use a combat resurrection only when the fallen player’s role is essential for the next mechanic.
Nerfs: what changed
- The boss-specific history is read in conjunction with the Ulduar raid timeline; original Wrath and Wrath Classic are kept separate.
- Numerical nerfs are only presented as confirmed when supported by patch or hotfix notes. Bug fixes are identified separately.
- Level squishes, Timewalking and changes to soloing from later expansions are outside the scope of these level 80 tactics.
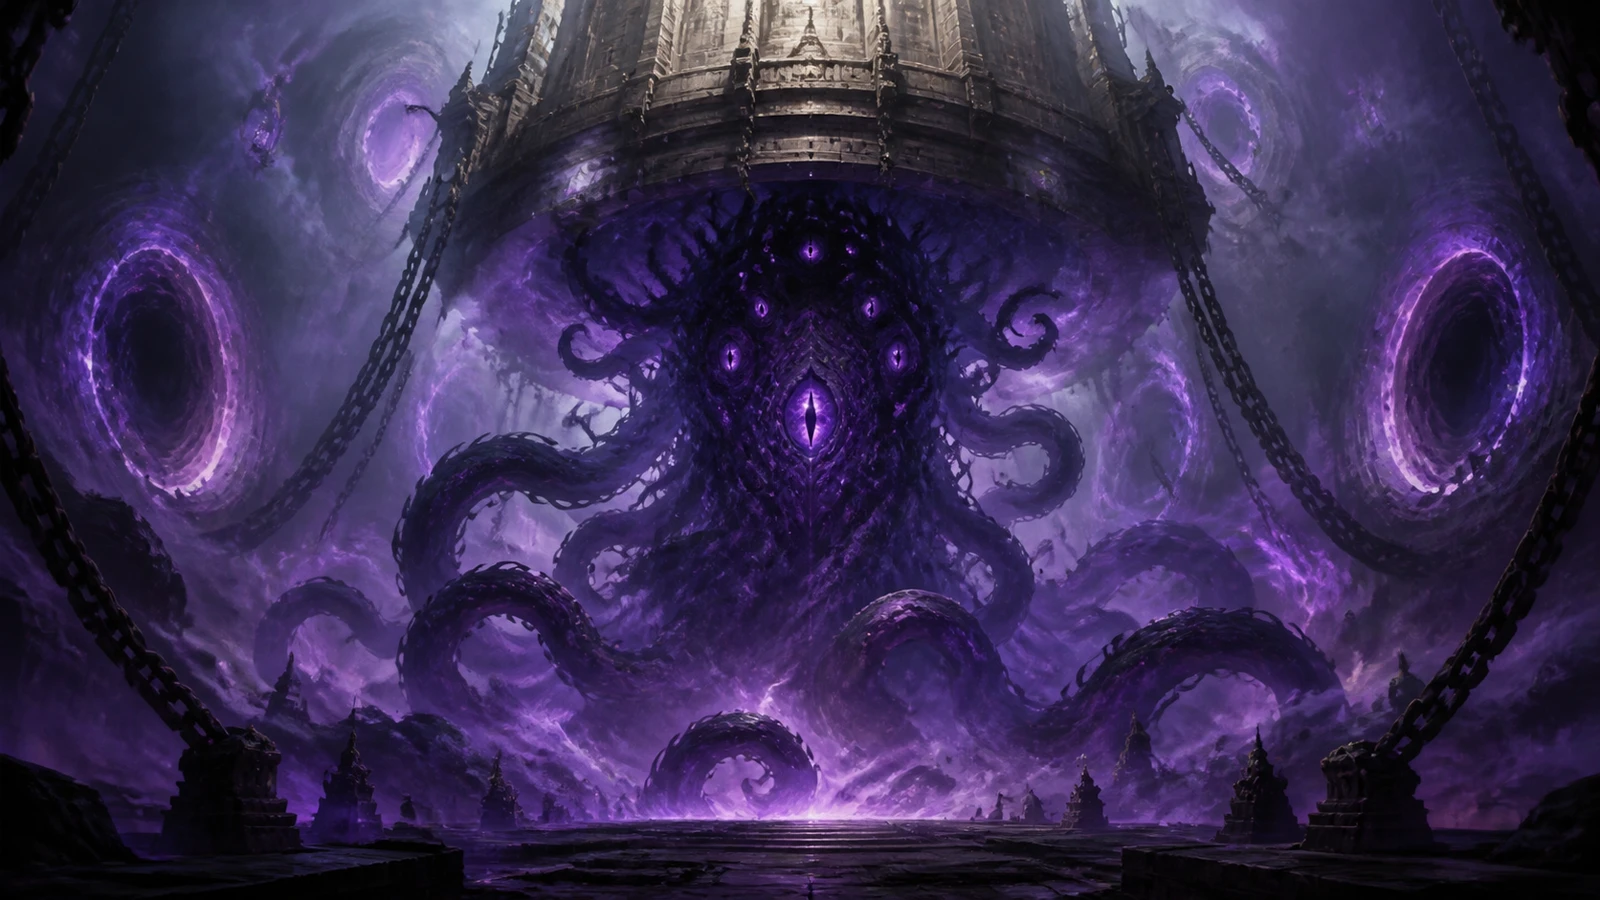
Encounter 13 / 14 · Ulduar
Yogg-Saron
Prison of Yogg-Saron · Sanity, portal groups and 0-4 Keeper difficulty.
Raid priorities
- Bring Guardians to Sara and avoid unnecessary cloud spawns.
- Assign the portal team before pulling and leave the brain room in time.
- Follow the agreed Crusher, Corruptor and Constrictor priorities, freeing trapped players promptly.
- In the final phase, turn away from Lunatic Gaze and reduce Immortal Guardians to low health.
Before the pull
- Review the tanking, healing and damage responsibilities for Yogg-Saron in a 10- or 25-player group.
- Assign portal players, exit timing, tentacle priorities and Guardian control.
- Assign interrupts, dispels, crowd control and target swaps before the pull.
- Save raid and personal cooldowns for the encounter’s most dangerous phase.
Mechanics reference
Phase plan and tactic
Bring Guardians to Sara and avoid unnecessary cloud spawns.
Assign the portal team before pulling and leave the brain room in time.
Follow the agreed Crusher, Corruptor and Constrictor priorities, freeing trapped players promptly.
In the final phase, turn away from Lunatic Gaze and reduce Immortal Guardians to low health.
Role notes
Tanks
- Face the boss and adds away from the raid; swap tanks when required by debuffs or phase changes.
- Tell healers in advance when you will use defensive cooldowns or make a dangerous tank swap.
Healers
- Assign tank healing, raid healing and dispels before the pull.
- Plan raid cooldowns for the largest predictable damage window and avoid unnecessary overlap.
Melee DPS
- Stay clear of frontal and rear attacks, and switch to adds as soon as they are called.
- Don't sacrifice movement or soak mechanics for damage uptime.
Ranged DPS
- Maintain the required spacing and prioritize distant adds, orbs or moving targets.
- Save abilities used while moving for mandatory transitions.
Raid utility
- Agree on interrupt, purge, stun, slow and immunity rotations depending on the encounter.
- Use a combat resurrection only when the fallen player’s role is essential for the next mechanic.
Nerfs: what changed
- The boss-specific history is read in conjunction with the Ulduar raid timeline; original Wrath and Wrath Classic are kept separate.
- Numerical nerfs are only presented as confirmed when supported by patch or hotfix notes. Bug fixes are identified separately.
- Level squishes, Timewalking and changes to soloing from later expansions are outside the scope of these level 80 tactics.
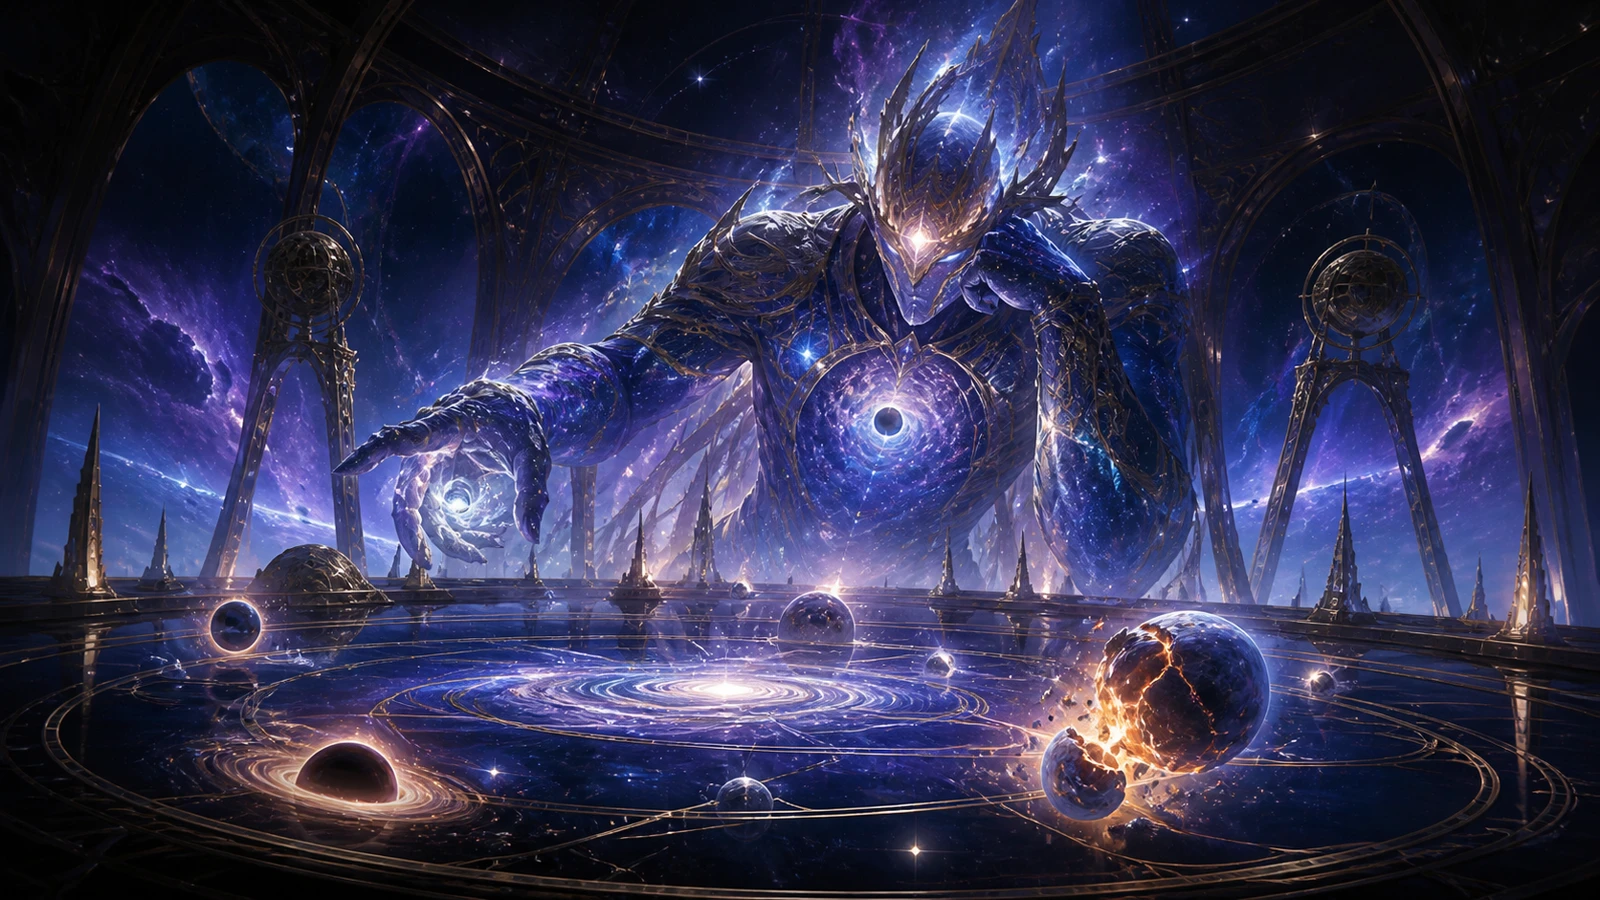
Encounter 14 / 14 · Ulduar
Algalon the Observer
Celestial Planetarium · Phase Punch tanks, collapsing stars and Big Bang.
Raid priorities
- Assign two tanks and a controlled Collapsing Star kill schedule.
- Guide Living Constellations into existing black holes to close them.
- Swap tanks before the fifth Phase Punch.
- Enter a black hole for each Big Bang except for the assigned survivor, who needs a proven survival plan using damage reduction or another working method.
Before the pull
- Review the tanking, healing and damage responsibilities for Algalon the Observer in a 10- or 25-player group.
- Assign star timing, tank swaps, black-hole control and a verified Big Bang survival plan.
- Assign interrupts, dispels, crowd control and target swaps before the pull.
- Save raid and personal cooldowns for the encounter’s most dangerous phase.
Mechanics reference
Phase plan and tactic
Assign two tanks and a controlled Collapsing Star kill schedule.
Guide Living Constellations into existing black holes to close them.
Swap tanks before the fifth Phase Punch.
Enter a black hole for each Big Bang except for the assigned survivor, who needs a proven survival plan using damage reduction or another working method.
Role notes
Tanks
- Face the boss and adds away from the raid; swap tanks when required by debuffs or phase changes.
- Tell healers in advance when you will use defensive cooldowns or make a dangerous tank swap.
Healers
- Assign tank healing, raid healing and dispels before the pull.
- Plan raid cooldowns for the largest predictable damage window and avoid unnecessary overlap.
Melee DPS
- Stay clear of frontal and rear attacks, and switch to adds as soon as they are called.
- Don't sacrifice movement or soak mechanics for damage uptime.
Ranged DPS
- Maintain the required spacing and prioritize distant adds, orbs or moving targets.
- Save abilities used while moving for mandatory transitions.
Raid utility
- Agree on interrupt, purge, stun, slow and immunity rotations depending on the encounter.
- Use a combat resurrection only when the fallen player’s role is essential for the next mechanic.
Nerfs: what changed
- The boss-specific history is read in conjunction with the Ulduar raid timeline; original Wrath and Wrath Classic are kept separate.
- Numerical nerfs are only presented as confirmed when supported by patch or hotfix notes. Bug fixes are identified separately.
- Level squishes, Timewalking and changes to soloing from later expansions are outside the scope of these level 80 tactics.
Sources and version scope
Boss counts, release structure and Classic availability have been checked against Blizzard’s publications. Mechanics and original patch changes are cross-checked against Warcraft Wiki encounter guides and patch histories.
- Blizzard — Wrath Classic: Ulduar now live
worldofwarcraft.blizzard.com/en-us/news/23897173/wrath-classic-unearth-the-secrets-of-ulduar-january-19 - Blizzard — Wrath Classic 2023 hotfix Archive
worldofwarcraft.blizzard.com/en-gb/news/23892230/hotfixes-february-7-2023 - Warcraft Wiki — Patch 3.1.0
warcraft.wiki.gg/wiki/Patch_3.1.0 - Warcraft Wiki — Ulduar
warcraft.wiki.gg/wiki/Ulduar
Updated 19 August 2026. Legacy changes from later expansions are excluded.