World of Warcraft Classic · Tier 1.5 · AQ20
Ruins of Ahn'Qiraj tactics
All six bosses from the original 20-player raid: preparations, staging, roles and documented vanilla change history.
Prepare waves, target priorities and movement routes
AQ20 tests different things in a row: tank changes, long add durability, mana control, crystal and fast target changes. Read each encounter's TL;DR and setup before details.
Tactics describe Classic Era / Anniversary 1.12 mode. The 10-player Descent into Madness version of Season of Discovery is excluded.
AQ20's six encounters in chronological order
Ruins of Ahn'Qiraj starts with Kurinnaxx's tank cycle and Rajaxx's seven waves. Moam, Buru and Ayamiss are optional route branches before the finale, which progresses from one Ossirian crystal to another.
Quick links
Nerfs and progression eases
Ruins of Ahn'Qiraj was released in patch 1.9. The raid received two significant rounds of relief: patch 1.10 shortened Ayamiss's air phase, and patch 1.11 lightened Rajaxx's waves and made Ossirian's start more predictable.
| Patch | Change | Classification |
|---|---|---|
| 1.10 | Ayamiss descends from the air earlier; the hit points of some trash creatures were reduced. | Bossinerffi + trash nerf |
| 1.11 | Rajaxx encounter creature HP and general damage decreased. | Encounter nerf |
| 1.11 | Reduced the wait time for Rajaxx's waves. | Acceleration / shorter recovery |
| 1.11 | Added disposable crystal visible before the pull to Ossirian. | Progression QoL / relief |
No unique vanilla number nerf found for Kurinnaxx, Moami and Buru; they are not marked as nerfed based on general changes to the raid alone.
Ruins of Ahn'Qiraj in order of progression

Encounter 1 / 6 · Ruins of Ahn'Qiraj
Kurinnaxx
Sand Traps, stacking Mortal Wounds and 30% Frenzy.
Raid priorities
- Tanks will switch with the agreed stack of Mortal Wounds and let the debuff drop completely.
- Sand Trap is exited immediately; melee leaves each other room to move.
- Frenzy phase tank gets all the agreed defensive and healer attention.
Before the pull
- Name 2-3 tanks and stack limit for tank swap.
- Spread out the ranged/healers in a wide arc and space out the melee as well.
- Save damage cooldowns to 30% Frenzy.
Mechanics reference
Phase plan and tactic
Keep the boss centered and the raid spread evenly. Dodge the new sand eddies to the side.
New tank taunts at stack limit; the former stays away from hits until Mortal Wounds drops.
At less than 30%, use the tank's defensive, healing cooldowns and raid burst.
Role notes
Tanks
- Follow the agreed tank change, crystal and adds' picking plan.
- Call the boss control break and move the front cones out of the raid.
DPS
- Follow target priority before boss damage.
- Save cooldowns for the most dangerous phase of the encounter.
Healers
- Anticipates tank burst and encounter regular raid spikes.
- Conserve mana in long wave and kite encounters.
utility
- Use dispels, interrupts, crowd control and mana drain as agreed.
- Call spawns, crystals and transitions quickly.
Nerfs: what changed
- There is no documented vanilla number nerf for Kurinnaxx between patches 1.9 and 1.12.
- The guide covers the established Classic 1.12 and its full-fledged Mortal Wounds tank cycle.
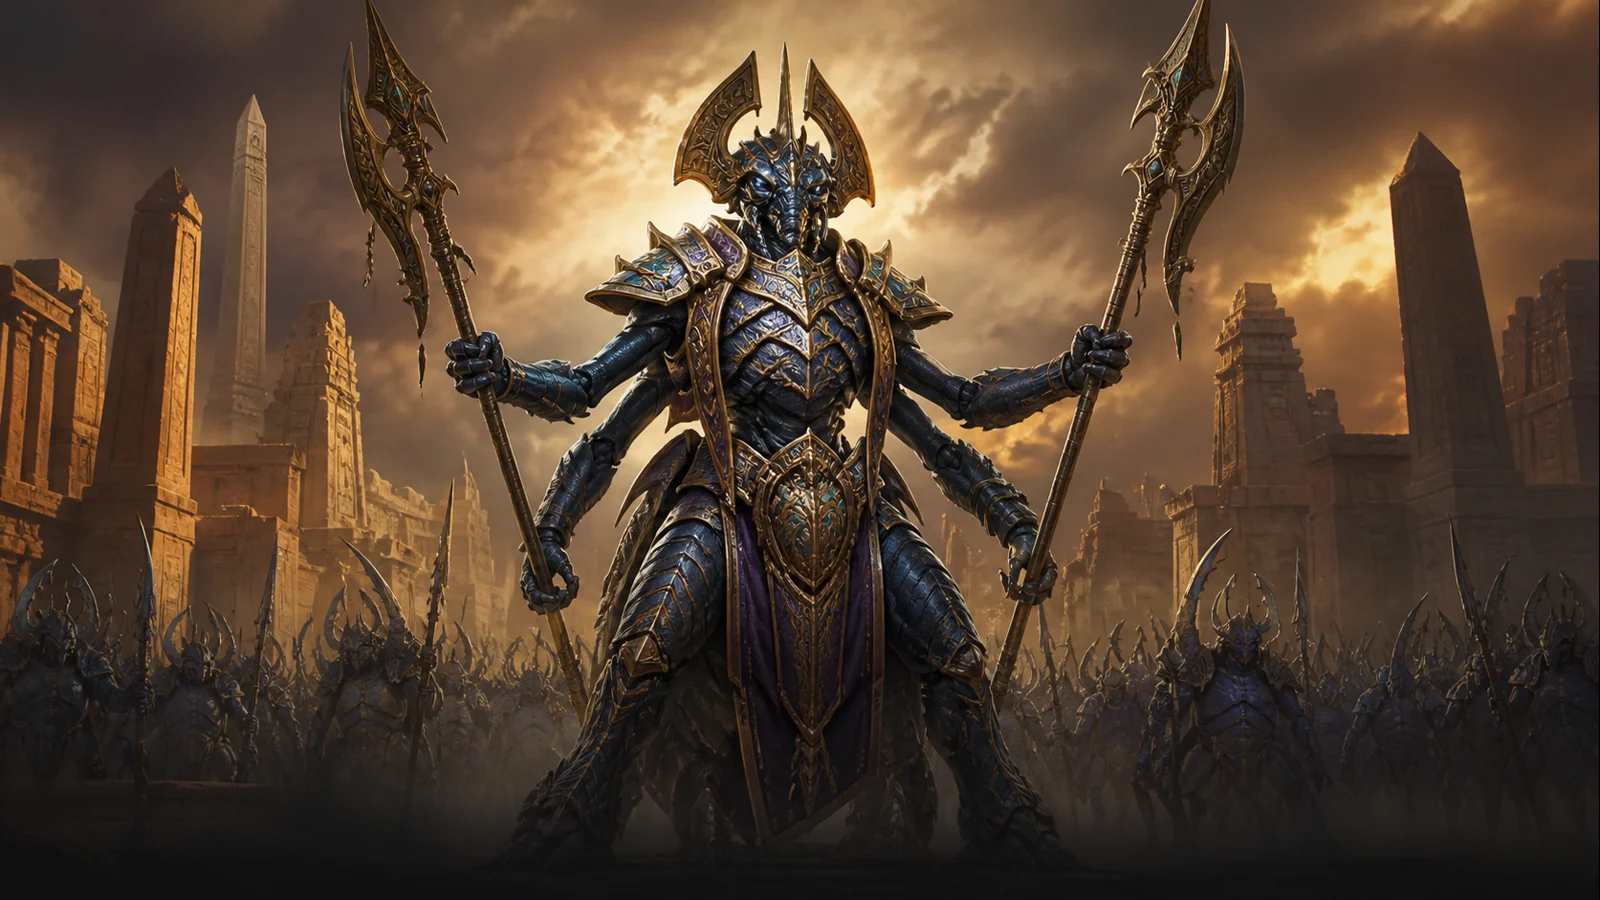
Encounter 2 / 6 · Ruins of Ahn'Qiraj
General Rajaxx
Seven waves in a row and immediate transfer to general.
Raid priorities
- The named Captain/Major/Colonel of each wave dies first.
- Andorov is kept alive for his aura and additional damage.
- The next wave is picked up in a controlled manner and not in the healer lane.
- Rajaxx is tanked against the wall after knockback.
Before the pull
- Distribute the tanks to the wave officers and additional adds and mark the kill order.
- Place the raid in Andorov's aura area but leave the tank pickup line clear.
- Agree is a mana consumable, CC and wall slot for Rajaxx's tank.
Mechanics reference
Phase plan and tactic
Tanks pick off the intruders from afar, the raid focuses the officer and controls the rest. Heal Andorov always before players in a safe space.
After the seventh wave, Rajaxx arrives quickly; the tank takes him on a ready wall and the raid spreads.
Keep the tank against the wall, raise the raid after Thundercrash and dominate during threat Disarm.
Role notes
Tanks
- Follow the agreed tank change, crystal and adds' picking plan.
- Call the boss control break and move the front cones out of the raid.
DPS
- Follow target priority before boss damage.
- Save cooldowns for the most dangerous phase of the encounter.
Healers
- Anticipates tank burst and encounter regular raid spikes.
- Conserve mana in long wave and kite encounters.
utility
- Use dispels, interrupts, crowd control and mana drain as agreed.
- Call spawns, crystals and transitions quickly.
Nerfs: what changed
- Patch 1.11 reduced the hit points of all creatures in the General Rajaxx encounter and reduced Rajaxx's damage.
- The same patch shortened the wait between waves. It made the encounter faster, but also reduced the recovery time between waves.
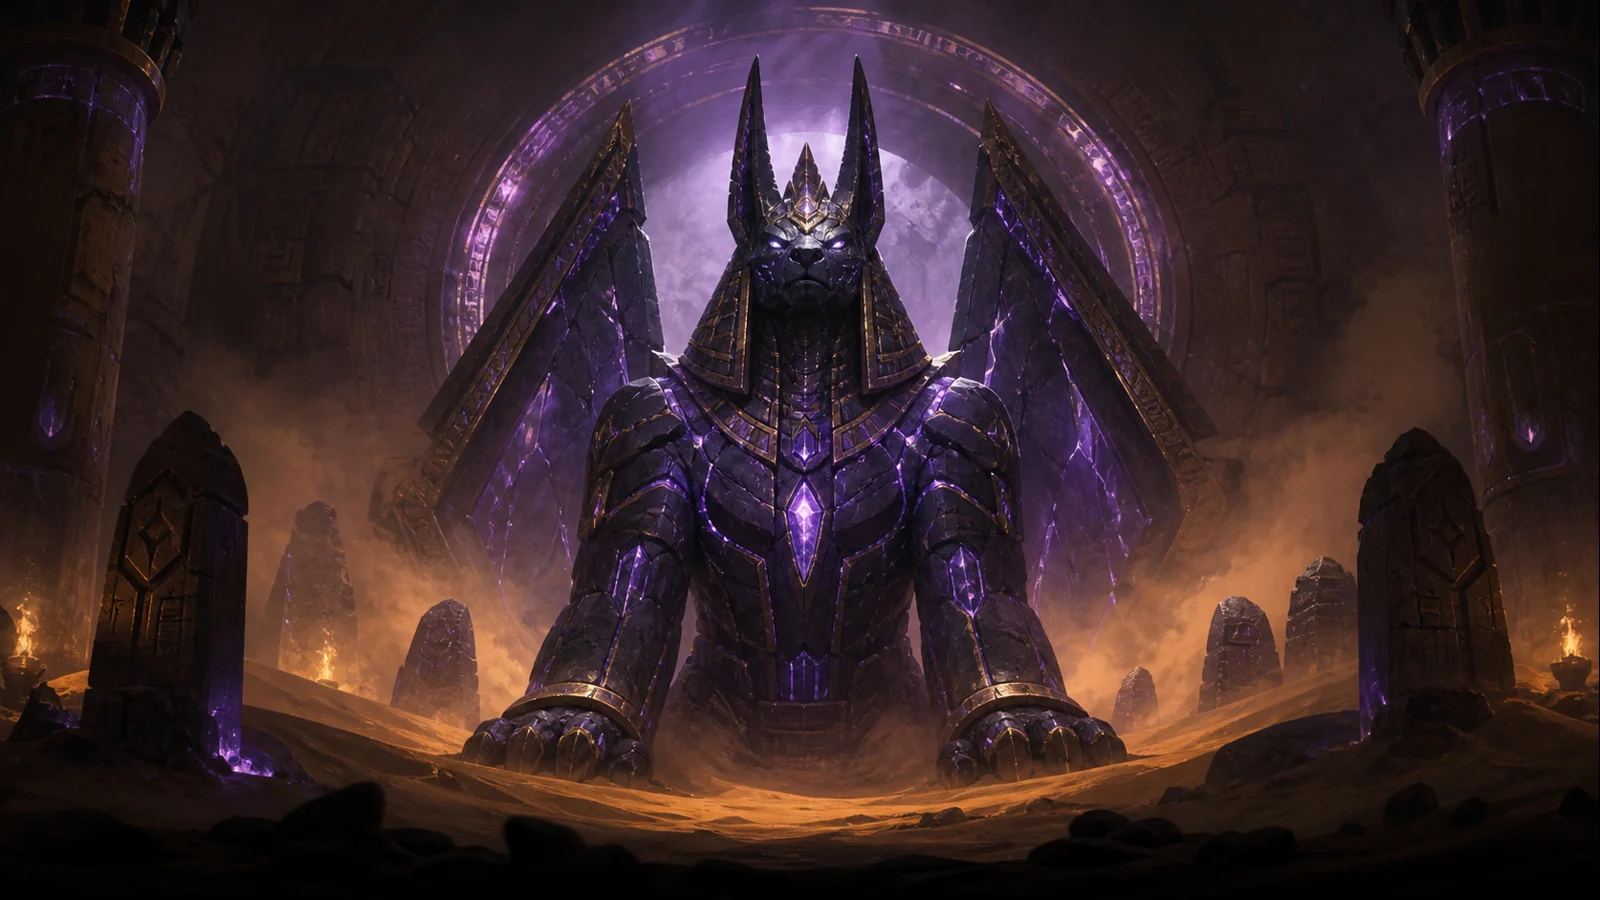
Encounter 3 / 6 · Ruins of Ahn'Qiraj
Moam
mana Drain, Arcane Eruption and a 90 second Stone Form race.
Raid priorities
- Moam's mana is kept away from full Arcane Eruption.
- Warlocks and priests use mana drain abilities constantly.
- Stone Form's mana Fiends are immediately controlled and cannot be freely casted.
Before the pull
- Bring multiple warlocks/priests to mana drain and agree is their target order.
- Name banishes to three mana Fiends or kill order if they are killed.
- Prepare Nature/Arcane damage heal and 90 second burst plan.
Mechanics reference
Phase plan and tactic
Tank Moam and start mana drain immediately. DPS use cooldowns to aim for a kill before Stone Form.
If the phase starts, control two Fiends and kill one at a time or kill them all quickly depending on the composition of the raid.
Return to Moam immediately, keep its mana empty and finish before another dangerous cycle.
Role notes
Tanks
- Follow the agreed tank change, crystal and adds' picking plan.
- Call the boss control break and move the front cones out of the raid.
DPS
- Follow target priority before boss damage.
- Save cooldowns for the most dangerous phase of the encounter.
Healers
- Anticipates tank burst and encounter regular raid spikes.
- Conserve mana in long wave and kite encounters.
utility
- Use dispels, interrupts, crowd control and mana drain as agreed.
- Call spawns, crystals and transitions quickly.
Nerfs: what changed
- There is no documented vanilla number nerf for Moam before Classic 1.12 mode.
- Patch 1.10 reduced the hit points of some raid trash creatures, but it shouldn't be called Moam's boss nerf.
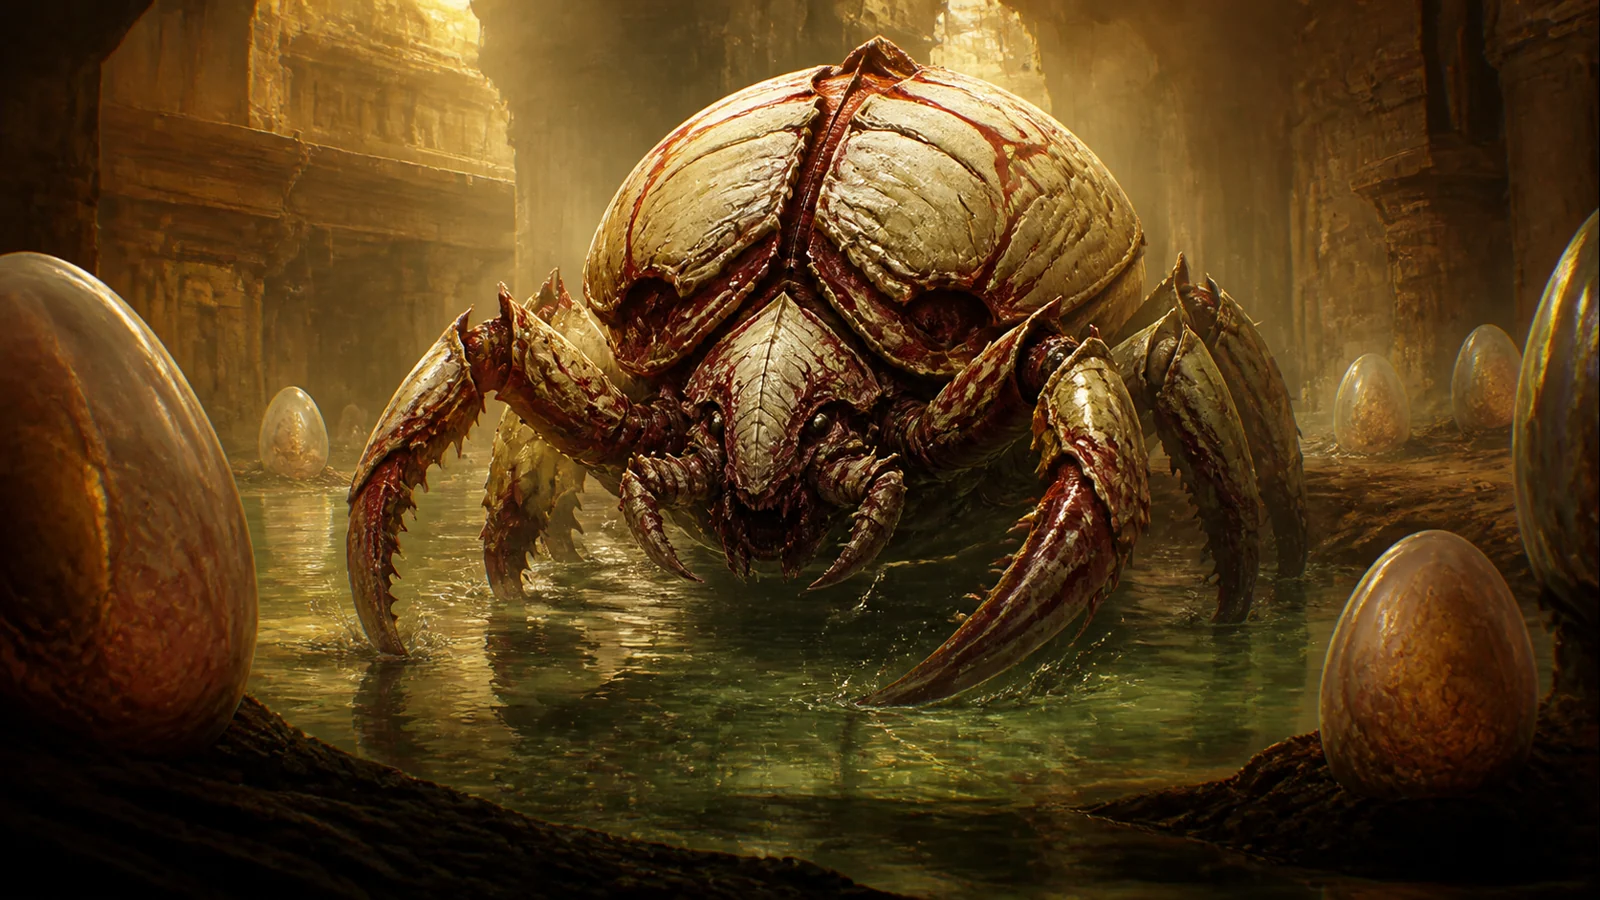
Encounter 4 / 6 · Ruins of Ahn'Qiraj
Buru the Gorger
Threatless crystal, exploding eggs and 20% final stage.
Raid priorities
- The egg will not explode until Buru is right next to it.
- The Kite target keeps the lead and does not lead the boss through the raid.
- When the carapace breaks, the adds are controlled and the final phase is quickly terminated.
Before the pull
- Mark the rotation direction of the eggs and clear the kite route.
- Split for calculating the health of ranged eggs and one accurate detonation-caller.
- Save AoE, defensive and healing cooldowns to 20% phase.
Mechanics reference
Phase plan and tactic
Prepare the next egg, crystal Buru on it and detonate only on the caller's command.
When Buru changes fixate, the new target continues the same route; healers follow a moving target.
In about 20 percent, the carapace breaks. Group up hatchlings, AoE them and use all cooldowns before Plague stacks grow.
Role notes
Tanks
- Follow the agreed tank change, crystal and adds' picking plan.
- Call the boss control break and move the front cones out of the raid.
DPS
- Follow target priority before boss damage.
- Save cooldowns for the most dangerous phase of the encounter.
Healers
- Anticipates tank burst and encounter regular raid spikes.
- Conserve mana in long wave and kite encounters.
utility
- Use dispels, interrupts, crowd control and mana drain as agreed.
- Call spawns, crystals and transitions quickly.
Nerfs: what changed
- There is no documented vanilla number nerf for Buru between patches 1.9 and 1.12.
- The mechanics remain the encounter's original egg and kite accuracy test.

Encounter 5 / 6 · Ruins of Ahn'Qiraj
Ayamiss the Hunter
Air phase, altar sacrifice and quick kill larva.
Raid priorities
- The larva that crawls to the altar always dies before the sacrificed player.
- Ranged deals first phase boss damage; melee saves resources for managing adds'.
- Swarmers are assembled and AoE-killed in a controlled manner.
Before the pull
- Split into ranged Ayamiss and melee/utility for a quick kill of larvae.
- Mark the altar approach line for target-calls.
- Agree on Stinger Spray raid Healing and Swarmer's AoE.
Mechanics reference
Phase plan and tactic
Ranged damages Ayamiss, melee waits near the altar and the entire raid switches to larva immediately.
When the boss lands at about 70%, the tank will pick it up and turn it away from the raid.
Kill larvae still first, group up Swarmers in AoE and use final cooldowns as tank pressure increases.
Role notes
Tanks
- Follow the agreed tank change, crystal and adds' picking plan.
- Call the boss control break and move the front cones out of the raid.
DPS
- Follow target priority before boss damage.
- Save cooldowns for the most dangerous phase of the encounter.
Healers
- Anticipates tank burst and encounter regular raid spikes.
- Conserve mana in long wave and kite encounters.
utility
- Use dispels, interrupts, crowd control and mana drain as agreed.
- Call spawns, crystals and transitions quickly.
Nerfs: what changed
- Patch 1.10 changed Ayamiss to drop from the air much earlier.
- The change increased the utility of melee DPS and shortened the air phase, so it was a clear encounter nerf.

Encounter 6 / 6 · Ruins of Ahn'Qiraj
Ossirian the Unscarred
Crystal chain, Supreme buff removal and continuous crystal.
Raid priorities
- The next crystal will be found and called before the end of the current weakness debuff.
- Ossirian can't tank with the Supreme buff.
- raid moves in unison for the crystal but dodges the wandering cyclones.
- Curse of Tongues is removed from critical caster and healer roles.
Before the pull
- Name two crystal scouts and one crystal activator.
- Name at least two tanks for War Stomp / threat exchanges.
- Agree is the movement direction of the raid, curse dispels and elemental vulnerability damage calls.
Mechanics reference
Phase plan and tactic
The first pre-visible crystal is activated as soon as Ossirian is in its area of effect.
The scouts look for the next crystal, the tank kites the boss there and the raid follows opening the cyclone. Activate before the end of weakness.
Casters switch to an active elemental school when possible, but movement and crystal timing are always more important than damage.
Keep the spare tank on the threat list and take out the boss after a War Stomp or a station collapse.
Role notes
Tanks
- Follow the agreed tank change, crystal and adds' picking plan.
- Call the boss control break and move the front cones out of the raid.
DPS
- Follow target priority before boss damage.
- Save cooldowns for the most dangerous phase of the encounter.
Healers
- Anticipates tank burst and encounter regular raid spikes.
- Conserve mana in long wave and kite encounters.
utility
- Use dispels, interrupts, crowd control and mana drain as agreed.
- Call spawns, crystals and transitions quickly.
Nerfs: what changed
- Patch 1.11 added a crystal that appears before the start of the encounter, which can be used like a regular crystal but does not respawn during the fight.
- The change made the start more predictable and was a clear progression relief, not a boss number nerf.
Sources and versioning
boss order, 20-player original version and encounter structure checked from Warcraft Wiki's Ruins of Ahn'Qiraj page. The change history is based on patch 1.10 and 1.11 notes.
- Warcraft Wiki — Ruins of Ahn'Qiraj
warcraft.wiki.gg/wiki/Ruins_of_Ahn%27Qiraj - Warcraft Wiki — Patch 1.10.0
warcraft.wiki.gg/wiki/Patch_1.10.0 - Warcraft Wiki — Patch 1.11.0
warcraft.wiki.gg/wiki/Patch_1.11.0 - Warcraft Wiki — Ayamiss the Hunter
warcraft.wiki.gg/wiki/Ayamiss - Warcraft Wiki — Ossirian the Unscarred
warcraft.wiki.gg/wiki/Ossirian
Season of Discovery's Descent into Madness changes raid size and encounters and is not to be confused with this original Classic guide. Updated 8/18/2026.