World of Warcraft Classic · Tier 1.5 · Zul’Gurub
Zul’Gurub tactics
All 13 bosses of the original 20-player raid in chronological order: preparations, mechanics, roles and documented change history.
Select a route and keep target priority visible
Zul’Gurub is not fully linear. This guide uses a practical progression order; some encounters are optional, and only the currently active Edge of Madness boss is available.
These tactics cover the original Classic Era / Anniversary 1.12 ruleset. Season of Discovery's 10-player redesign is not covered.
A complete guide to Classic's 20-player jungle raid
Zul'Gurub brings together five High Priests whose deaths weaken Hakkar, optional encounters with Bloodlord Mandokir and Jin'do, the summoned boss Gahz'ranka, the rotating Edge of Madness encounter and Hakkar's finale.
Quick links
Nerfs, Buffs and Fixes
Zul’Gurub launched in patch 1.7. Later Vanilla updates eased Mar’li, Thekal, Arlokk and Hakkar, but also buffed Mandokir and restored mechanics that had not been working.
| Patch | Change | Classification |
|---|---|---|
| 1.8 | Mar'li's spiders despawn on reset; Arlokk's panther spawns were slowed; Hakkar's Corrupted Blood no longer targets pets. | Nerfs / reset fixes |
| 1.8 | Jeklik's missing Frenzied Bloodseeker Bats returned. | Difficulty-increasing bug fix |
| 1.9.3 | Reduced Mar’li’s Poison Bolt Volley frequency and melee damage, Thekal’s damage, Arlokk’s panther spawn rate again, and Hakkar’s melee damage. | Encounter nerfs |
| 1.9.3 | Mandokir's post-Ohgan Vengeance strengthened. | Boss buff |
| 1.9.3 | Fixed targeting and threat behavior for Hakkar’s Cause Insanity. | Mechanic fix |
| 1.11 | Some of the trash and health of Clan speakers were reduced; Hakkar's berserk emote fixed. | Raid general relief / text fix |
The four bosses of Edge of Madness are listed separately for the sake of coverage, even though in the original raid they were encountered as the boss of the current rotation.
Zul’Gurub in order of progression
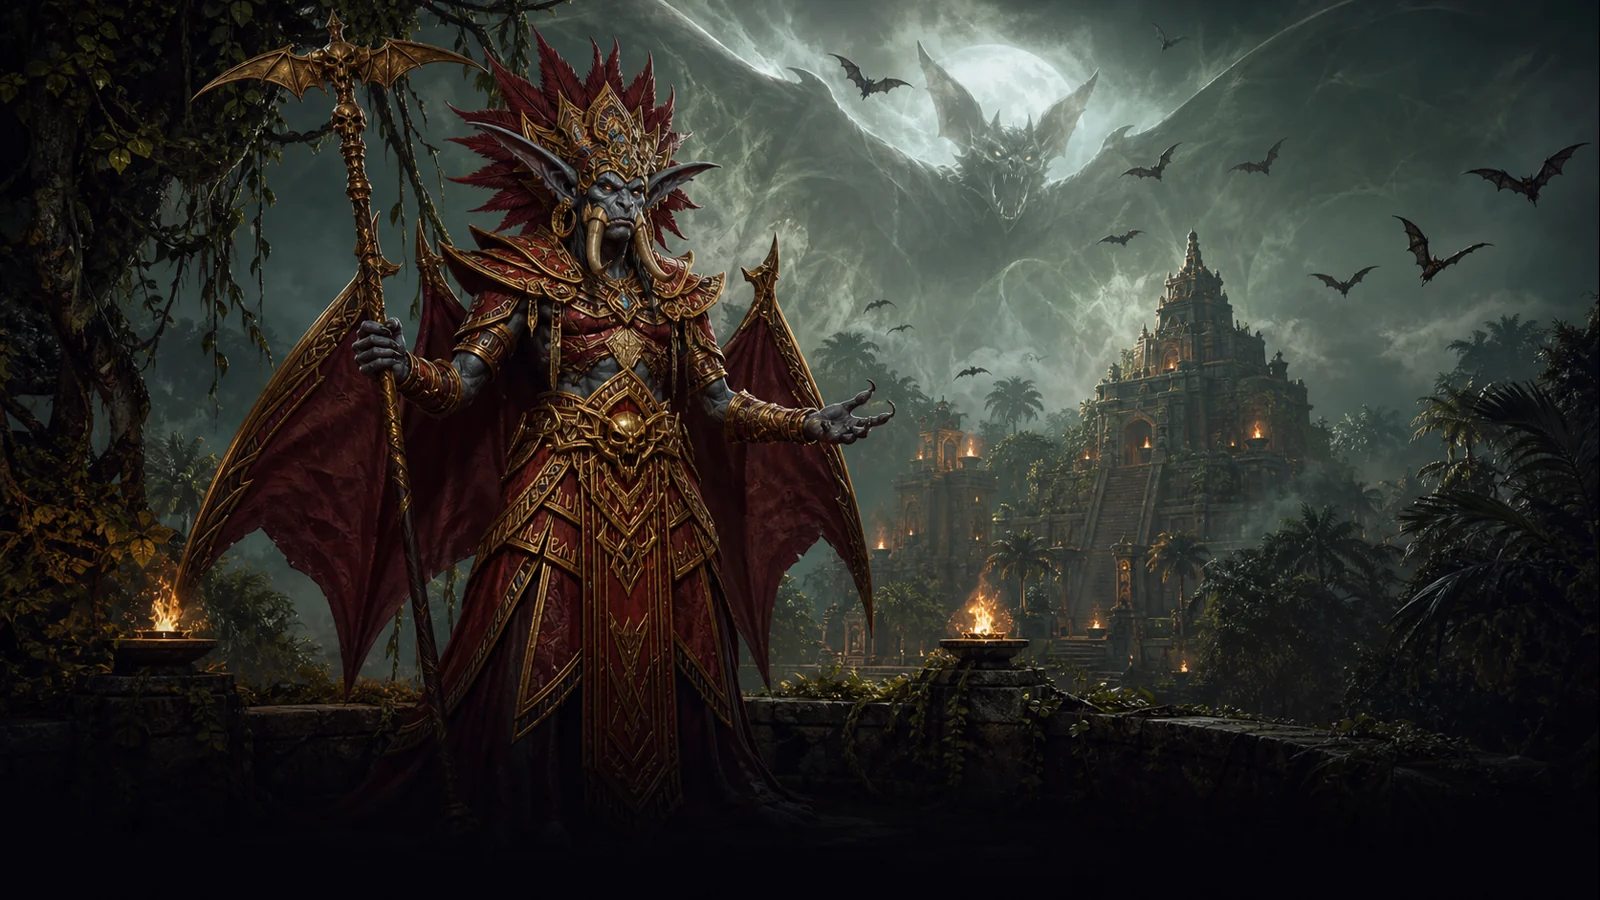
Encounter 1 / 13 · Zul’Gurub
High Priestess Jeklik
Bat phase, ground bombs and interruptible Greater Heal.
Raid priorities
- Greater Heal is always interrupted — one successful cast restores a large portion of the boss's health.
- Ranged players spread out for Charge and Silence, and everyone leaves firebomb areas promptly.
- Frenzied Bloodseeker Bats are killed before they burden the healers.
Before the pull
- Place the tank in front of the boss and the ranged/healers in a loose arc.
- Name interrupt rotation for second phase Greater Heal.
- Agree on bat target priority and the direction to move away from firebombs.
Mechanics reference
Phase plan and tactic
Keep the boss tanked and the raid scattered. Kill Bloodseeker bats instantly and heal charge targets.
At about 50 percent, move into interrupt range while preserving space to avoid firebombs.
Dodge the fires that stay on the ground, remove Shadow Word: Pain and cycle interruptions to Greater Heal until death.
Role notes
Tanks
- Pick up the boss and adds according to the agreed order.
- Keep dangerous front cones out of the raid and report loss of control.
DPS
- Follow the encounter's target priority before boss damage.
- Switch to an add, ward or totem as soon as the raid leader calls it.
Healers
- Anticipate burst damage on tanks and encounter-specific raid damage.
- Keep dispel responsibilities and mana adequate throughout the encounter.
Utility
- Use interrupts, dispels, crowd control and taunts in a prearranged rotation.
- Call dangerous spawns and transitions quickly.
Nerfs: what changed
- Patch 1.8 fixed a situation where Jeklik would not always summon Frenzied Bloodseeker Bats.
- The fix restored the intended add pressure, increasing difficulty rather than nerfing the encounter.
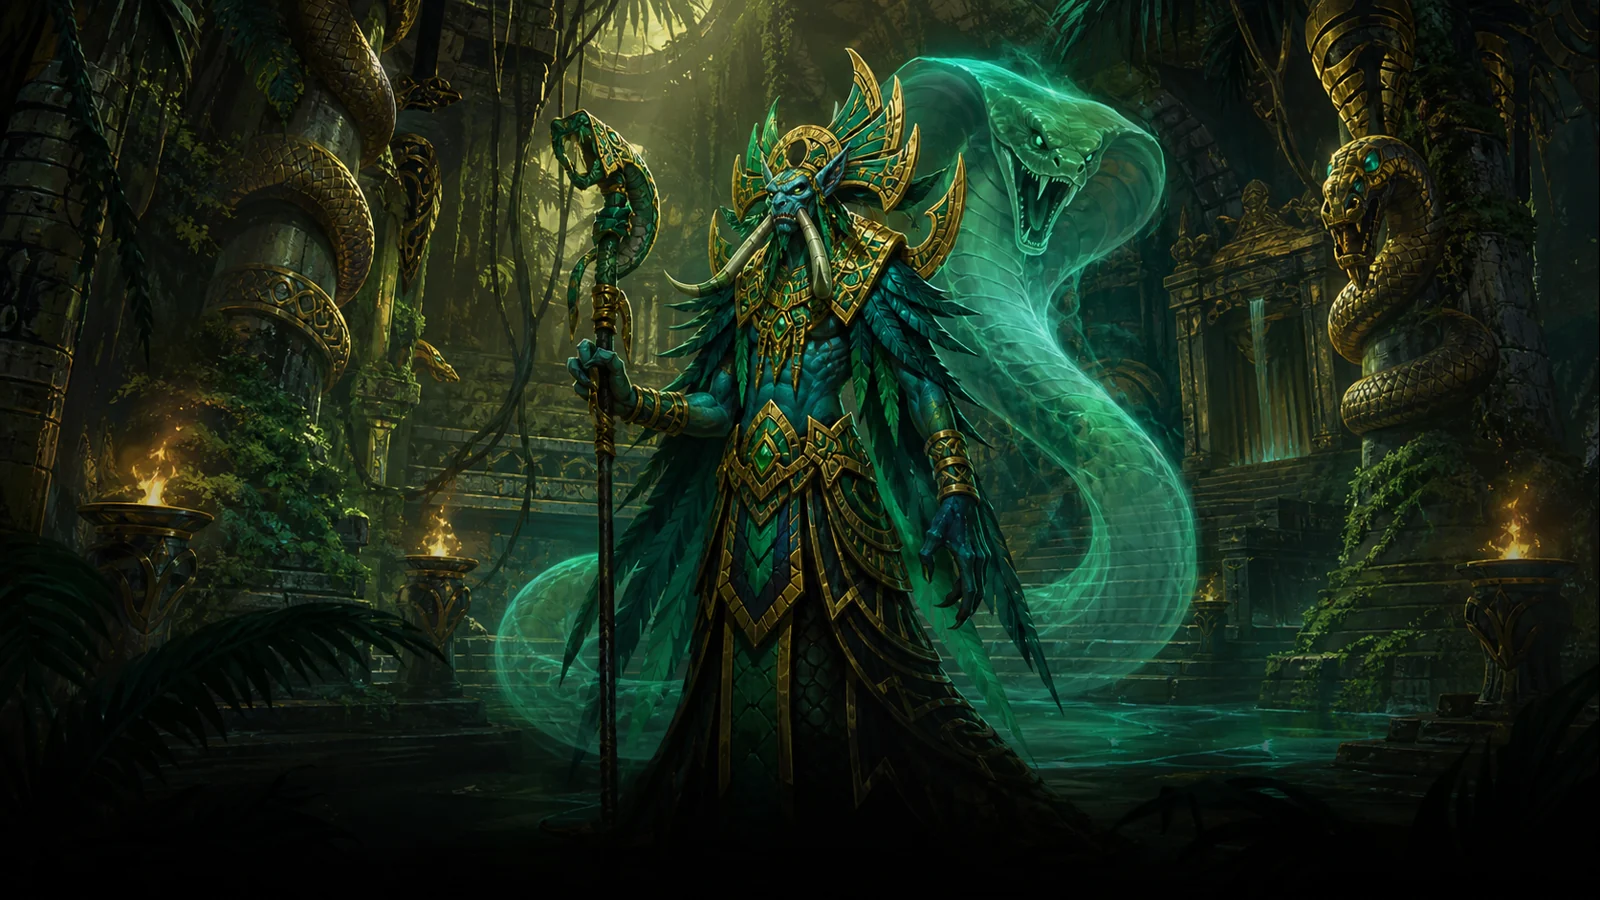
Encounter 2 / 13 · Zul’Gurub
High Priest Venoxis
Four snake adds, mana drain and a poisonous second phase.
Raid priorities
- Serpent Adds are not allowed to hit healers; they are systematically killed or controlled.
- Renew is dispelled from the boss and ranged stays clear against a Chain Holy Wrath type jump.
- Move out of Poison Cloud immediately, especially melee players during the snake phase.
Before the pull
- Mark four snakes and share tanks or crowd control.
- Place ranged/healers in a loose arc at maximum distance.
- Agree on enrage phase defensive and poison removals.
Mechanics reference
Phase plan and tactic
Tanks pick up Venoxis and the snakes. Crowd-control some snakes and kill the active targets in the marked order.
Keep your distance, dispel Renew and Holy Fire, and avoid unnecessary mana drain pressure.
The tank moves the boss away from Poison Cloud. Melee only follows to a safe place and the raid uses up the cooldowns.
Role notes
Tanks
- Pick up the boss and adds according to the agreed order.
- Keep dangerous front cones out of the raid and report loss of control.
DPS
- Follow the encounter's target priority before boss damage.
- Switch to an add, ward or totem as soon as the raid leader calls it.
Healers
- Anticipate burst damage on tanks and encounter-specific raid damage.
- Keep dispel responsibilities and mana adequate throughout the encounter.
Utility
- Use interrupts, dispels, crowd control and taunts in a prearranged rotation.
- Call dangerous spawns and transitions quickly.
Nerfs: what changed
- There is no documented Vanilla numerical nerf for Venoxis before 1.12.
- The tactics in the guide describe the established 20-player Classic version, not the redesigned encounter from Season of Discovery.
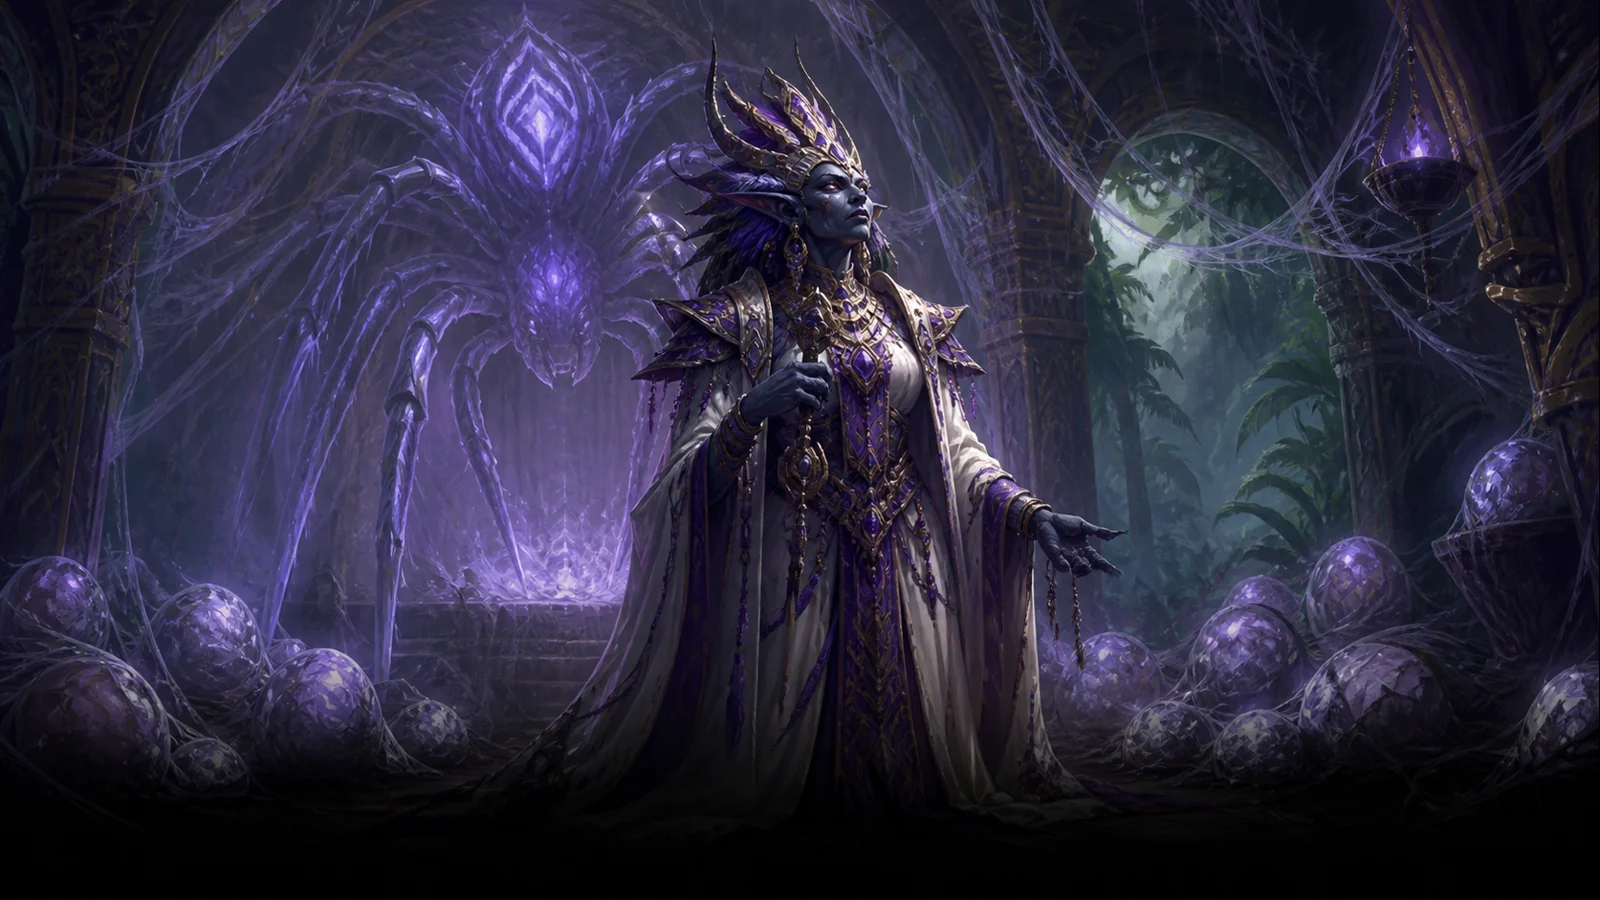
Encounter 3 / 13 · Zul’Gurub
High Priestess Mar’li
Spider waves, web and controlled tank change.
Raid priorities
- Spawned spiders die quickly and are not allowed to grow dangerous.
- The off-tank is ready to take over while the main tank is webbed.
- Heal Poison Bolt Volley damage and remove its poison where possible.
Before the pull
- Assign a main tank, an off-tank and a tank to collect spiders.
- Place the ranged/healers in a loose arc around the boss.
- Agree on AoE/cleave to spider waves and poison dispels.
Mechanics reference
Phase plan and tactic
Tank boss centrally, kill spawns immediately and keep ranged spread out.
When the tank is webbed and Mar'li charges, the off-tank taunts and returns the boss to its original location.
Kill new spiders before returning to boss damage, and keep removing poisons throughout the fight.
Role notes
Tanks
- Pick up the boss and adds according to the agreed order.
- Keep dangerous front cones out of the raid and report loss of control.
DPS
- Follow the encounter's target priority before boss damage.
- Switch to an add, ward or totem as soon as the raid leader calls it.
Healers
- Anticipate burst damage on tanks and encounter-specific raid damage.
- Keep dispel responsibilities and mana adequate throughout the encounter.
Utility
- Use interrupts, dispels, crowd control and taunts in a prearranged rotation.
- Call dangerous spawns and transitions quickly.
Nerfs: what changed
- Patch 1.8 changed Mar'li's summoned spiders to despawn when the encounter resets.
- Patch 1.9.3 increased the interval between Poison Bolt Volleys and slightly reduced Mar’li’s melee damage. Both were clear nerfs.
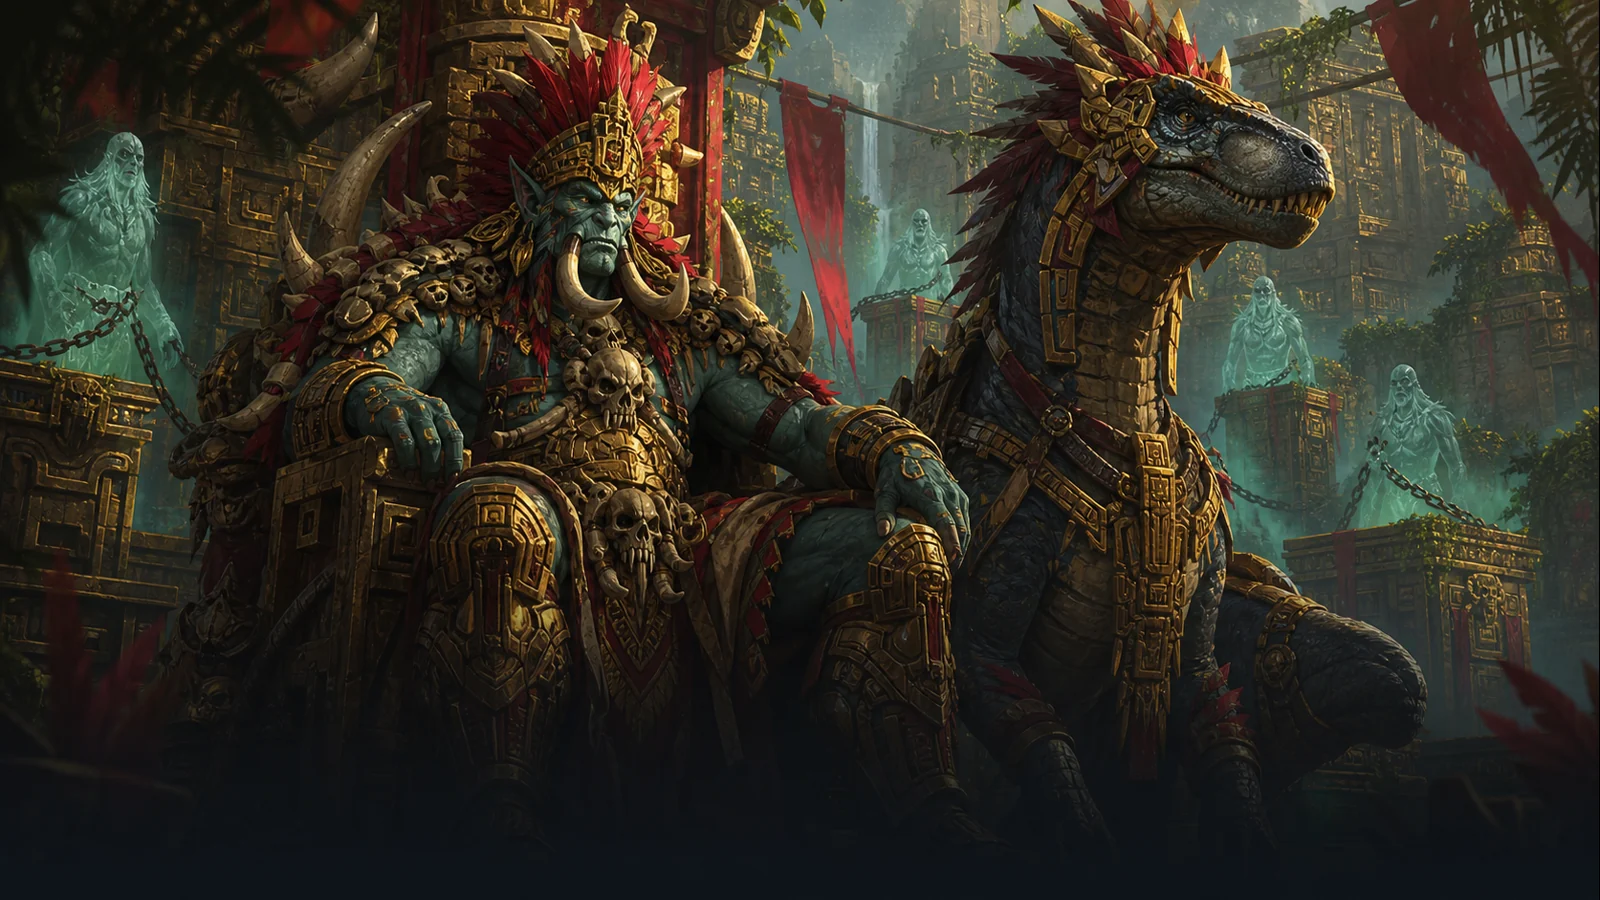
Encounter 4 / 13 · Zul’Gurub
Bloodlord Mandokir
Threatening Gaze, Ohgan and a boss who grows stronger when players die.
Raid priorities
- The Watch target stops attacking, casting, and other actions immediately.
- Deaths are avoided because Mandokir gets a permanent level-up boost from them.
- The tank gets big heals for Mortal Strike, and during Whirlwind, melee breaks out if necessary.
Before the pull
- Position Mandokir’s tank near the arena center and assign Ohgan a separate tank.
- Tell the entire raid how the Watch warning works before the pull.
- Agree on when to kill Ohgan and which tank cooldowns to use in the final phase.
Mechanics reference
Phase plan and tactic
Tank Mandokir and Ohgan apart. Ranged stays loose and everyone follows their own Watch warning.
Kill Raptor at the appointed time and prepare for Mandokir's Vengeance-type reinforcement.
Stay disciplined in Watch, avoid more deaths and use tank defensives for Mortal Strike windows.
Role notes
Tanks
- Pick up the boss and adds according to the agreed order.
- Keep dangerous front cones out of the raid and report loss of control.
DPS
- Follow the encounter's target priority before boss damage.
- Switch to an add, ward or totem as soon as the raid leader calls it.
Healers
- Anticipate burst damage on tanks and encounter-specific raid damage.
- Keep dispel responsibilities and mana adequate throughout the encounter.
Utility
- Use interrupts, dispels, crowd control and taunts in a prearranged rotation.
- Call dangerous spawns and transitions quickly.
Nerfs: what changed
- Patch 1.9.3 increased the power of Mandokir's Vengeance effect after Ohgan's death.
- This was a documented boss buff, not a nerf; In the 1.12 tactic, the pressure after killing Ohgan is taken into account.
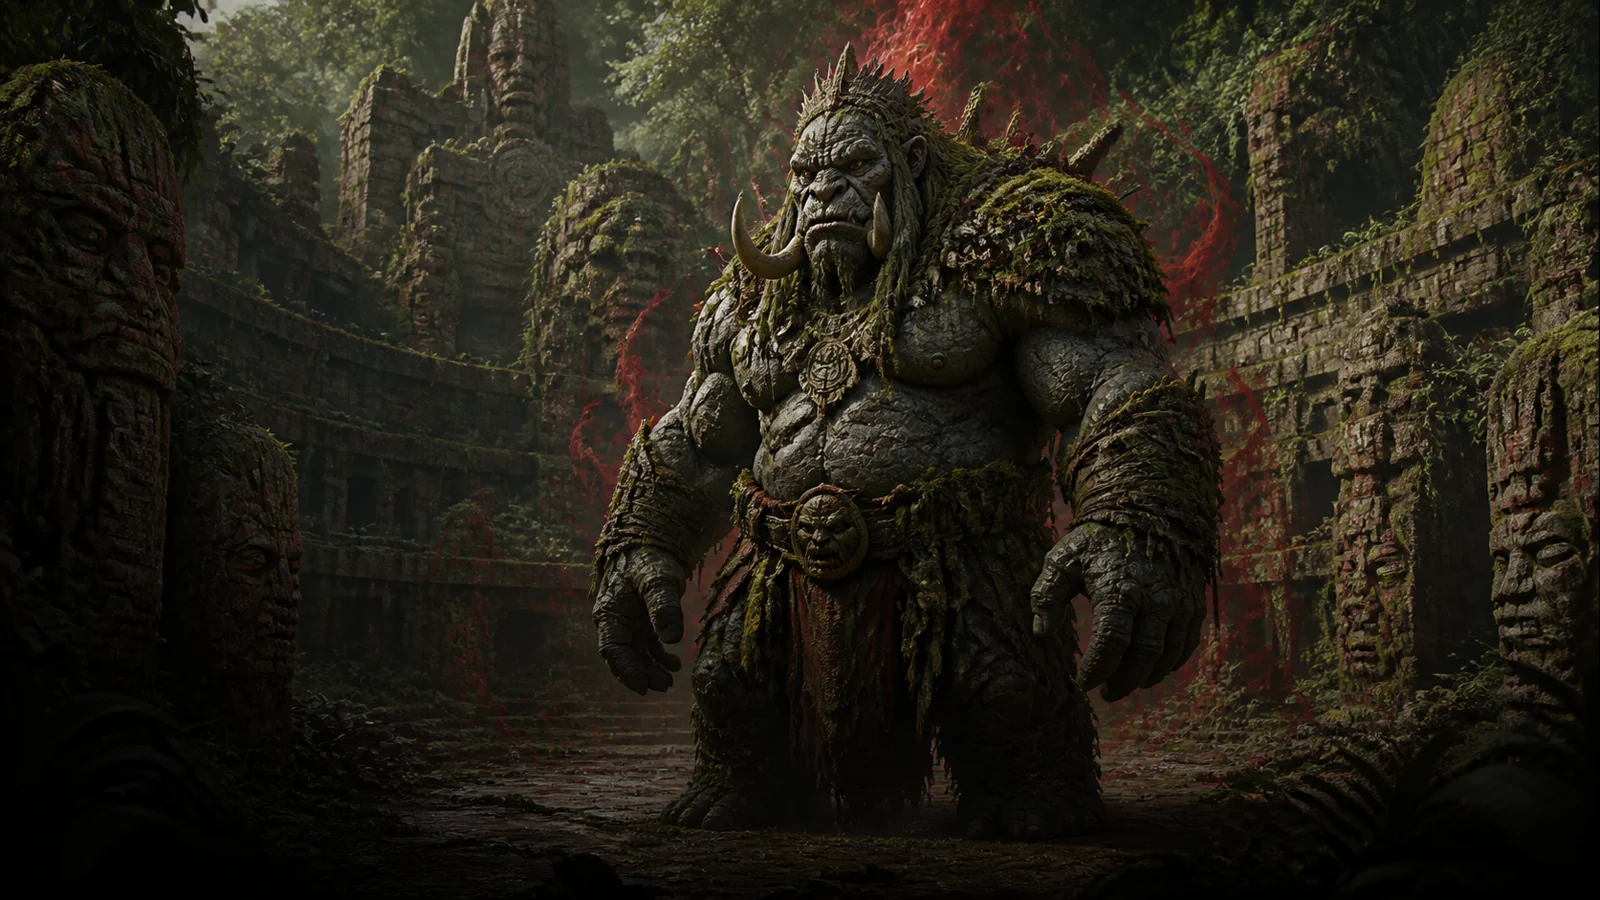
Encounter 5 / 13 · Zul’Gurub
Gri’lek
Slow moving Avatar, fixate and clear kite phase.
Raid priorities
- The fixated player must not lead Gri’lek through the raid.
- Melee detaches during the Avatar phase and does not attempt to tank the boosted boss.
- The kite route is kept clear and movement is predicted.
Before the pull
- Clear the area and define a wide kite perimeter.
- Agree on the fixate target's movement route and an emergency slow.
- Remember that the Edge of Madness boss depends on the weekly rotation of the original event.
Mechanics reference
Phase plan and tactic
Tank boss in the middle and do steady damage.
The fixated player kites around the outer ring. Others clear the path while ranged players continue safe damage.
After the avatar ends, the tank will take back the boss before the raid returns to its place.
Role notes
Tanks
- Pick up the boss and adds according to the agreed order.
- Keep dangerous front cones out of the raid and report loss of control.
DPS
- Follow the encounter's target priority before boss damage.
- Switch to an add, ward or totem as soon as the raid leader calls it.
Healers
- Anticipate burst damage on tanks and encounter-specific raid damage.
- Keep dispel responsibilities and mana adequate throughout the encounter.
Utility
- Use interrupts, dispels, crowd control and taunts in a prearranged rotation.
- Call dangerous spawns and transitions quickly.
Nerfs: what changed
- There is no documented Vanilla numerical nerf for Gri'lek.
- Season of Discovery's Edge of Madness selection mechanic is not included in the weekly rotation of the original 20-player raid.

Encounter 6 / 13 · Zul’Gurub
Hazza’rah
Sleep, Mana Burn and Nightmare Illusions that must be killed quickly.
Raid priorities
- Nightmare Illusions are everyone's first target.
- Mana users reduce unnecessary risk and healers maintain reserve.
- Stay spread out and respond quickly when players are put to sleep.
Before the pull
- Place ranged/healers evenly around the boss.
- Assign instant ranged attacks and melee players to kill the adds.
- Keep defensive and health consumables for Sleep combos.
Mechanics reference
Phase plan and tactic
Tank solidly and keep the raid clear.
Immediately switch to the nearest Nightmare Illusion. Stun and kill it before it reaches its target.
Healers save mana and the raid uses consumables if mana Burn lowers end phase durability.
Role notes
Tanks
- Pick up the boss and adds according to the agreed order.
- Keep dangerous front cones out of the raid and report loss of control.
DPS
- Follow the encounter's target priority before boss damage.
- Switch to an add, ward or totem as soon as the raid leader calls it.
Healers
- Anticipate burst damage on tanks and encounter-specific raid damage.
- Keep dispel responsibilities and mana adequate throughout the encounter.
Utility
- Use interrupts, dispels, crowd control and taunts in a prearranged rotation.
- Call dangerous spawns and transitions quickly.
Nerfs: what changed
- There is no documented Vanilla numerical nerf for Hazza'rah before 1.12.
- The guide covers the encounter of the original Edge of Madness rotation.

Encounter 7 / 13 · Zul’Gurub
Renataki
Vanish, Ambush and tank control breaking Gouge.
Raid priorities
- The off-tank stays ready to take over when the main tank is affected by Gouge.
- Healers immediately restore health to the Ambush target.
- Melee doesn't get stuck on Thousand Blades damage unnecessarily.
Before the pull
- Assign two tanks and make sure both actively build threat.
- Keep ranged/healers loose but within heal distance.
- Assign a quick target call when the boss reappears after Vanish.
Mechanics reference
Phase plan and tactic
Main tank keeps boss in place and off-tank builds threat.
The raid stays calm while healers prepare for Ambush. When the boss reappears, a tank immediately takes him back.
Melee disengages when needed and only returns after a dangerous sequence.
Role notes
Tanks
- Pick up the boss and adds according to the agreed order.
- Keep dangerous front cones out of the raid and report loss of control.
DPS
- Follow the encounter's target priority before boss damage.
- Switch to an add, ward or totem as soon as the raid leader calls it.
Healers
- Anticipate burst damage on tanks and encounter-specific raid damage.
- Keep dispel responsibilities and mana adequate throughout the encounter.
Utility
- Use interrupts, dispels, crowd control and taunts in a prearranged rotation.
- Call dangerous spawns and transitions quickly.
Nerfs: what changed
- Renataki does not have his own Vanilla numerical nerf documented.
- The original weekly rotation is separated from the modified event of Season of Discovery.

Encounter 8 / 13 · Zul’Gurub
Wushoolay
Lightning Cloud, Chain Lightning and controlled distance.
Raid priorities
- Move out of Lightning Cloud immediately and do not tank the boss inside it.
- Players keep their distance against Chain Lightning.
- The tank returns control of the boss after the Rush move.
Before the pull
- Mark a movement path for the tank between the clouds.
- Spread ranged/healers across the usable area.
- Assign a backup tank and agree on using Nature protection consumables.
Mechanics reference
Phase plan and tactic
Tank boss at the edges of the clouds and keep the rest of the raid in a loose arc.
The tank immediately moves Wushoolay to a clear area so the melee can continue.
The target moves away from the others and the tank restores the boss before another damage cycle.
Role notes
Tanks
- Pick up the boss and adds according to the agreed order.
- Keep dangerous front cones out of the raid and report loss of control.
DPS
- Follow the encounter's target priority before boss damage.
- Switch to an add, ward or totem as soon as the raid leader calls it.
Healers
- Anticipate burst damage on tanks and encounter-specific raid damage.
- Keep dispel responsibilities and mana adequate throughout the encounter.
Utility
- Use interrupts, dispels, crowd control and taunts in a prearranged rotation.
- Call dangerous spawns and transitions quickly.
Nerfs: what changed
- There is no documented Vanilla numerical nerf for Wushoolay before 1.12.
- Season of Discovery event changes are not applied to this guide.

Encounter 9 / 13 · Zul’Gurub
Gahz’ranka
A hydra summoned through fishing, with knock-ups and Frost Breath.
Raid priorities
- Frost Breath does not hit raid.
- Players hit by Massive Geyser need a safe landing area, clear of dangerous terrain.
- The tank restores Gahz’ranka’s positioning after each knockback.
Before the pull
- Obtain the Mudskunk Lure and necessary Zulian Mudskunks for summoning.
- Clear Pagle's Point and choose which direction the tank will face the boss.
- Keep the raid on the sides of the boss, not in front of the muzzle.
Mechanics reference
Phase plan and tactic
Clear the area before using the lure and make sure the entire raid is ready.
Turn the muzzle away from the raid and keep the flanks open for the melee group.
Spread out slightly. Healers prepare for the initial hit and fall damage before the next attack on the tank.
Role notes
Tanks
- Pick up the boss and adds according to the agreed order.
- Keep dangerous front cones out of the raid and report loss of control.
DPS
- Follow the encounter's target priority before boss damage.
- Switch to an add, ward or totem as soon as the raid leader calls it.
Healers
- Anticipate burst damage on tanks and encounter-specific raid damage.
- Keep dispel responsibilities and mana adequate throughout the encounter.
Utility
- Use interrupts, dispels, crowd control and taunts in a predetermined rotation.
- Call dangerous spawns and transitions quickly.
Nerfs: what changed
- No numerical Vanilla nerf is documented for Gahz’ranka.
- Encounter summoning method and core abilities remained stable in Classic 1.12 mode.
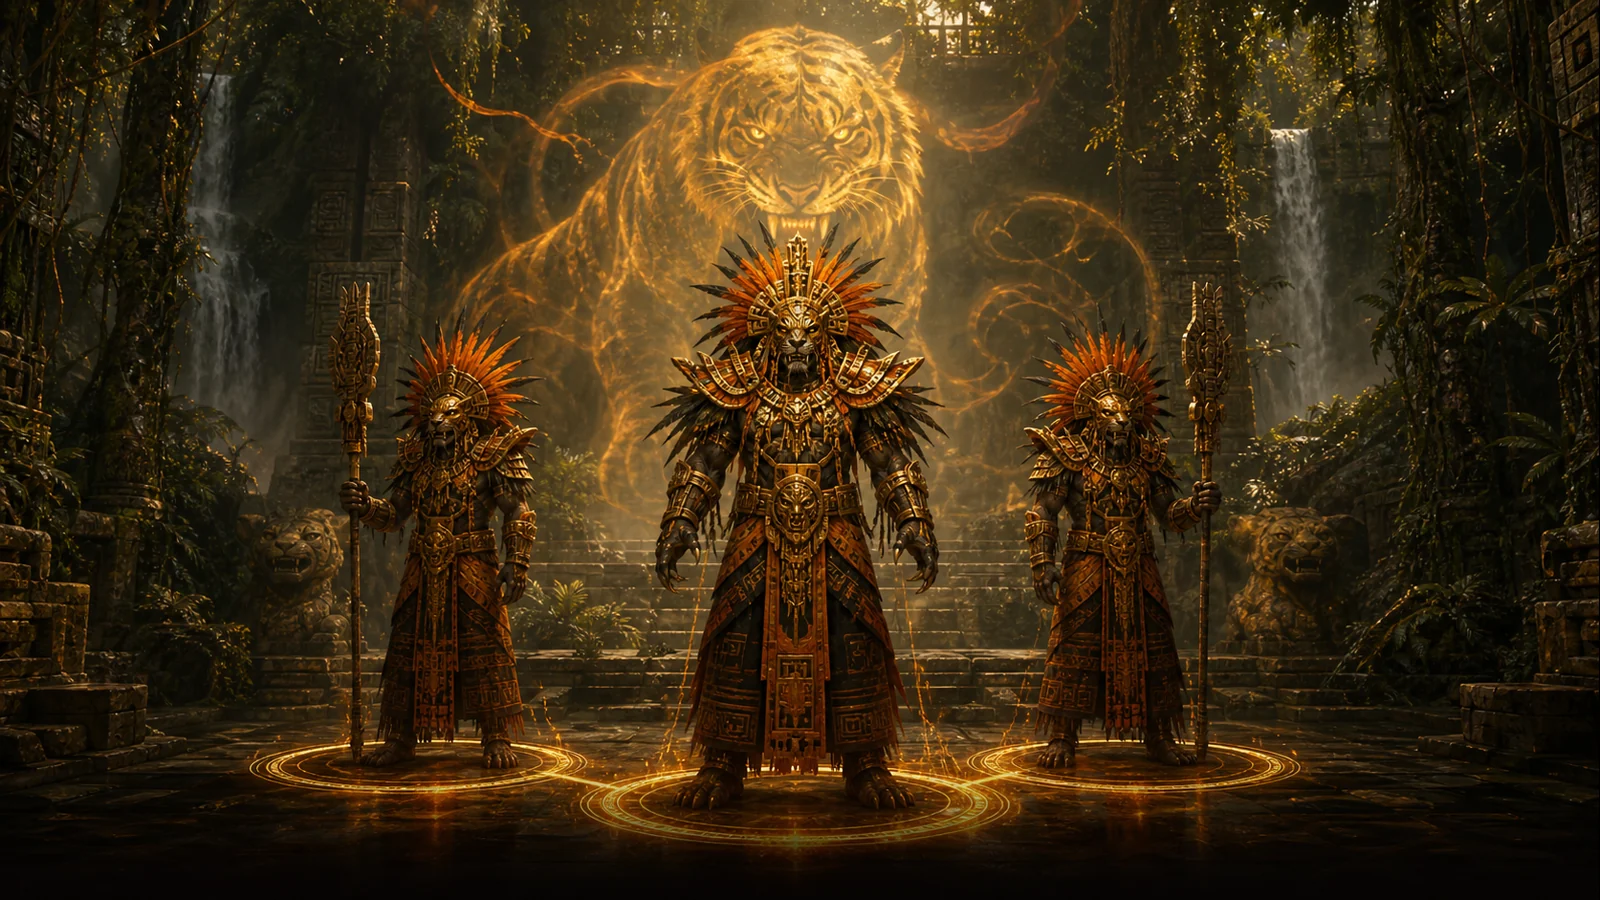
Encounter 10 / 13 · Zul’Gurub
High Priest Thekal
Three-target synchronized kill and tiger phase adds.
Raid priorities
- Balance the health of all three phase-one targets and synchronize their deaths.
- Interrupt Lor'Khan's Greater Heal and remove healing effects where possible.
- In the second stage, the tiger add cannot reach the healers.
Before the pull
- Assign own tanks to Thekal, Lor'Khan and Zath.
- Name Lor'Khan's interrupt rotation and three health callers.
- Select a tiger stage wall slot for Force Punch.
Mechanics reference
Phase plan and tactic
Tank the trio apart, interrupt Lor'Khan and reduce each to around 10%.
Call a coordinated finish: kill all three within about ten seconds, saving cooldowns for phase two.
The tank holds tiger-form Thekal with their back to a wall. Pick up and AoE the adds while the raid handles charges and knockbacks.
Role notes
Tanks
- Pick up the boss and adds according to the agreed order.
- Keep dangerous front cones out of the raid and report loss of control.
DPS
- Follow the encounter's target priority before boss damage.
- Switch to an add, ward or totem as soon as the raid leader calls it.
Healers
- Anticipate burst damage on tanks and encounter-specific raid damage.
- Keep dispel responsibilities and mana adequate throughout the encounter.
Utility
- Use interrupts, dispels, crowd control and taunts in a prearranged rotation.
- Call dangerous spawns and transitions quickly.
Nerfs: what changed
- Patch 1.9.3 reduced the total damage of High Priest Thekal.
- The change was a documented encounter nerf; The Classic 1.12 guide describes the version after this.

Encounter 11 / 13 · Zul’Gurub
High Priestess Arlokk
Marked players, panther waves and Vanish/Ambush.
Raid priorities
- Keep panthers under control so they cannot overwhelm the Mark of Arlokk target.
- The tanks in the pens pick up the spawns right away and the DPS switches to them as agreed.
- After vanishing, the boss is returned to the center quickly.
Before the pull
- Place the tank at the gate of each of the panther pens.
- Mark the center of the raid and the safe place for the Mark.
- Agree on adds' AoE/cleave and boss-call after Vanish.
Mechanics reference
Phase plan and tactic
Gate tanks collect panthers and bring them into cleave range or hold them for kills at the gate. Keep the marked player protected.
Keep Arlokk in the middle and raid wide for Ambush.
Healers prepare for Arlokk’s return strike. The tank taunts immediately while DPS first deals with active adds.
Role notes
Tanks
- Pick up the boss and adds according to the agreed order.
- Keep dangerous front cones out of the raid and report loss of control.
DPS
- Follow the encounter's target priority before boss damage.
- Switch to an add, ward or totem as soon as the raid leader calls it.
Healers
- Anticipate burst damage on tanks and encounter-specific raid damage.
- Keep dispel responsibilities and mana adequate throughout the encounter.
Utility
- Use interrupts, dispels, crowd control and taunts in a predetermined rotation.
- Call dangerous spawns and transitions quickly.
Nerfs: what changed
- Patch 1.8 slowed the spawn rate of Arlokk's panthers.
- Patch 1.9.3 slowed the spawn rate again. Both were clear add pressure reducing nerfs.
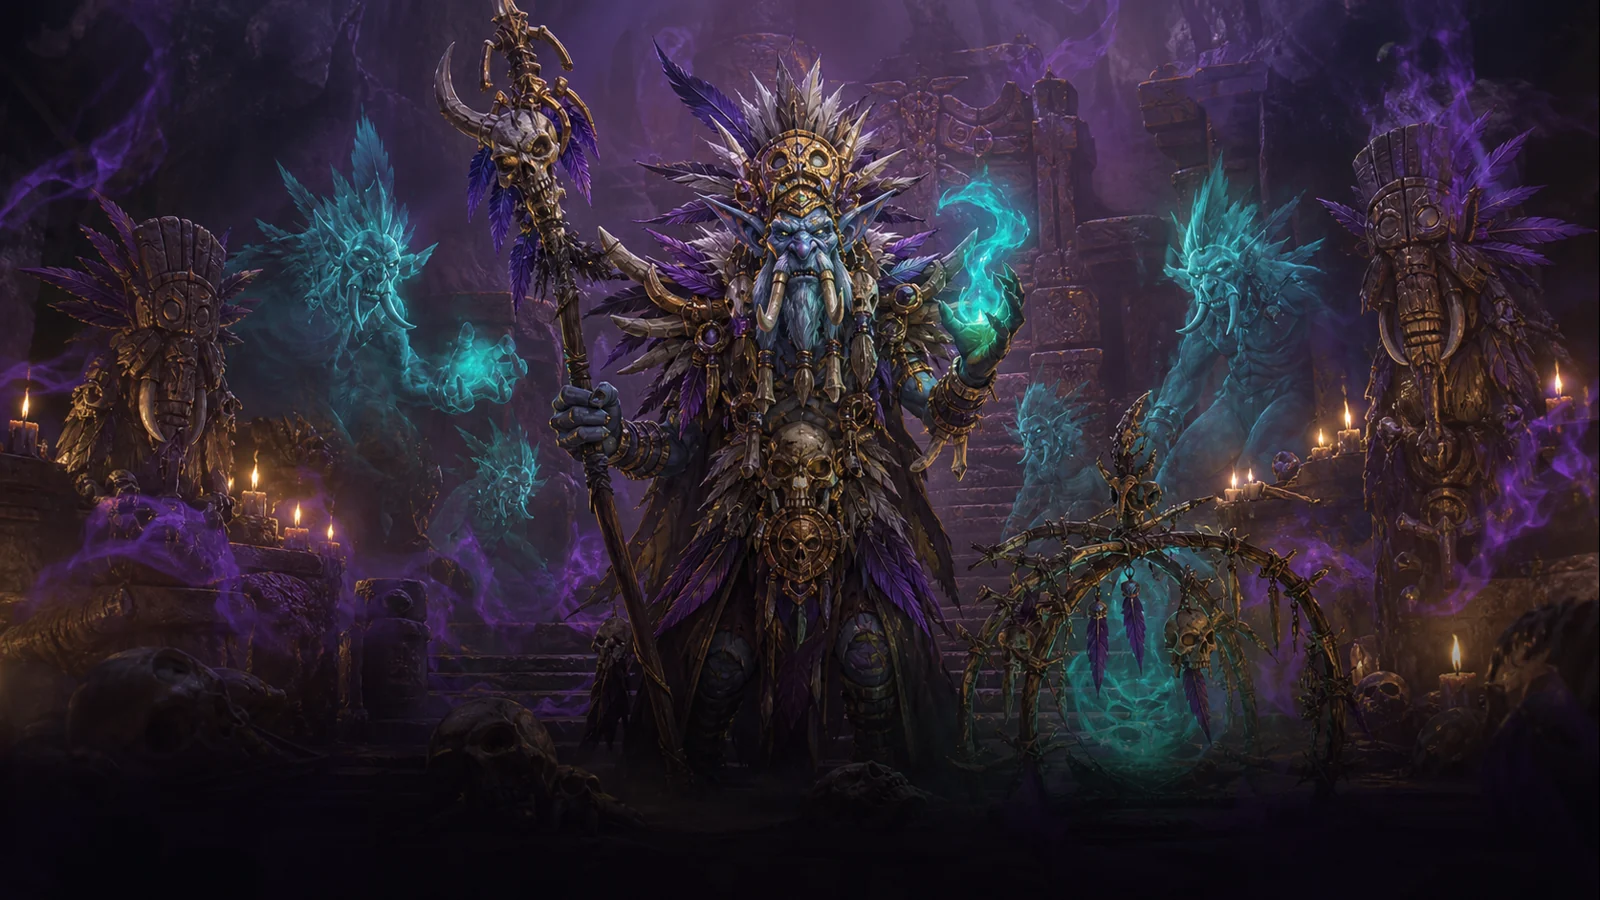
Encounter 12 / 13 · Zul’Gurub
Jin’do the Hexxer
Healing Wards, Brain Wash Totems and Delusion Shadows.
Raid priorities
- Powerful Healing Ward is always the first target.
- Brain Wash Totem is destroyed before mind control breaks up the raid.
- Delusion targets kill visible Shades and get heal or dispel support if needed.
Before the pull
- Place the ranged/healers so that the totems in the entire room are quickly accessible.
- Name a ranged target-caller for Wards and Totems.
- Review the task of players affected by Delusions and assign Hex dispels.
Mechanics reference
Phase plan and tactic
Tank Jin'do in the middle and keep ranged covering the entire totem area.
Powerful Healing Ward > Brain Wash Totem > dangerous Shades > Jin’do. Switch to target right from the call.
Players with the debuff find and kill the Shades. Do not automatically remove Delusions before the spirits are under control.
Role notes
Tanks
- Pick up the boss and adds according to the agreed order.
- Keep dangerous front cones out of the raid and report loss of control.
DPS
- Follow the encounter's target priority before boss damage.
- Switch to an add, ward or totem as soon as the raid leader calls it.
Healers
- Anticipate burst damage on tanks and encounter-specific raid damage.
- Keep dispel responsibilities and mana adequate throughout the encounter.
Utility
- Use interrupts, dispels, crowd control and taunts in a prearranged rotation.
- Call dangerous spawns and transitions quickly.
Nerfs: what changed
- There is no documented Vanilla combat numerical nerf for Jin'do prior to 1.12.
- Patch 1.10 removed the Hexxer's Head item from the requirement of one quest; the change was about the task, not the difficulty of the encounter.
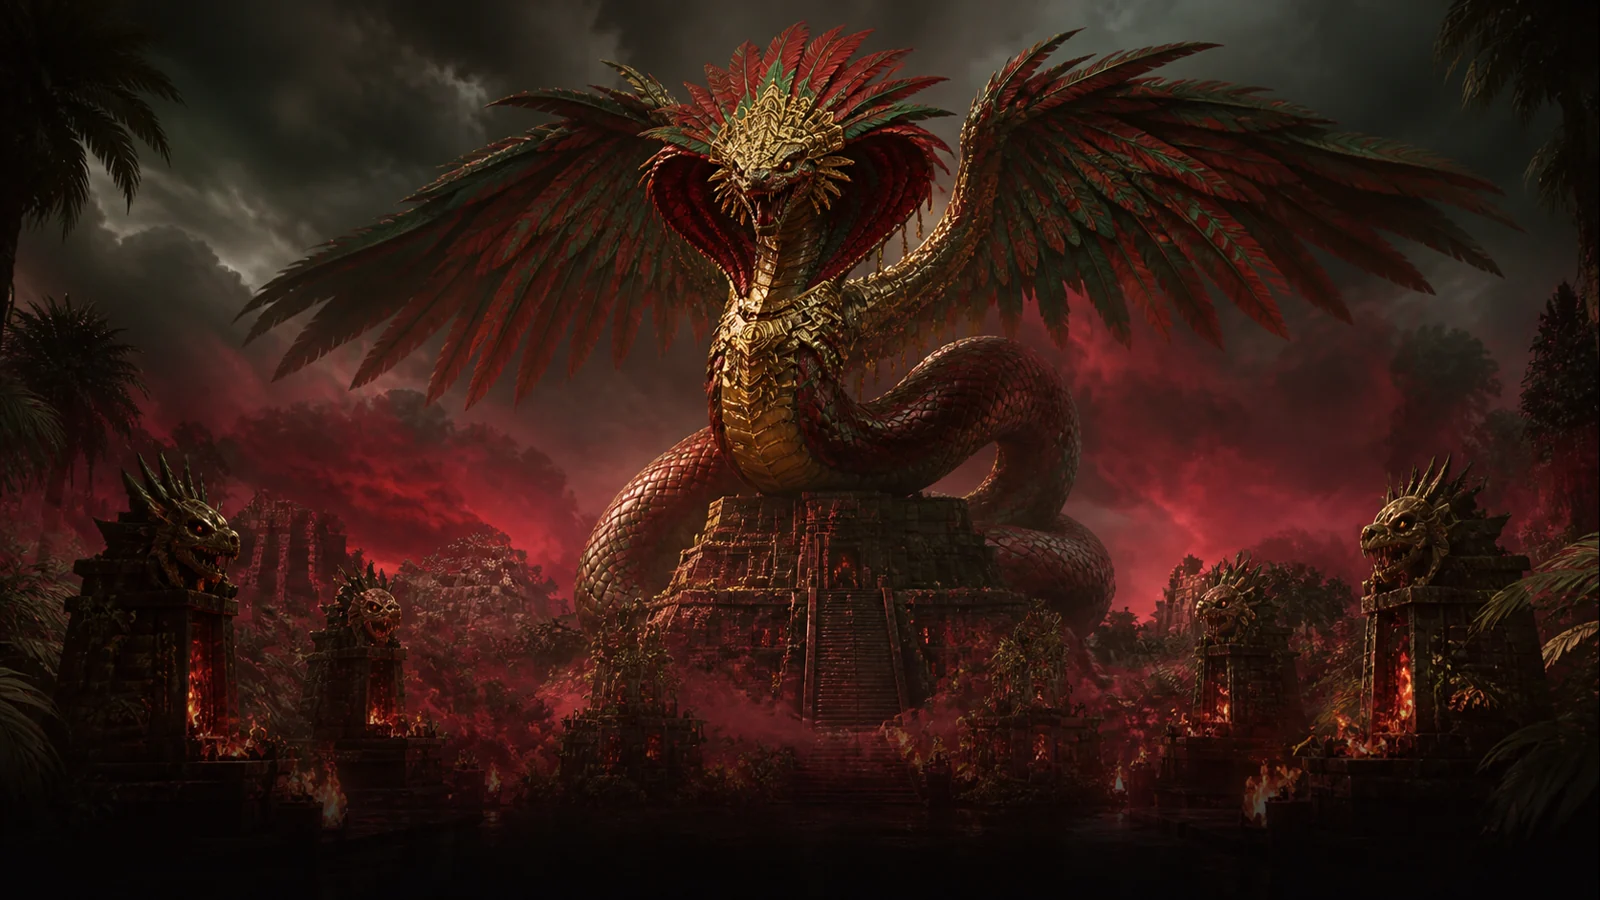
Encounter 13 / 13 · Zul’Gurub
Hakkar the Soulflayer
Corrupted Blood, poisoned Blood Siphons and high-priest aspects.
Raid priorities
- Make sure the raid gains Poisonous Blood just before every Blood Siphon by killing the add at the assigned location.
- Corrupted Blood does not chain to a tight group of players.
- The Mind control target is controlled without breaking the raid, and the tank's threat is preserved in transitions.
- All five priests are killed before the standard attempt.
Before the pull
- Make sure Jeklik, Venoxis, Mar'li, Thekal and Arlokk are dead in the current lockout.
- Place the ranged/healers in a loose ring and name the tank/kill spot for Son of Hakkar.
- Time add's kill to Blood Siphon cycle and agree on mind control.
Mechanics reference
Phase plan and tactic
Kill all five priests. Draw Hakkar and keep ranged wide to prevent Corrupted Blood from spreading.
Collect a Son of Hakkar, bring it to the assigned spot and kill it just before Blood Siphon. Players step into the poison cloud to gain Poisonous Blood, then return to their positions.
Manage Cause Insanity with safe crowd control, remove threatening effects and keep tanks at the top of the threat list.
Play poison/siphon rhythm flawlessly and use damage cooldowns so that Hakkar dies before enrage.
Role notes
Tanks
- Pick up the boss and adds according to the agreed order.
- Keep dangerous front cones out of the raid and report loss of control.
DPS
- Follow the encounter's target priority before boss damage.
- Switch to an add, ward or totem as soon as the raid leader calls it.
Healers
- Anticipate burst damage on tanks and encounter-specific raid damage.
- Keep dispel responsibilities and mana adequate throughout the encounter.
Utility
- Use interrupts, dispels, crowd control and taunts in a prearranged rotation.
- Call dangerous spawns and transitions quickly.
Nerfs: what changed
- Patch 1.8 prevented Corrupted Blood from targeting pets.
- Patch 1.9.3 reduced Hakkar's melee damage and fixed Cause Insanity targeting the current target instead of the nearest player.
- Patch 1.9.3 changed Cause Insanity so it no longer removed all threat. These changes made tanking more predictable.
- Patch 1.11 fixed the wording of berserk emotes; it wasn't about the combat nerf.
Sources and versioning
The boss list, original 20-player structure and release patch were checked against Warcraft Wiki’s Classic documentation. History draws on the original patch notes collected on its 1.8, 1.9.3, 1.10 and 1.11 pages.
- Warcraft Wiki — Zul'Gurub (Classic)
warcraft.wiki.gg/wiki/Zul%27Gurub_(Classic) - Warcraft Wiki — Patch 1.8.0
warcraft.wiki.gg/wiki/Patch_1.8.0 - Warcraft Wiki — Patch 1.9.3
warcraft.wiki.gg/wiki/Patch_1.9.3 - Warcraft Wiki — Patch 1.10.0
warcraft.wiki.gg/wiki/Patch_1.10.0 - Warcraft Wiki — Patch 1.11.0
warcraft.wiki.gg/wiki/Patch_1.11.0 - Warcraft Wiki — Classic raid instance bosses
warcraft.wiki.gg/wiki/Classic_raid_instance_bosses
Season of Discovery uses a different raid size, tuning, and Edge of Madness build, and its mechanics will not be mixed in this guide. Updated 8/18/2026.