World of Warcraft Classic · Tier 3 · Naxxramas
Naxxramas tactics
All 15 bosses of the original 40-player Naxxramas in wing progression: preparations, mechanics, roles and documented change history.
Choose the wing order according to the strengths of the roster
You can tackle the first four wings in any order. This list follows the boss order within each wing. Frostwyrm Lair opens only after all four wing bosses are defeated.
Tactics describe Classic Era / Anniversary 1.12 mode. Wrath version 10/25 player changes and Season of Mastery additional mechanics are not mixed.
Classic’s final 40-player raid: 15 encounters across five sections
Choose your own order through the Arachnid, Plague, Military and Construct Quarters. Defeat all four wing bosses to open Frostwyrm Lair, where Sapphiron and Kel’Thuzad await.
Quick links
Change history: fixes are not automatically nerfs
Naxxramas arrived in patch 1.11 near the end of Vanilla. Public sources for patches 1.11–1.12 mainly document bug fixes, reset fixes and measures against skipping encounters, rather than broad numerical nerfs like those documented for AQ40. Boss histories distinguish documented changes from assumptions.
| Time | Change | Classification |
|---|---|---|
| Patch 1.11 / PTR | Anub'Rekhan's animations, Razuvious's MC reliability, Patchwerk's borders and wing gates were fixed. | Bugfix / anti-skip |
| Patch 1.11.2 hotfix | Fixed Feugen's reset and Gluth's self-killing bug. | Encounter bugfix |
| Patch 1.12 | A way to recover from a wipe in Heigan’s room without drawing aggro was removed. | Anti-exploit |
| Classic 1.12 | The original 40-player difficult builds remain: one-heal Loatheb, 8-tank Horsemen, 7-min Patchwerk, and 5-Guardian Kel'Thuzad. | Version restriction |
When the original source only says 'minor tuning' or 'bug fixes' without numbers, the guide doesn't claim the change as a nerf and doesn't come up with pre/post values.
Naxxramas in wing progression
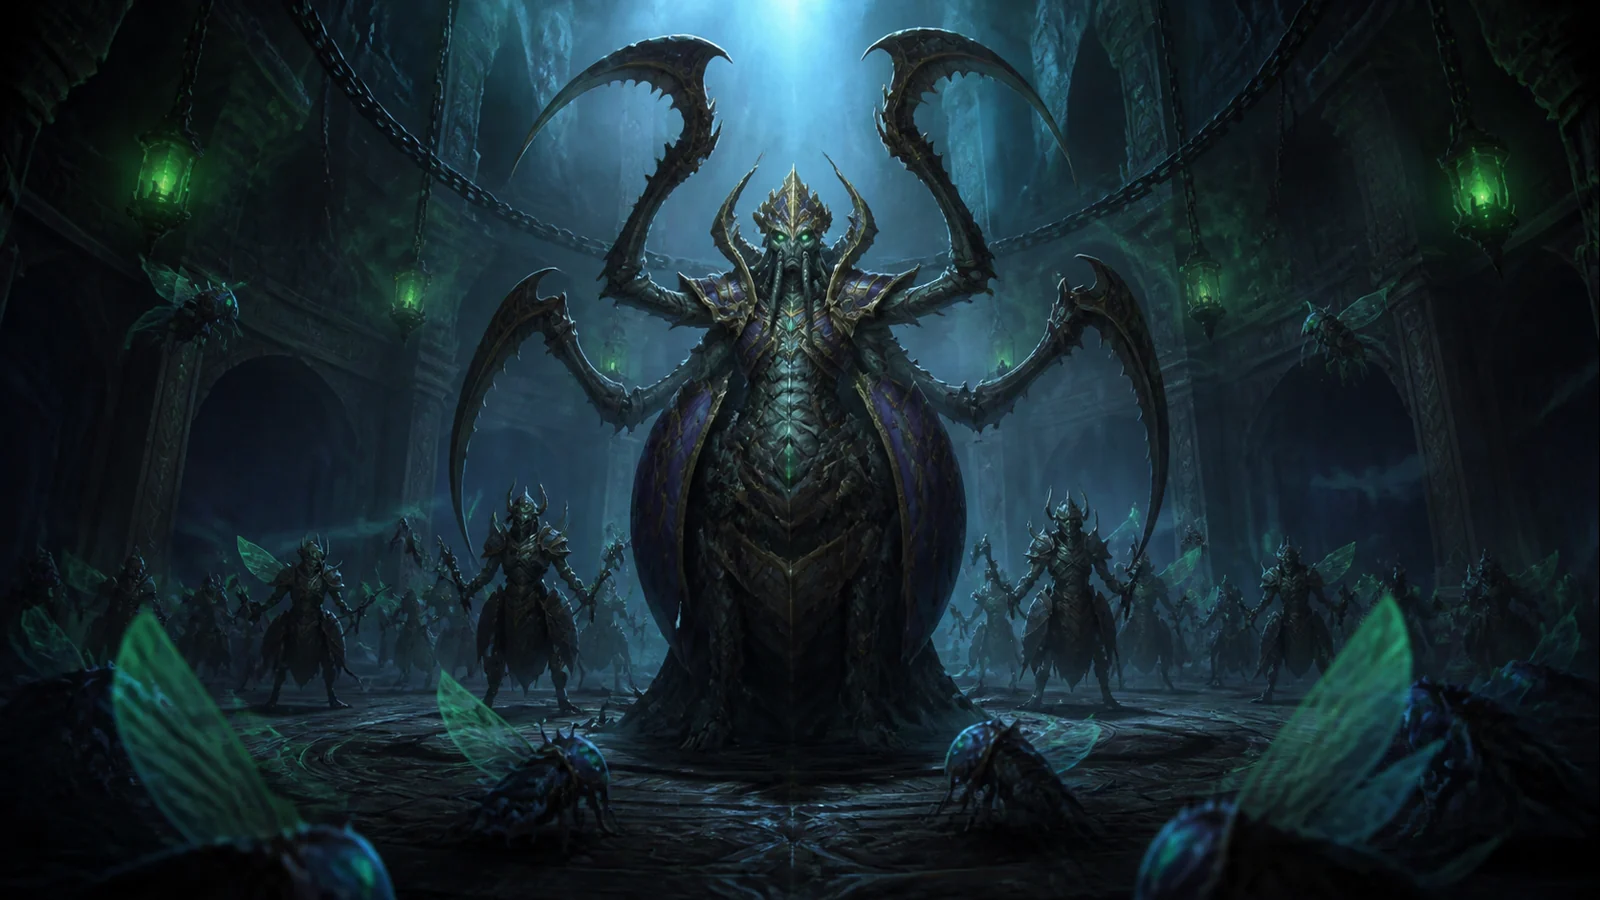
Encounter 1 / 15 · Naxxramas
Anub’Rekhan
Arachnid Quarter · Kiting Locust Swarm along the room's edge, Impale and Crypt Guards.
Raid priorities
- The tank starts kiting along the room's edge as soon as Locust Swarm is called and does not remain inside the aura.
- Kill each Crypt Guard before returning to boss damage, then clear the scarabs from its corpse.
- Ranged spreads out to prevent Impale from hitting multiple players in the same lane.
Before the pull
- Mark the tank’s perimeter route and a safe raid area on the opposite side.
- Name Crypt Guard tank and AoE/CC of scarabs.
- Prepare Nature protection and tank speed-consumables.
Mechanics reference
Phase plan and tactic
Keep the boss on the edge, raid in the middle and kill the Guards when they spawn.
The tank kites along the perimeter to the next marker. Healers stay outside the aura while the raid kills any adds.
The swarm ends, the tank stops at a new point and the raid returns to formation.
Role notes
Tanks
- Follow the encounter’s tank assignments, threat plan, kiting route and add responsibilities.
- Call tank swaps and any loss of control immediately so the raid can react.
DPS
- Follow add, cocoon, spore or tentacle priority before boss damage.
- Save cooldowns for the decisive enrage, polarity, or end phase of an encounter.
Healers
- Assign tank and raid healing responsibilities and agree on consumable timing.
- Anticipate stuns, healing lockouts, Frost Aura damage and Mark windows.
Utility
- Use dispels, mind control, interrupts, Shackle, Tranq and crowd control in the agreed rotation.
- Call movement, adds and transitions immediately.
Nerfs: what changed
- Pre-release PTR patch fixed Locust Swarm and Impale animations and Frozen Rune locations.
- There is no documented post-release Vanilla numerical nerf for Anub'Rekhan.

Encounter 2 / 15 · Naxxramas
Grand Widow Faerlina
Arachnid Quarter · Worshiper sacrifice breaks enrage and poison pressure.
Raid priorities
- One Worshiper is mind controlled before each expected enrage.
- Widow's Embrace only hits the boss after the enrage starts so that the full duration is used.
- Move out of Rain of Fire immediately. Heal Poison Bolt Volley damage and remove poisons.
Before the pull
- Name priests for MC rotation and one Worshiper per enrage.
- Separate the add tanks from the boss and kill Followers first.
- Assign backup mind control and emergency healing cooldowns for enrage.
Mechanics reference
Phase plan and tactic
Tank Faerlina and adds separately; kill Followers, but keep Worshippers under control.
The controlling priest brings the Worshipper to Faerlina and uses Widow’s Embrace when enrage is called.
Avoid Fire, remove poisons and save the next Worshiper for the enrage to come.
Role notes
Tanks
- Follow the encounter’s tank assignments, threat plan, kiting route and add responsibilities.
- Call tank swaps and any loss of control immediately so the raid can react.
DPS
- Follow add, cocoon, spore or tentacle priority before boss damage.
- Save cooldowns for the decisive enrage, polarity, or end phase of an encounter.
Healers
- Assign tank and raid healing responsibilities and agree on consumable timing.
- Anticipate stuns, healing lockouts, Frost Aura damage and Mark windows.
Utility
- Use dispels, mind control, interrupts, Shackle, Tranq and crowd control in the agreed rotation.
- Call movement, adds and transitions immediately.
Nerfs: what changed
- There is no documented unique Vanilla numerical nerf for Faerlina between patches 1.11 and 1.12.
- Worshipers' mind control / sacrifice is the core mechanic of the original 40-player version.

Encounter 3 / 15 · Naxxramas
Maexxna
Arachnid Quarter · Web Wrap, full raid Web Spray and 30 percent Frenzy.
Raid priorities
- Web Wrap cocoons are released immediately.
- Spiderlings die before Web Spray and do not eat healers during stun.
- Tank gets all HoT/Shield effects and poison dispel before Spray.
- The 30 percent push is done safely just after the spray.
Before the pull
- Name cocoon-DPS for the Wrap slots on the left wall.
- Time the Spiderling AoE and Web Spray timer.
- Plan tank healing before Web Spray, defensive cooldowns and the burn at 30% health.
Mechanics reference
Phase plan and tactic
Kill Wrap cocoons and Spiderlings, then pre-heal the tank before Spray.
The tank uses a defensive cooldown. As soon as the stun ends, healers restore the tank’s health and remove the poison.
Push into Frenzy right after a fresh Spray cycle and kill before the next dangerous stun.
Role notes
Tanks
- Follow the encounter’s tank assignments, threat plan, kiting route and add responsibilities.
- Call tank swaps and any loss of control immediately so the raid can react.
DPS
- Follow add, cocoon, spore or tentacle priority before boss damage.
- Save cooldowns for the decisive enrage, polarity, or end phase of an encounter.
Healers
- Assign tank and raid healing responsibilities and agree on consumable timing.
- Anticipate stuns, healing lockouts, Frost Aura damage and Mark windows.
Utility
- Use dispels, mind control, interrupts, Shackle, Tranq, and crowd control in the agreed rotation.
- Call movement, adds and transitions immediately.
Nerfs: what changed
- Bug fixes were made to Maexxna in the PTR changes before the release, but the surviving compilation does not identify the number change.
- Post-release Vanilla numerical nerf will not be flagged without an identified source.

Encounter 4 / 15 · Naxxramas
Noth the Plaguebringer
Plague Quarter · Curse dispel, Blink/Cripple and balcony add waves.
Raid priorities
- Every Curse is instantly dispelled, even in the chaos of the add phase.
- After Blink, the tank picks up Noth before DPS.
- Adds are assembled and killed in priority Guardian/Champion before Warriors.
Before the pull
- Assign curse removal and backup dispellers to cover the entire raid.
- Mark adds' tanking/AoE slot.
- Agree on Blink-threat-stop and target priority of balcony waves.
Mechanics reference
Phase plan and tactic
Tank centrally, decurse immediately and stop damage in Blink until the tank returns the boss.
Group up Warriors/Champions/Guardians, control and AoE kill without the next wave getting to the healers.
Clear the living adds and pick Noth before another curse cycle.
Role notes
Tanks
- Follow the encounter’s tank assignments, threat plan, kiting route and add responsibilities.
- Call tank swaps and any loss of control immediately so the raid can react.
DPS
- Follow add, cocoon, spore or tentacle priority before boss damage.
- Save cooldowns for the decisive enrage, polarity, or end phase of an encounter.
Healers
- Assign tank and raid healing responsibilities and agree on consumable timing.
- Anticipate stuns, healing lockouts, Frost Aura damage and Mark windows.
Utility
- Use dispels, mind control, interrupts, Shackle, Tranq and crowd control in the agreed rotation.
- Call movement, adds and transitions immediately.
Nerfs: what changed
- There is no documented Vanilla numerical nerf for Noth in patch notes 1.11–1.12.
- PTR fixes to Plague Wing gates and respawns after wipes affected progression and prevented skipping; they were not reductions to boss damage.
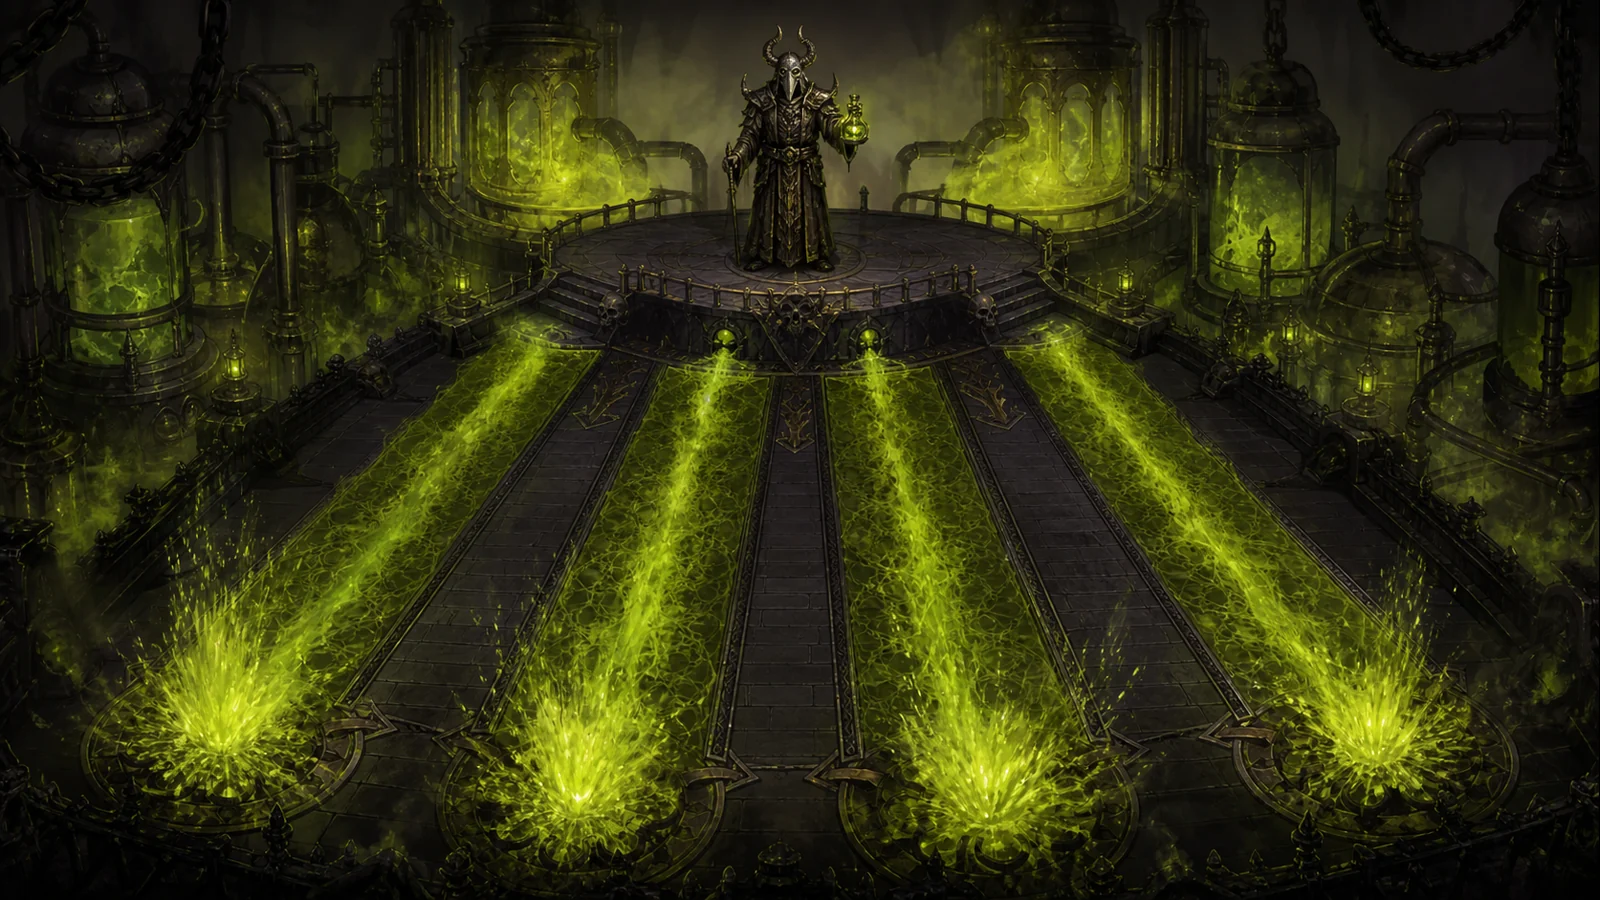
Encounter 5 / 15 · Naxxramas
Heigan the Unclean
Plague Quarter · Four eruption lanes, spell disruption and gauntlet teleports.
Raid priorities
- Eruption movement is done when changing the area, not after the green eruption.
- Casters are not caught in a Spell Disruption aura.
- Players sent to the gauntlet return together while avoiding traps.
- During the dance phase, do not risk movement mistakes to deal extra damage.
Before the pull
- Show the four floor sections and practice the route before pulling.
- Split the melee/tank on the floor and the ranged/healers on the platform in the slow phase.
- Review the gauntlet return route and disease-removal assignments.
Mechanics reference
Phase plan and tactic
The tank moves the boss from one area to the next; melee follows, ranged works from the platform.
All on the floor, follow the experienced mover in the front row and prioritize staying alive.
Teleported players wait for each other, cross the corridor together and rejoin the dance through a safe opening.
Role notes
Tanks
- Follow the encounter’s tank assignments, threat plan, kiting route and add responsibilities.
- Call tank swaps and any loss of control immediately so the raid can react.
DPS
- Follow add, cocoon, spore or tentacle priority before boss damage.
- Save cooldowns for the decisive enrage, polarity, or end phase of an encounter.
Healers
- Assign tank and raid healing responsibilities and agree on consumable timing.
- Anticipate stuns, healing lockouts, Frost Aura damage and Mark windows.
Utility
- Use dispels, mind control, interrupts, Shackle, Tranq, and crowd control in the agreed rotation.
- Call movement, adds and transitions immediately.
Nerfs: what changed
- After Patch 1.11.2, Blizzard identified a wipe recovery bug that allowed resurrect in Heigan's room without aggro; the correction was planned for patch 1.12.
- It was an anti-exploit patch, not a boss combat numerical nerf.

Encounter 6 / 15 · Naxxramas
Loatheb
Plague Quarter · One heal per minute, spore rotation and Inevitable Doom.
Raid priorities
- Healers do not waste a minute's only heal on the wrong target.
- Spores are killed at exactly the named group of five players.
- Fungal Bloom players do maximum damage without threat risk.
- Raid uses its survival consumables for Inevitable Doom.
Before the pull
- Create a second-by-second schedule for tank heals and the healer rotation.
- Divide the raid into five-player spore groups and order of passage.
- Secure healthstone, bandage, potion and shadow protection consumables.
Mechanics reference
Phase plan and tactic
One Healer at a time spends their agreed large heal on the tank; others won't lock their own cooldown by accident.
Groups of five players take turns going to the spawn, killing it and returning to the boss.
Use your own heal consumables for Doom hits and damage cooldowns before the Doom pace becomes unbearable.
Role notes
Tanks
- Follow the encounter’s tank assignments, threat plan, kiting route and add responsibilities.
- Call every switch and loss of control before the boss hits the raid.
DPS
- Follow add, cocoon, spore or tentacle priority before boss damage.
- Save cooldowns for the decisive enrage, polarity, or end phase of an encounter.
Healers
- Assign tank and raid healing responsibilities and agree on consumable timing.
- Anticipate stuns, healing lockouts, Frost Aura damage and Mark windows.
Utility
- Use dispels, mind control, interrupts, Shackle, Tranq and crowd control in the agreed rotation.
- Call movement, adds and transitions immediately.
Nerfs: what changed
- There is no documented unique Vanilla 1.11-1.12 numerical nerf for Loatheb.
- The one-heal/minute structure of the original 40 players differs from the healing-window version of the later Naxxramas.

Encounter 7 / 15 · Naxxramas
Instructor Razuvious
Military Quarter · Understudy-MC tanking, Shield Wall and Disrupting Shout's LoS.
Raid priorities
- Razuvious is always tanked by an MC-Understudy using Shield Wall.
- The next Priest starts MC and taunt before the previous control is broken.
- Players break LoS for every Disrupting Shout.
- Player tanks pick up released Understudies before they reach priests or healers.
Before the pull
- Name four priest/Understudy pairs and exact MC-taunt-Shield Wall rotation.
- Place casters behind LoS pillar for Shout.
- Allocate player tanks to control the released Understudies.
Mechanics reference
Phase plan and tactic
The first priest mind-controls an Understudy, uses Shield Wall and Taunt, and keeps the boss in the center.
The next Understudy taunts before Shield Wall expires. Player tanks pick up the previous add until it can rejoin the rotation.
Mana users take cover for each Shout. Melee continues only while tank control is secure.
Role notes
Tanks
- Follow the encounter’s tank assignments, threat plan, kiting route and add responsibilities.
- Call every switch and loss of control before the boss hits the raid.
DPS
- Follow add, cocoon, spore or tentacle priority before boss damage.
- Save cooldowns for the decisive enrage, polarity, or end phase of an encounter.
Healers
- Assign tank and raid healing responsibilities and agree on consumable timing.
- Anticipate stuns, healing lockouts, Frost Aura damage and Mark windows.
Utility
- Use dispels, mind control, interrupts, Shackle, Tranq, and crowd control in the agreed rotation.
- Call movement, adds and transitions immediately.
Nerfs: what changed
- The pre-release PTR changed Understudies from level 61 to 60 and Shadow Resistance to 0, reducing Mind Control's unusual resist issues.
- The change was an encounter reliability fix; No post-release numerical nerf has been identified.

Encounter 8 / 15 · Naxxramas
Gothik the Harvester
Military Quarter · Living and dead sides, 24 add waves and a short Harvest Soul finale.
Raid priorities
- The living side adjusts the kill rate according to the tank/heal capacity of the dead side.
- Spectral Rider/Death Knight are the dead side's most dangerous targets.
- No add can enter the healer lane on either side of the gate.
- Gothik's Harvest Soul stacks are not allowed to rise due to the long end phase.
Before the pull
- Divide tanks, healers, physical and magic DPS evenly between the two sides.
- Prepare the living-side kill order and the dead-side crowd-control and tanking positions.
- Assign target calls for Gothik's teleports and agree on the final burst.
Mechanics reference
Phase plan and tactic
The Living side kills the small ones first and slows down if needed; the dead side focuses dangerous spectral targets.
Attack Gothik whenever he is on your side, saving cooldowns for the gate opening.
Once the gate opens, regroup, control the remaining adds and kill Gothik before Harvest Soul stacks become overwhelming.
Role notes
Tanks
- Follow the encounter’s tank assignments, threat plan, kiting route and add responsibilities.
- Call every switch and loss of control before the boss hits the raid.
DPS
- Follow add, cocoon, spore or tentacle priority before boss damage.
- Save cooldowns for the decisive enrage, polarity, or end phase of an encounter.
Healers
- Assign tank and raid healing responsibilities and agree on consumable timing.
- Anticipate stuns, healing lockouts, Frost Aura damage and Mark windows.
Utility
- Use dispels, mind control, interrupts, Shackle, Tranq and crowd control in the agreed rotation.
- Call movement, adds and transitions immediately.
Nerfs: what changed
- No boss-specific numerical nerf to Gothik is documented in Vanilla patches 1.11–1.12.
- Original version's spectral-adds' magic immunities and demanding split separated from the later 10/25 player version.
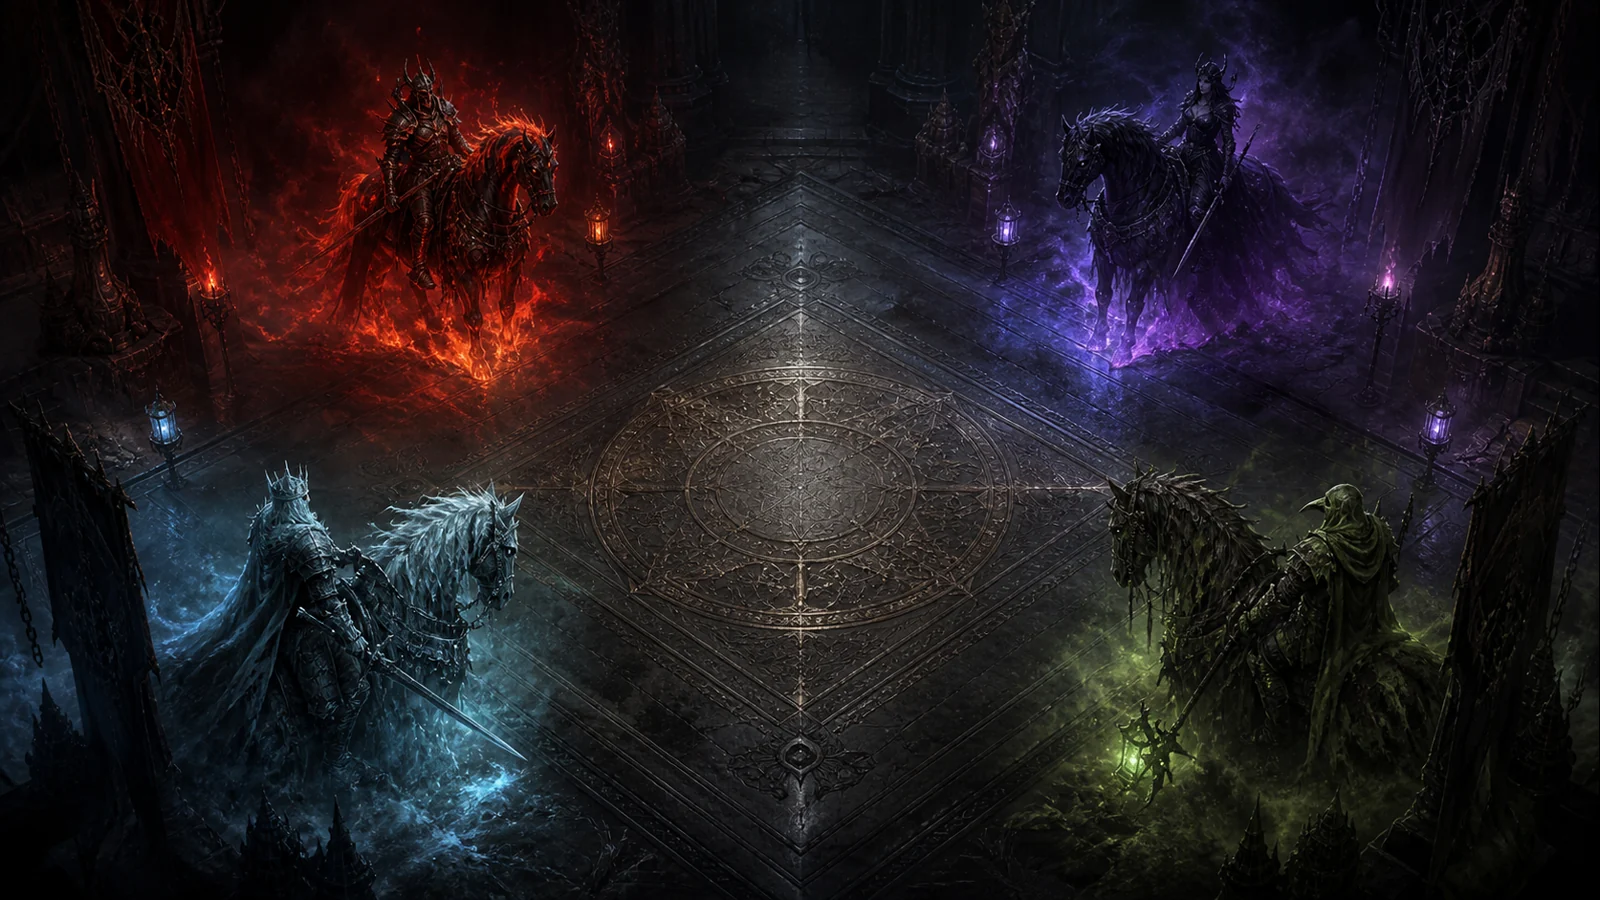
Encounter 9 / 15 · Naxxramas
The Four Horsemen
Military Quarter · Four corners, eight tank mark rotation and four different abilities.
Raid priorities
- Each corner always has at least one live target, otherwise Horseman starts punishing the entire raid.
- Tank changes and movement from one corner to another take place from the same mark-call.
- Share Korth’azz’s Meteor with enough players, while players in Zeliek’s corner stay spread out.
- The Void Zone is exited immediately and the mark rotation does not stop after killing the boss.
Before the pull
- Name the eight tank/taunt rotation required by the original version and healers for each corner.
- Divide into four groups and draw the direction of rotation for the exchanges of three Marks.
- Choose the first kill target and plan to redistribute players after each death.
Mechanics reference
Phase plan and tactic
Take each Horseman to his corner; groups take the correct stack/spread formation.
After three Marks, the tanks/groups switch to the agreed neighboring corner and the previous Marks are dropped.
Focus the selected front boss, but keep all back corners. Distribute the released players evenly.
Continue the Mark rotation until the final Horseman dies. Even one group staying too long can wipe the raid.
Role notes
Tanks
- Follow the encounter’s tank assignments, threat plan, kiting route and add responsibilities.
- Call every switch and loss of control before the boss hits the raid.
DPS
- Follow add, cocoon, spore or tentacle priority before boss damage.
- Save cooldowns for the decisive enrage, polarity, or end phase of an encounter.
Healers
- Assign tank and raid healing responsibilities and agree on consumable timing.
- Anticipate stuns, healing lockouts, Frost Aura damage and Mark windows.
Utility
- Use dispels, mind control, interrupts, Shackle, Tranq, and crowd control in the agreed rotation.
- Call movement, adds and transitions immediately.
Nerfs: what changed
- No unique Vanilla 1.11-1.12 numerical nerf found for Four Horsemen.
- Later Naxxramas' four-tank build does not match the original 40-player eight-tank progression requirement.
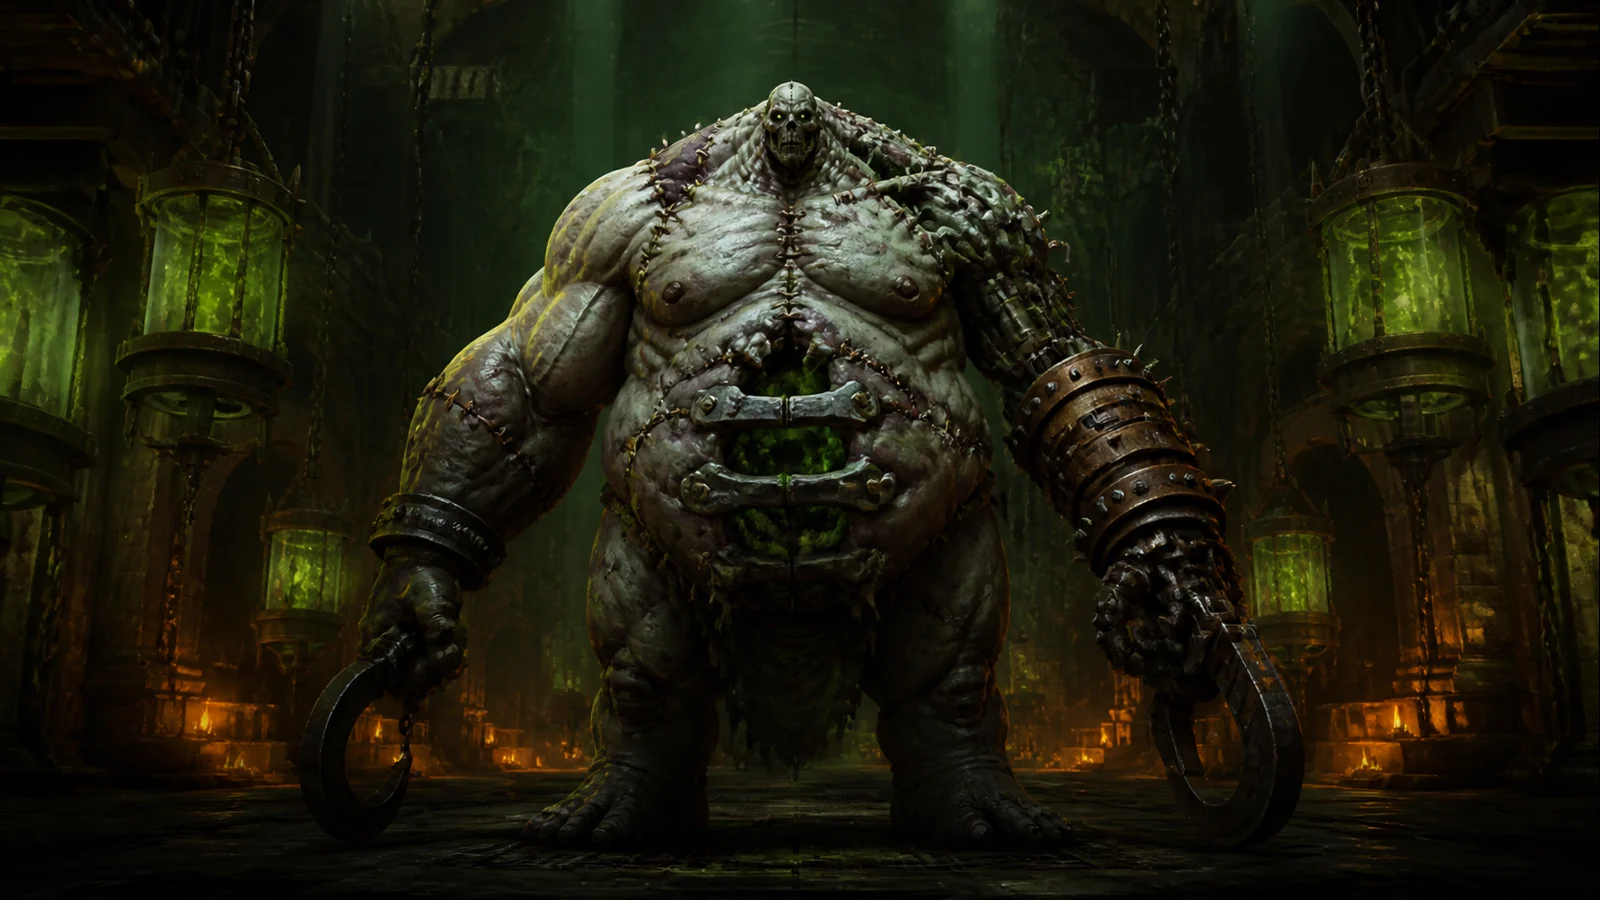
Encounter 10 / 15 · Naxxramas
Patchwerk
Construct Quarter · Hateful Strike tank wall and seven minute DPS race.
Raid priorities
- Main tank is number one in threat; Hateful tanks are next and melee DPS below them.
- Hateful tanks' health is raised immediately before the next hit.
- Healers do not switch targets without calling and mana consumables are used on schedule.
- Defeat Patchwerk before the seven-minute enrage timer expires.
Before the pull
- Name a main tank, 2-3 Hateful tanks and own healer groups for each.
- Make a threat cap for melee DPS and ensure tank consumables/world buff line according to server rules.
- Calculate the required raid DPS and mana rotation of healers for seven minutes.
Mechanics reference
Phase plan and tactic
Main tank starts, off-tanks build threat and DPS waits for safe order.
Each tank has assigned healers casting continuously. Use consumables and cooldowns before mana or health runs out.
Below 5 percent, tanks use their remaining defensives while the raid commits all damage to finish before enrage.
Role notes
Tanks
- Follow the encounter’s tank assignments, threat plan, kiting route and add responsibilities.
- Call every switch and loss of control before the boss hits the raid.
DPS
- Follow add, cocoon, spore or tentacle priority before boss damage.
- Save cooldowns for the decisive enrage, polarity, or end phase of an encounter.
Healers
- Assign tank and raid healing responsibilities and agree on consumable timing.
- Anticipate stuns, healing lockouts, Frost Aura damage and Mark windows.
Utility
- Use dispels, mind control, interrupts, Shackle, Tranq and crowd control in the agreed rotation.
- Call movement, adds and transitions immediately.
Nerfs: what changed
- In the PTR stage, Patchwerk was restricted to stay in his encounter area and the door behind him only opened from the kill; these were anti-skip/anti-kite fixes.
- No post-release numerical Vanilla nerf is identified. The original encounter requires a kill before the seven-minute enrage.
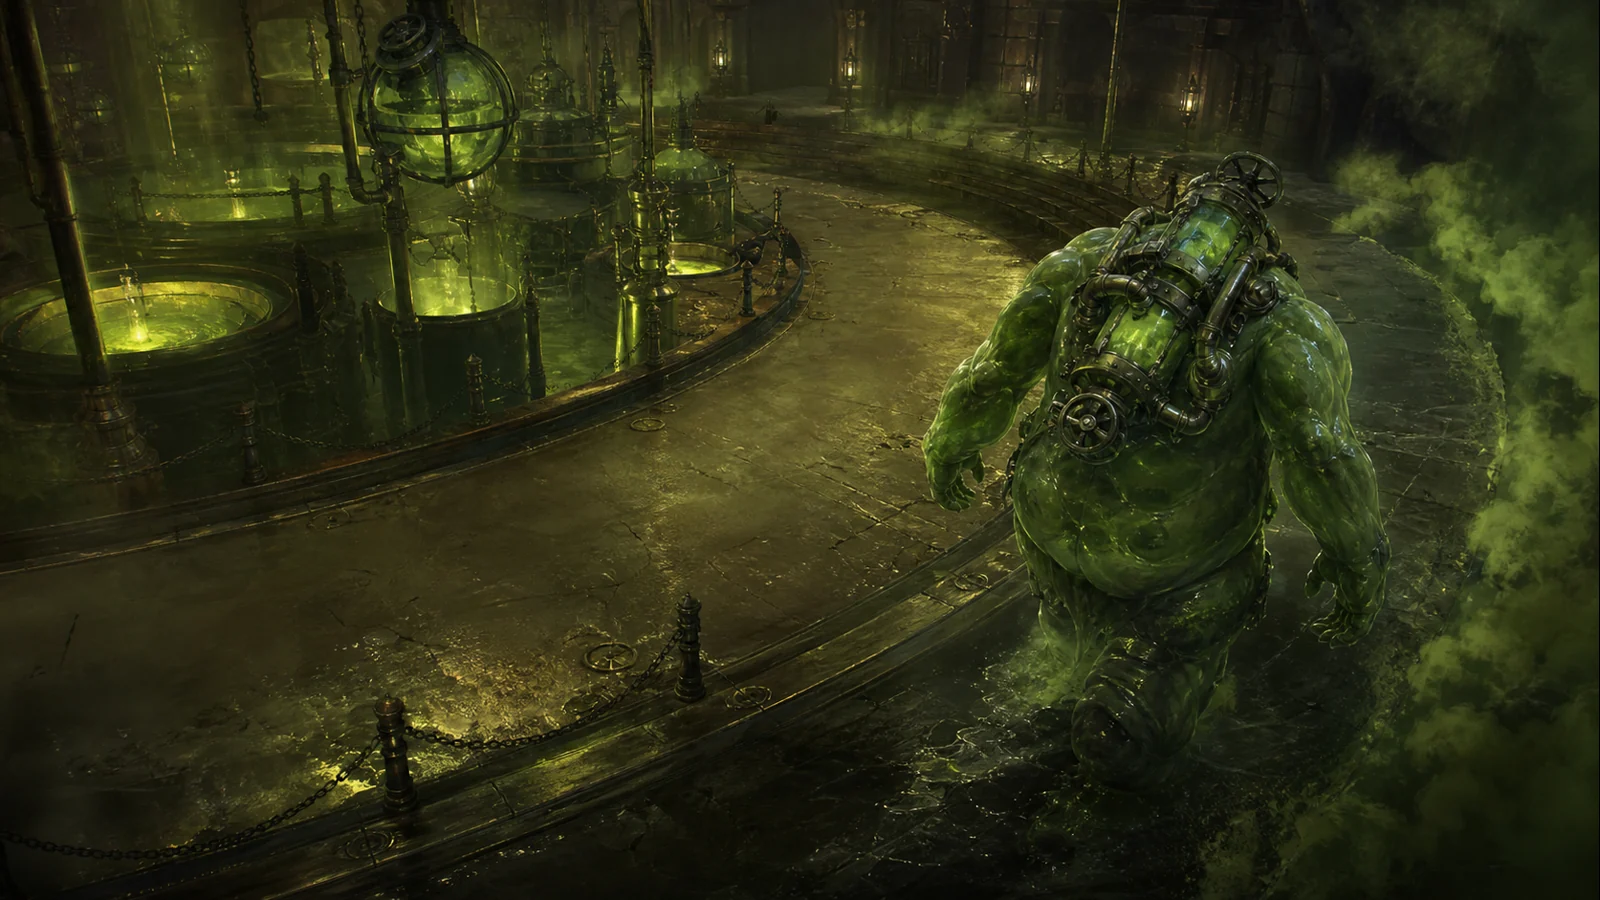
Encounter 11 / 15 · Naxxramas
Grobbulus
Construct Quarter · Perimeter kiting, Mutating Injection clouds and Slime Spray adds.
Raid priorities
- Leave Injection clouds along the used perimeter, never on the clean route ahead.
- Slime Spray only points in an empty direction.
- Fallout Slime is picked up and killed immediately if the Spray hits the target.
- The tank moves slowly enough to save space but does not stand in the old cloud.
Before the pull
- Select a clockwise or counter-clockwise circular route and cloud drop line.
- Place melee players at the boss’s sides and ranged players toward the middle, outside his frontal cone.
- Agree on Injection-dispel/expiry and add tank.
Mechanics reference
Phase plan and tactic
The tank moves the boss along the outer wall, the raid follows with a clean inner line.
The affected player returns to the used section of wall, drops the cloud and rejoins safely.
The tank keeps the muzzle away; the slimes spawned by the mistake are killed before the boss.
Role notes
Tanks
- Follow the encounter’s tank assignments, threat plan, kiting route and add responsibilities.
- Call every switch and loss of control before the boss hits the raid.
DPS
- Follow add, cocoon, spore or tentacle priority before boss damage.
- Save cooldowns for the decisive enrage, polarity, or end phase of an encounter.
Healers
- Assign tank and raid healing responsibilities and agree on consumable timing.
- Anticipate stuns, healing lockouts, Frost Aura damage and Mark windows.
Utility
- Use dispels, mind control, interrupts, Shackle, Tranq and crowd control in the agreed rotation.
- Call movement, adds and transitions immediately.
Nerfs: what changed
- There is no documented unique Vanilla 1.11-1.12 numerical nerf for Grobbulus.
- In the original version, Dispel of the debuff was optional but required controlled cloud placement; the later version is not confused with this.
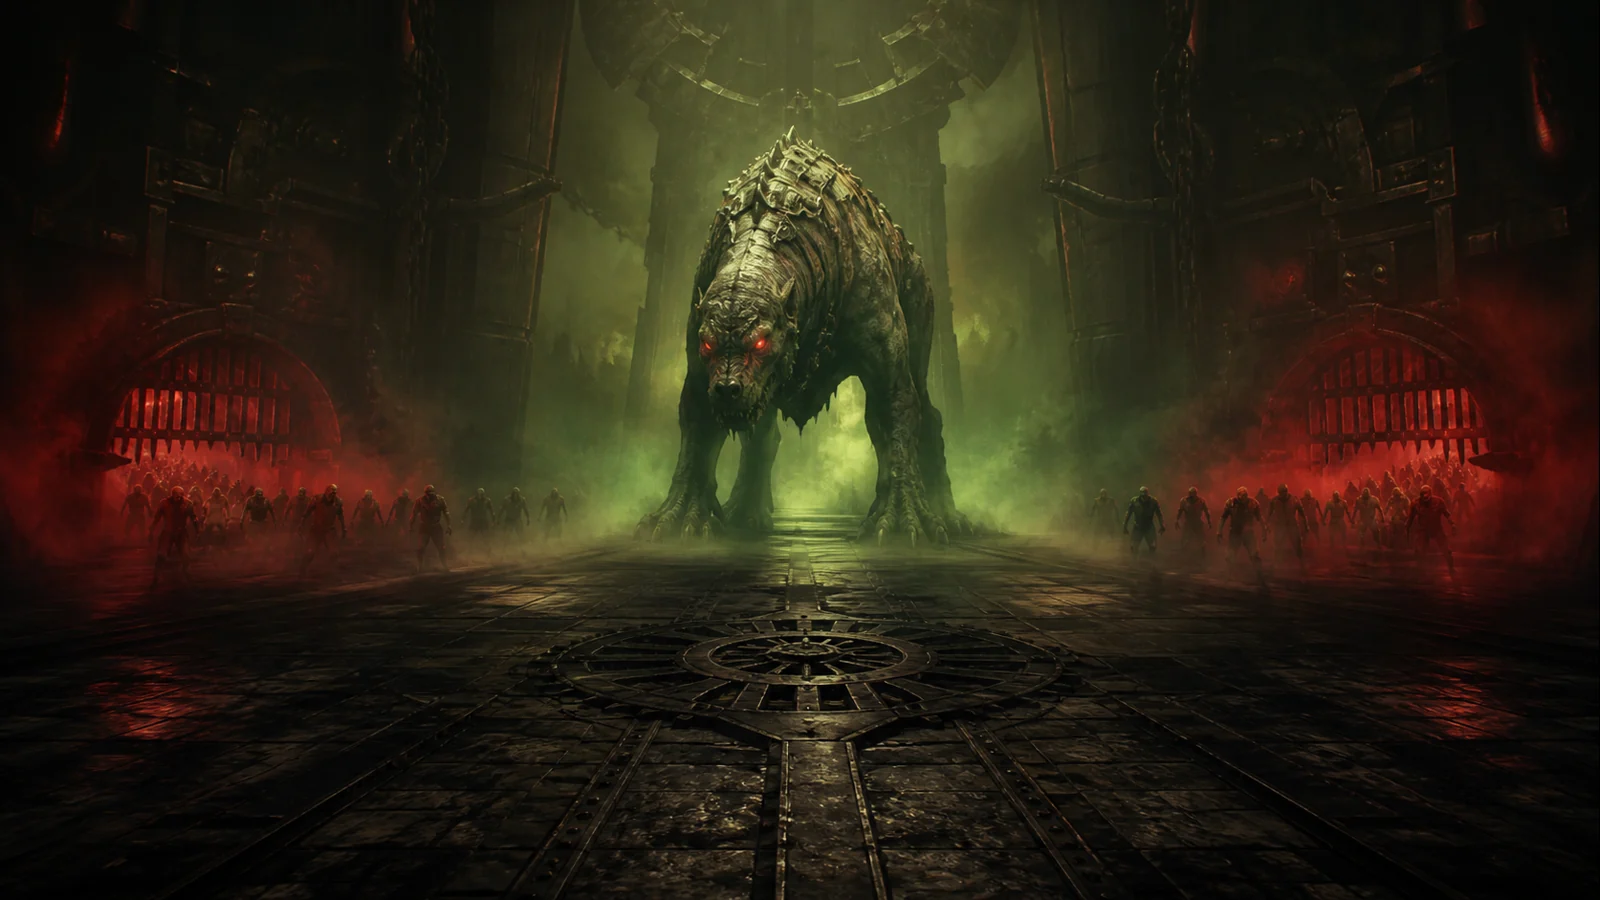
Encounter 12 / 15 · Naxxramas
Gluth
Construct Quarter · Zombie Chow kiting, Decimate and tank swaps for Mortal Wound.
Raid priorities
- No Zombie Chow can get within melee range of Gluth.
- After Decimate, all DPS will switch to 5% health zombies.
- Tanks trade with Mortal Wound stacks and get quick heals after Decimate.
- Frenzy is instantly removed with Tranquilizing Shot.
Before the pull
- Name two boss tanks and Mortal Wound stack limit.
- Assign zombie kiters, slows and a route at the back of the room.
- Agree on Decimate-AoE, Hunter Tranq rotation and healer recovery order.
Mechanics reference
Phase plan and tactic
Tanks switch as agreed and Hunters keep Frenzy at bay.
Assigned kiters gather the zombies at the back, slow them and keep them moving without being hit.
All AoE/ranged turns to zombies, tanks get instant heals and raid recovers before next hit.
Role notes
Tanks
- Follow the encounter’s tank assignments, threat plan, kiting route and add responsibilities.
- Call every switch and loss of control before the boss hits the raid.
DPS
- Follow add, cocoon, spore or tentacle priority before boss damage.
- Save cooldowns for the decisive enrage, polarity, or end phase of an encounter.
Healers
- Assign tank and raid healing responsibilities and agree on consumable timing.
- Anticipate stuns, healing lockouts, Frost Aura damage and Mark windows.
Utility
- Use dispels, mind control, interrupts, Shackle, Tranq and crowd control in the agreed rotation.
- Call movement, adds and transitions immediately.
Nerfs: what changed
- Patch 1.11.2 introduced a bug where Gluth could kill himself under certain conditions; Blizzard hotfixed it soon.
- This was a fix for an encounter-breaking bug, not an intentional nerf.
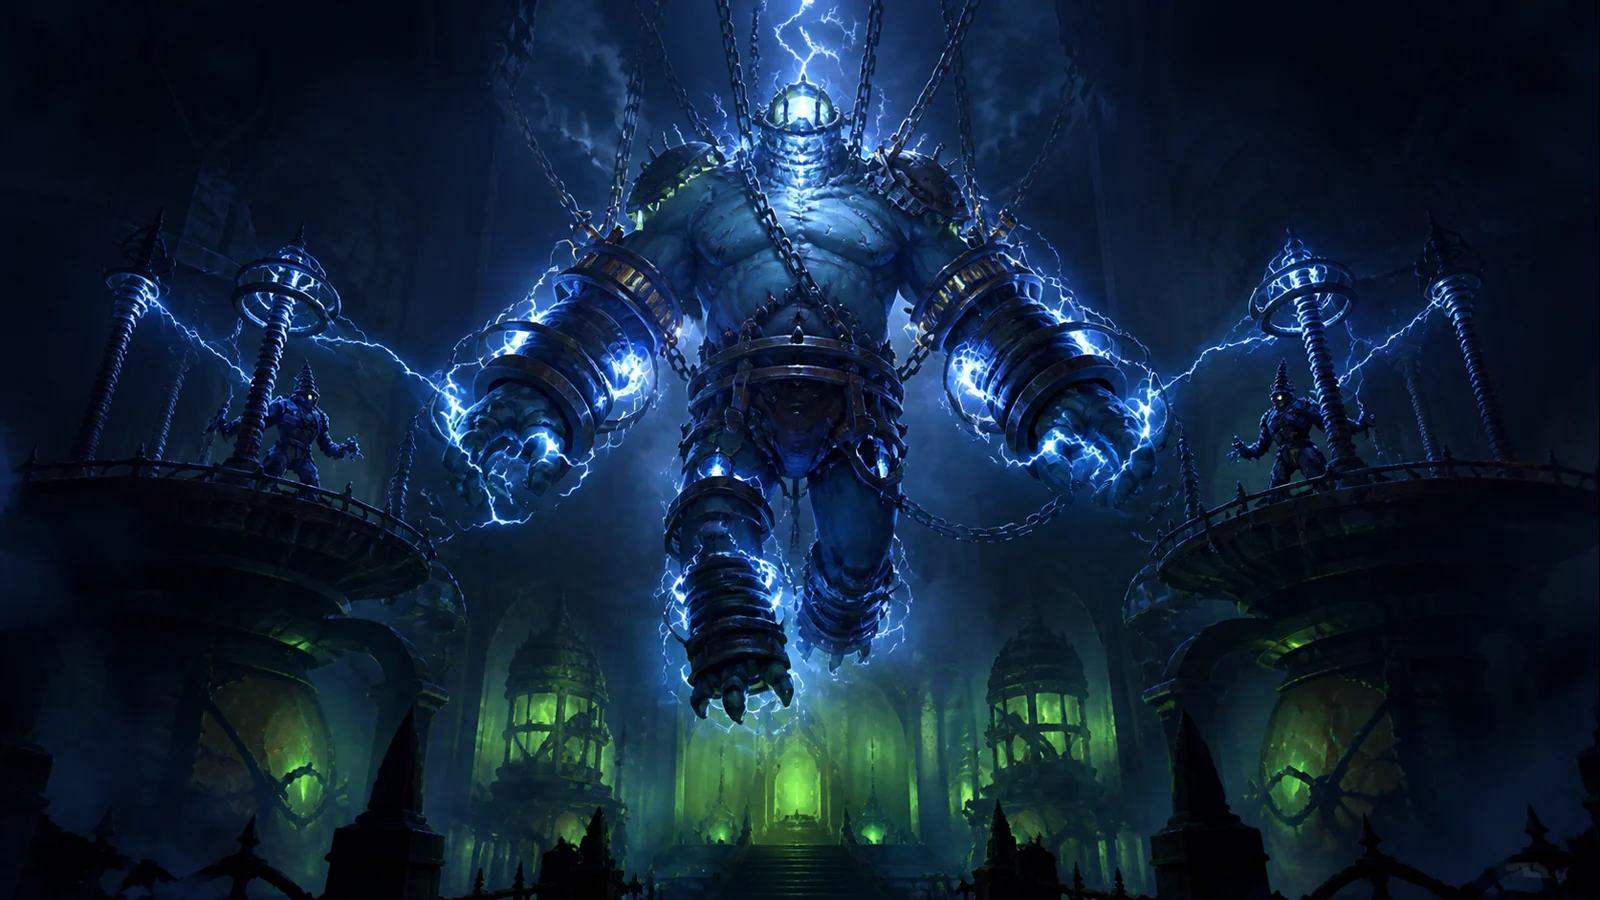
Encounter 13 / 15 · Naxxramas
Thaddius
Construct Quarter · Stalagg/Feugen sync, jump and polarity groups.
Raid priorities
- Stalagg and Feugen die almost simultaneously or one rises.
- Everyone manages to jump onto the platform before Thaddius activates.
- After each Polarity Shift, follow the agreed route to the side assigned to your charge.
- Stack with players sharing your charge for the damage buff, keeping clear of the opposite group.
Before the pull
- Assign balanced groups to Stalagg and Feugen and agree on a simultaneous kill call.
- Mark the positive and negative sides and the direction of movement for polarity changes.
- Practice jumping and secure Nature protection/DPS for enrage.
Mechanics reference
Phase plan and tactic
Balance the adds’ health and call their kills together. After being thrown, each tank immediately picks up the add on the new platform.
The entire raid jumps together and takes the ready polarity slots around the boss.
Check your charge after every cast. Change sides only when needed, following the agreed route, and stack with matching charges.
Keep movement flawless and use same-charge buff for full DPS before berserk.
Role notes
Tanks
- Follow the encounter’s tank assignments, threat plan, kiting route and add responsibilities.
- Call every switch and loss of control before the boss hits the raid.
DPS
- Follow add, cocoon, spore or tentacle priority before boss damage.
- Save cooldowns for the decisive enrage, polarity, or end phase of an encounter.
Healers
- Assign tank and raid healing responsibilities and agree on consumable timing.
- Anticipate stuns, healing lockouts, Frost Aura damage and Mark windows.
Utility
- Use dispels, mind control, interrupts, Shackle, Tranq and crowd control in the agreed rotation.
- Call movement, adds and transitions immediately.
Nerfs: what changed
- After patch 1.11.2, Feugen could leave the encounter not resetting properly; Blizzard hotfixed the bug.
- The fix restored the normal reset of the encounter and was not a combat numerical nerf.

Encounter 14 / 15 · Naxxramas
Sapphiron
Frostwyrm Lair · Frost Aura resistance, Life Drain dispel, and Icebolt shields.
Raid priorities
- Life Drain is immediately dispelled so that the boss does not heal.
- Blizzard is immediately exited and the tank/healers path is not blocked.
- Icebolt targets spread to prevent blocks from chaining incorrectly.
- Everyone is behind an intact ice block before Frost Breath.
Before the pull
- Measure Frost resistance for each role and reserve Greater Frost Protection Potions.
- Distribute curse dispels to Life Drain.
- Mark the ground and air phase spread and the rule for moving behind the block.
Mechanics reference
Phase plan and tactic
Tank boss, raid on sides; heal Frost Aura, Dispel Drain and move from Blizzard.
Spread for Icebolts, locate the nearest intact ice block and shelter behind it before the breath.
Wait for the tank's new position before DPS and repeat the cycle with the consumable schedule.
Role notes
Tanks
- Follow the encounter’s tank assignments, threat plan, kiting route and add responsibilities.
- Call every switch and loss of control before the boss hits the raid.
DPS
- Follow add, cocoon, spore or tentacle priority before boss damage.
- Save cooldowns for the decisive enrage, polarity, or end phase of an encounter.
Healers
- Assign tank and raid healing responsibilities and agree on consumable timing.
- Anticipate stuns, healing lockouts, Frost Aura damage and Mark windows.
Utility
- Use dispels, mind control, interrupts, Shackle, Tranq and crowd control in the agreed rotation.
- Call movement, adds and transitions immediately.
Nerfs: what changed
- There is no documented unique Vanilla 1.11-1.12 numerical nerf for Sapphiron.
- Classic's Frost Aura was purposely implemented to replicate the roughly two-second tick behavior of 2006, and the later tooltip intent was not used as a complicating change.
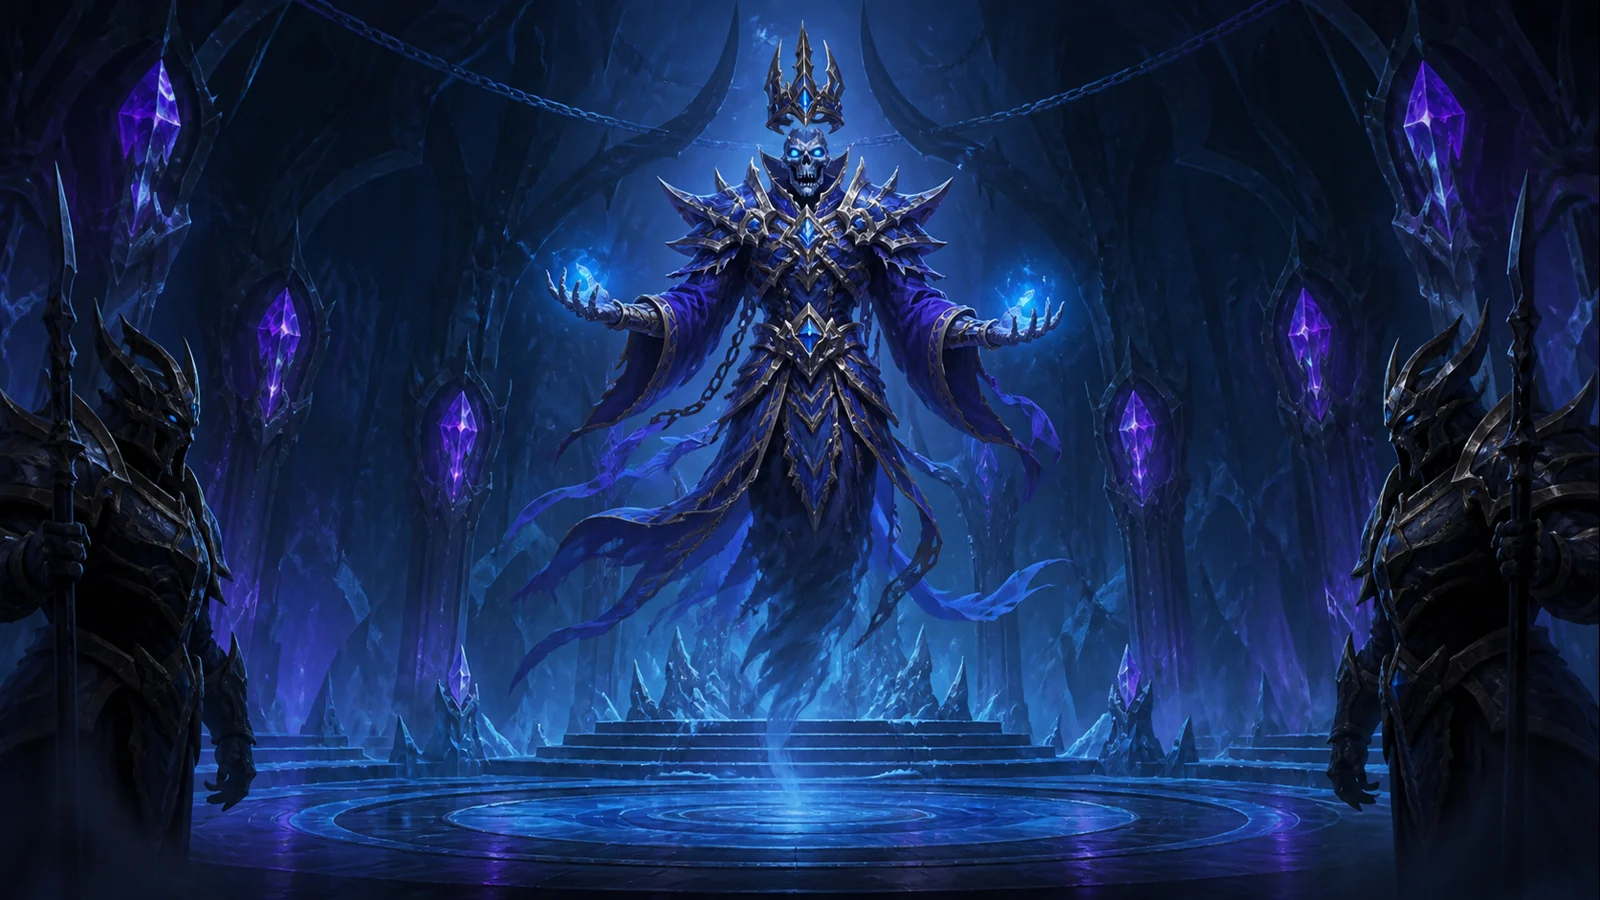
Encounter 15 / 15 · Naxxramas
Kel’Thuzad
Frostwyrm Lair · An opening add phase, careful spreading and interrupts, and five Guardians.
Raid priorities
- Phase 1 adds are drawn in a controlled manner and alcoves do not empty all at once.
- Always interrupt the single-target Frostbolt and heal through Frostbolt Volley.
- Raid keeps about a 10 Yard spread against Frost Blast's chain reaction.
- Move out of Shadow Fissure immediately. Players targeted by Detonate Mana move away from everyone else.
- Phase 3 Guardians are controlled, but boss damage continues from 40% to death.
Before the pull
- Share stage 1 alcove sectors, add tanks and kill order.
- Name an uninterrupted Frostbolt interrupt rotation.
- Make a 40-player spread map with Guardian tanks and three Shackle Undead priests.
Mechanics reference
Phase plan and tactic
Group up adds to the center of the room, kill Soldiers quickly, tank Abominations and keep Soul Weavers out of the raid.
Spread out, interrupt Frostbolt, dodge Fissure and detach Detonate target. Frost Blast targets receive instant large heals.
At 40 percent, tank two Guardians and have priests shackle three. Maintain interrupts and control mind-controlled players while finishing Kel’Thuzad before the adds become overwhelming.
Role notes
Tanks
- Follow the encounter’s tank assignments, threat plan, kiting route and add responsibilities.
- Call every switch and loss of control before the boss hits the raid.
DPS
- Follow add, cocoon, spore or tentacle priority before boss damage.
- Save cooldowns for the decisive enrage, polarity, or end phase of an encounter.
Healers
- Assign tank and raid healing responsibilities and agree on consumable timing.
- Anticipate stuns, healing lockouts, Frost Aura damage and Mark windows.
Utility
- Use dispels, mind control, interrupts, Shackle, Tranq and crowd control in the agreed rotation.
- Call movement, adds and transitions immediately.
Nerfs: what changed
- No unique Vanilla 1.11-1.12 numerical nerf has been found for Kel'Thuzad that could be presented as a pre/post figure.
- The original 40-player version used a longer add start, more dangerous Frost Blast, 5 Guardians, and a more aggressive threat/MC build than the later Naxxramas.
Sources and versioning
15 boss catalog, wing structure, and original 40-player version checked from Blizzard's Classic Naxxramas and Warcraft Wiki's original/Classic compilations. The change history is based on patch 1.11–1.12 and the 2006 hotfix/PTR archives.
- Blizzard — WoW Classic: Naxxramas is Now Live
news.blizzard.com/en-us/article/23572632 - Blizzard — Anniversary: Shadow of the Necropolis
news.blizzard.com/en-us/article/24229247 - Warcraft Wiki — Naxxramas (original)
warcraft.wiki.gg/wiki/Naxxramas_(original) - Warcraft Wiki — Classic raid instance bosses
warcraft.wiki.gg/wiki/Classic_raid_instance_bosses - Warcraft Wiki — 2006 hotfix Archive
warcraft.wiki.gg/wiki/Hotfixes/2006_Archive - Blizzplanet Archive — PTR Naxxramas changes
blizzplanet.com/blog/comments/ptr_patch_1_11_naxxramas_changes - Blizzplanet Archive — Patch 1.11.2 hotfixes
blizzplanet.com/blog/comments/hotfixes_for_buggy_patch_1_11_2_today
Retuned Naxxramas from Wrath of the Lich King and additional mechanics from Season of Mastery are not used as tactics in this guide. Updated 8/18/2026.