World of Warcraft Classic · Tier 2.5 · AQ40
Temple of Ahn’Qiraj tactics
All nine bosses from the original 40-player raid: preparation, phases, role assignments and documented Vanilla changes.
Build your raid around resistances and utility
Late AQ40 is not just a gear check. Viscidus needs Frost and melee hits, Huhuran needs assigned Nature-resistance soakers, Twin Emperors require different damage types, and C’Thun demands precise spacing and target priorities.
These tactics cover the Classic Era / Anniversary 1.12 ruleset. Season of Discovery's Descent into Madness mechanics are not covered.
AQ40's nine encounters in chronological order
Temple of Ahn’Qiraj moves from Skeram’s platform groups and Silithid Royalty’s optional kill order through Sartura and Fankriss add control, Viscidus and Huhuran resistance checks, the Twin Emperors teleport endurance test, and the final encounters with Ouro and C’Thun.
Quick links
Nerfs, Buffs and crucial hotfixes
Patch 1.9.3’s general AQ fixes cannot be reliably assigned to individual bosses. The table includes only named changes: Fankriss’s buff, Huhuran’s exploit fix, and the substantial April 2006 nerfs to Ouro and C’Thun.
| Time | Change | Classification |
|---|---|---|
| Patch 1.10 | Spawn of Fankriss enrages if not killed in time. | Boss buff |
| Patch 1.10 | Removed stacking acid from C'Thun's Flesh Tentacles. | Nerf |
| 4/18/2006 hotfix | Ouro's Quake damage decreased; C'Thun's giant-tentacle HP and damage/rupture pressure decreased. | Significant nerf |
| April 25-26, 2006 hotfixes | Fixed C'Thun's weakened spawns and Ouro's uptime/scarab/Sand Blast tuning. | Tuning nerfs |
| Patch 1.11 | Huhuran's Acid Spit no longer redirects to Grounding Totem. | Difficulty-increasing fix |
The original C’Thun encounter was known for overtuned numbers and encounter-breaking bugs. This guide covers the corrected Classic 1.12 version.
Temple of Ahn'Qiraj in chronological order
Encounter 1 / 9 · Temple of Ahn’Qiraj
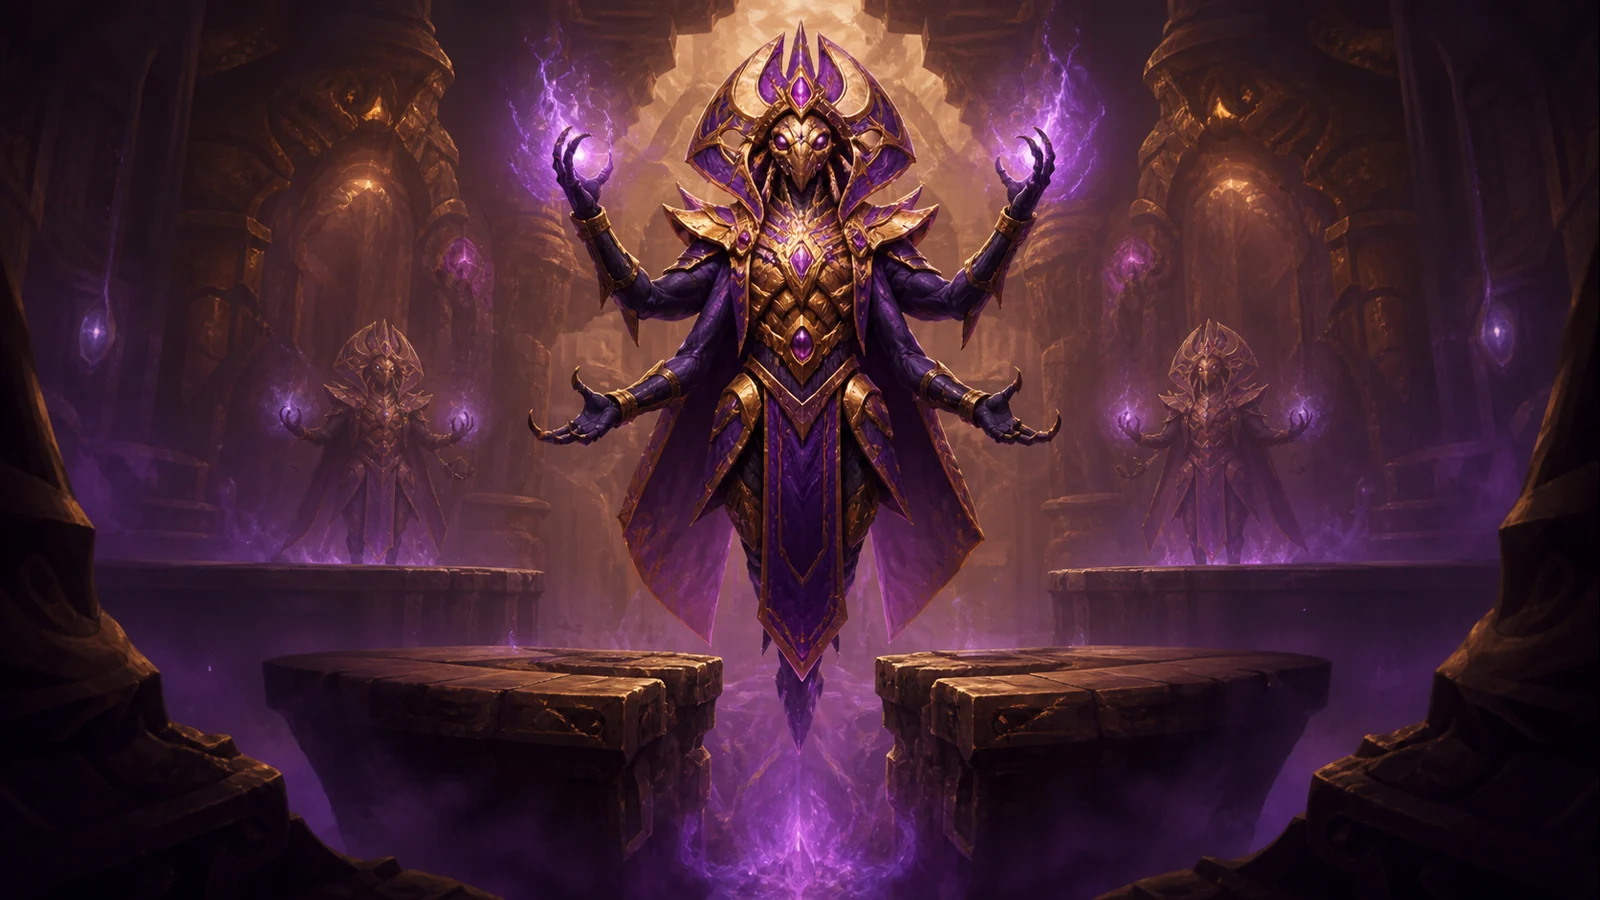
The Prophet Skeram
Three platforms, mirror images and dangerous mind control.
Raid priorities
- Immediately crowd-control the True Fulfillment target: their damage, speed and resistances increase substantially. The mind control cannot be dispelled.
- Each platform has a tank and an interrupt for Skeram's Blink transitions.
- Kill mirror images quickly. Do not push the real boss toward another split until all copies are under control.
Before the pull
- Distribute tanks, healers and interrupts to the left, center and right platforms.
- Assign players and backups to crowd-control True Fulfillment targets.
- Agree on how to identify the real Skeram and who calls the kill target among the images.
Mechanics reference
Phase plan and tactic
Three squads take the platforms and the main tank starts in the middle. Keep interrupts ready.
At each health threshold, tank every Skeram, identify the real one and kill the images in order before pushing the boss further.
Immediately crowd-control the affected player and refresh control as needed until the mind control expires. Do not try to remove it by dispelling or killing your teammate.
Role notes
Tanks
- Follow the encounter's tank change, threat and placement plan.
- Pick up adds quickly and keep dangerous front cones out of the raid.
DPS
- Follow target priority before boss damage.
- Save cooldowns for the decisive burn or weaken phase of the encounter.
Healers
- Anticipate burst damage on tanks and Nature or poison damage across the raid.
- Keep dispel and mana responsibilities active in long encounters.
Utility
- Use interrupts, Tranq, dispels and crowd control as agreed.
- Call out tentacles, teleports, adds and phase transitions immediately.
Nerfs: what changed
- Patch 1.9.3 talks about bug fixes for AQ dungeons in general, but does not specify the Skeram change.
- No undocumented numerical Vanilla nerf is attributed to Skeram.
Encounter 2 / 9 · Temple of Ahn’Qiraj
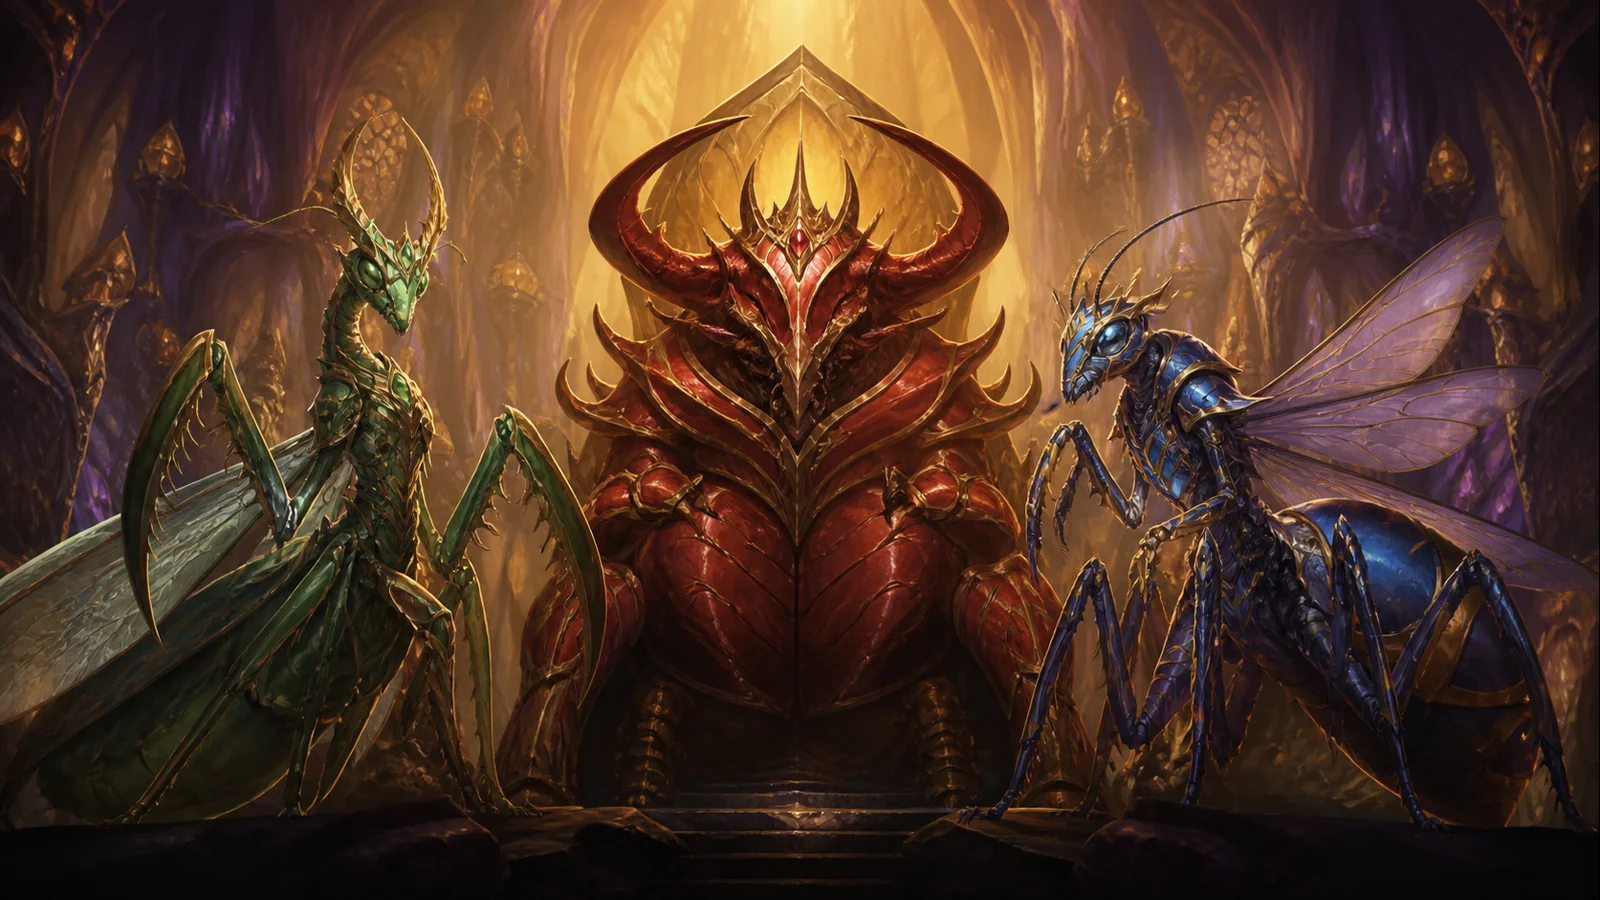
Silithid Royalty
Kri, Yauj and Vem — kill order determines difficulty and loot.
Raid priorities
- Interrupt Yauj's Great Heal and immediately regain control of targets after Fear.
- Each death occurs separately from the others, especially Kri's toxic cloud.
- Plan tank defensives for the enrage triggered by Vem's death.
- The kill order is decided before the pull and is not changed in the middle.
Before the pull
- Assign a separate tank and healer team to each boss.
- Assign interrupts for Yauj's heal and agree on how to recover after Fear.
- Choose kill order according to loot/difficulty goal.
Mechanics reference
Phase plan and tactic
Move Kri, Yauj and Vem to different sides of the room. Keep ranged players around the current target but away from the area where Kri's cloud will appear.
Kill Yauj and her brood, then Vem. Use defensives after Vem dies and move Kri into a clear area.
If you target Yauj or Kri last, be prepared for boosted heal/poison and a significantly tougher end phase.
Role notes
Tanks
- Follow the encounter's tank change, threat and placement plan.
- Pick up adds quickly and keep dangerous front cones out of the raid.
DPS
- Follow target priority before boss damage.
- Save cooldowns for the crucial burn or weaken phase of the encounter.
Healers
- Anticipate burst damage on tanks and Nature or poison damage across the raid.
- Keep dispel and mana responsibilities active in long encounters.
Utility
- Use interrupts, Tranq, dispels and crowd control as agreed.
- Call out tentacles, teleports, adds and phase transitions immediately.
Nerfs: what changed
- No unique Vanilla numerical nerf found for Silithid Royalty from notes 1.9-1.12.
- The difference in difficulty between the different kill orders is a deliberate base mechanic of the encounter, not a patch change.
Encounter 3 / 9 · Temple of Ahn’Qiraj
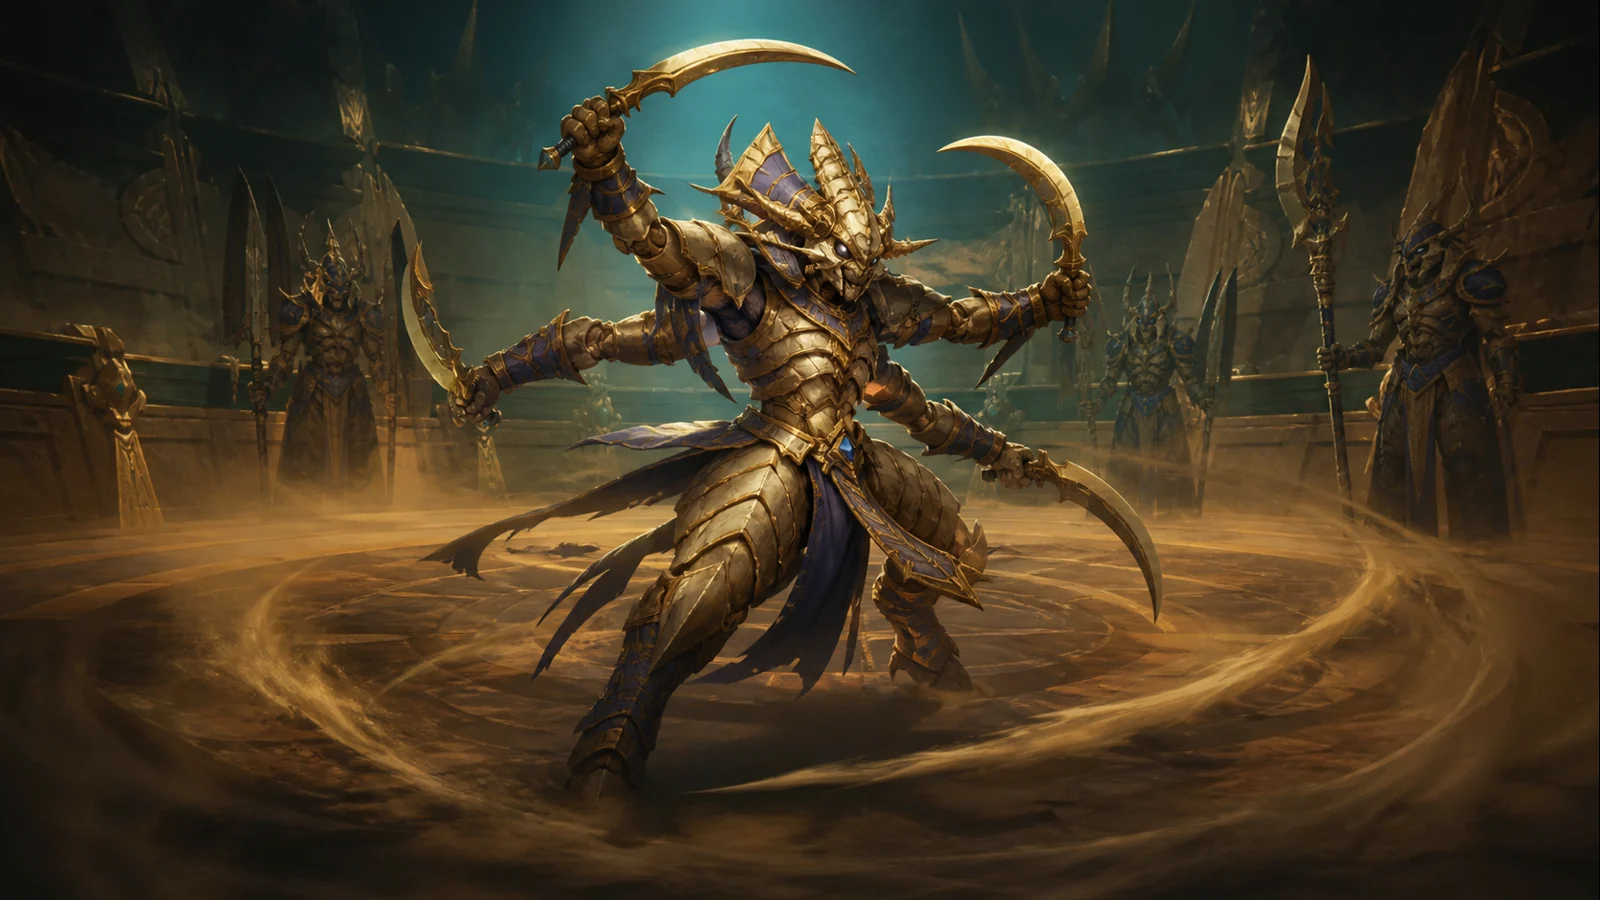
Battleguard Sartura
Whirlwind kiting, three Royal Guards and an enrage at 20% health.
Raid priorities
- Kill the Royal Guards before focusing damage on Sartura.
- During Whirlwind, the raid spreads and does not lead the rotating add through the others.
- At the end of Whirlwind, tanks will quickly retake their target.
- Save cooldowns for the enrage at 20% health.
Before the pull
- Name four tank groups and guard kill order.
- Spread the raid throughout the room and leave a kite space in the middle.
- Agree on stun rotations and boss's 20 percent burn.
Mechanics reference
Phase plan and tactic
Separate all four targets and focus one guard at a time, using stuns for control.
Spread out and move away from an approaching Whirlwind; do not try to tank a spinning enemy in place.
After the guards die, maintain the same movement discipline. Push below 20 percent only when cooldowns are ready.
Role notes
Tanks
- Follow the encounter's tank change, threat and placement plan.
- Pick up adds quickly and keep dangerous front cones out of the raid.
DPS
- Follow target priority before boss damage.
- Save cooldowns for the decisive burn or weaken phase of the encounter.
Healers
- Anticipate burst damage on tanks and Nature or poison damage across the raid.
- Keep dispel and mana responsibilities active in long encounters.
Utility
- Use interrupts, Tranq, dispels and crowd control as agreed.
- Call out tentacles, teleports, adds and phase transitions immediately.
Nerfs: what changed
- No unambiguous boss-specific Vanilla numerical nerf has been released for Sartura in notes 1.9-1.12.
- General AQ bug fixes in patch 1.9.3 do not establish a boss-specific nerf to Sartura.
Encounter 4 / 9 · Temple of Ahn’Qiraj
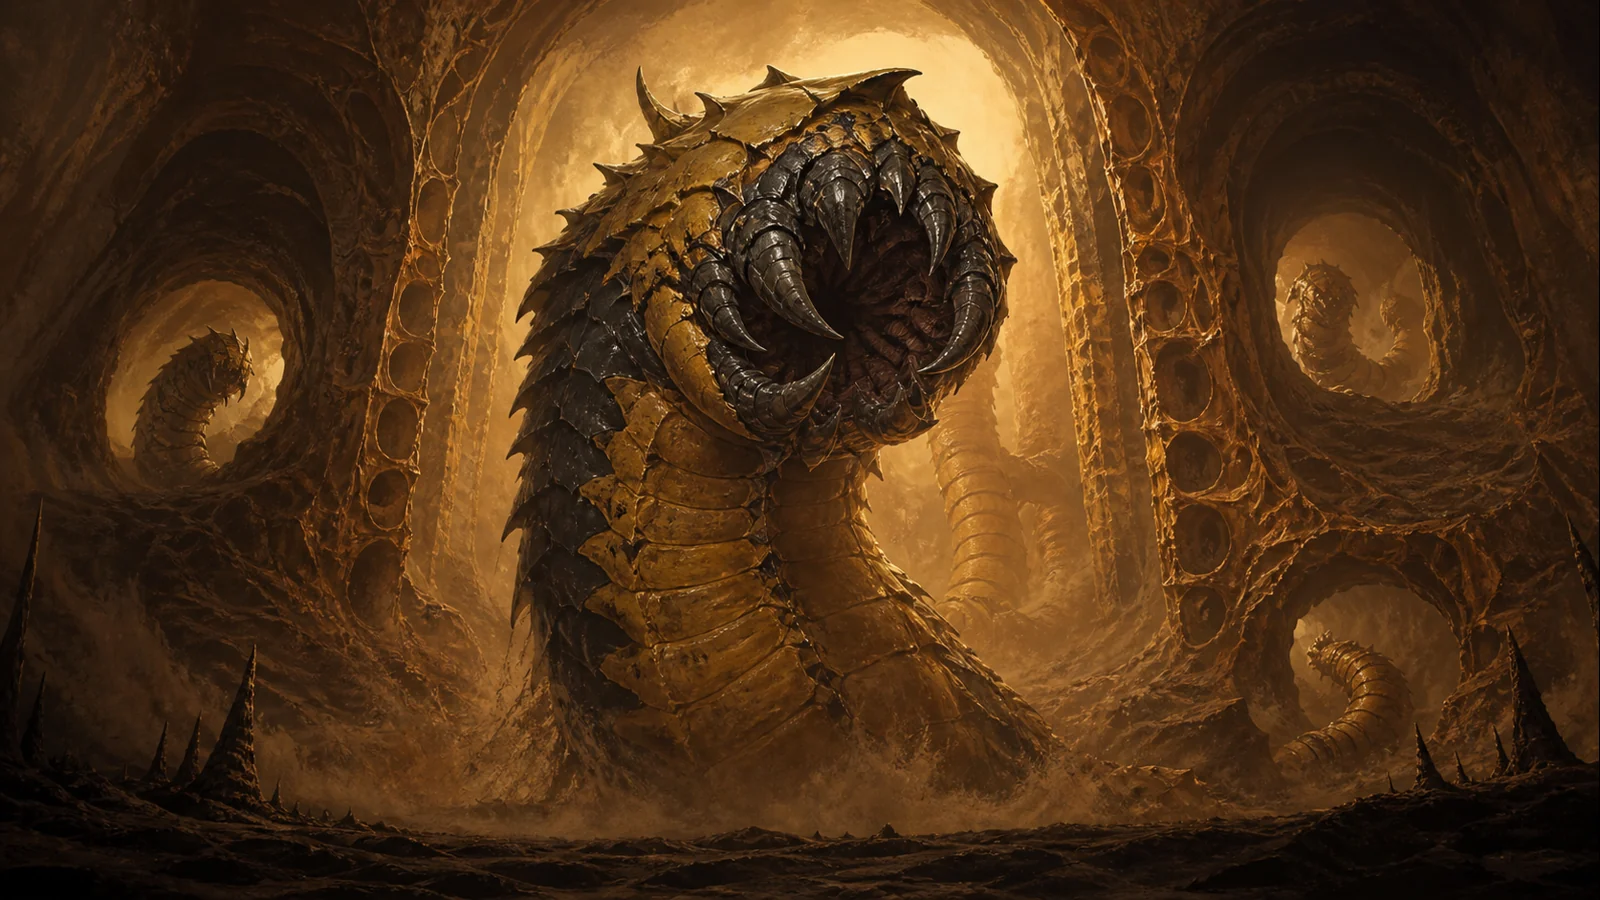
Fankriss the Unyielding
Tank swaps for Mortal Wound, teleports and spawns that enrage quickly.
Raid priorities
- Kill Spawn of Fankriss immediately, before it can enrage.
- Mortal Wound tanks trade at agreed stack limit.
- Each tunnel has an add tank and healer support.
- Teleported players return safely without pulling corridor trash.
Before the pull
- Assign 2–3 boss tanks and a Mortal Wound stack limit.
- Place a tank in each of the three tunnel mouths.
- Assign an immediate target call, burst damage and stuns for each Spawn.
Mechanics reference
Phase plan and tactic
Tanks rotate on Fankriss while melee players stay at his sides.
The three add tanks collect Hatchlings. Use AoE only once the enemies are gathered under control.
All available DPS switches to the large worm, uses stuns and kills it before returning to Fankriss.
Role notes
Tanks
- Follow the encounter's tank change, threat and placement plan.
- Pick up adds quickly and keep dangerous front cones out of the raid.
DPS
- Follow target priority before boss damage.
- Save cooldowns for the crucial burn or weaken phase of the encounter.
Healers
- Anticipate burst damage on tanks and Nature or poison damage across the raid.
- Keep dispel and mana responsibilities active in long encounters.
Utility
- Use interrupts, Tranq, dispels and crowd control as agreed.
- Call out tentacles, teleports, adds and phase transitions immediately.
Nerfs: what changed
- Patch 1.10 added an enrage to Spawn of Fankriss if the add is not processed in time.
- This buff prevented players from ignoring the add; it was not a nerf. The Classic 1.12 strategy accounts for the need to kill it quickly.
Encounter 5 / 9 · Temple of Ahn’Qiraj
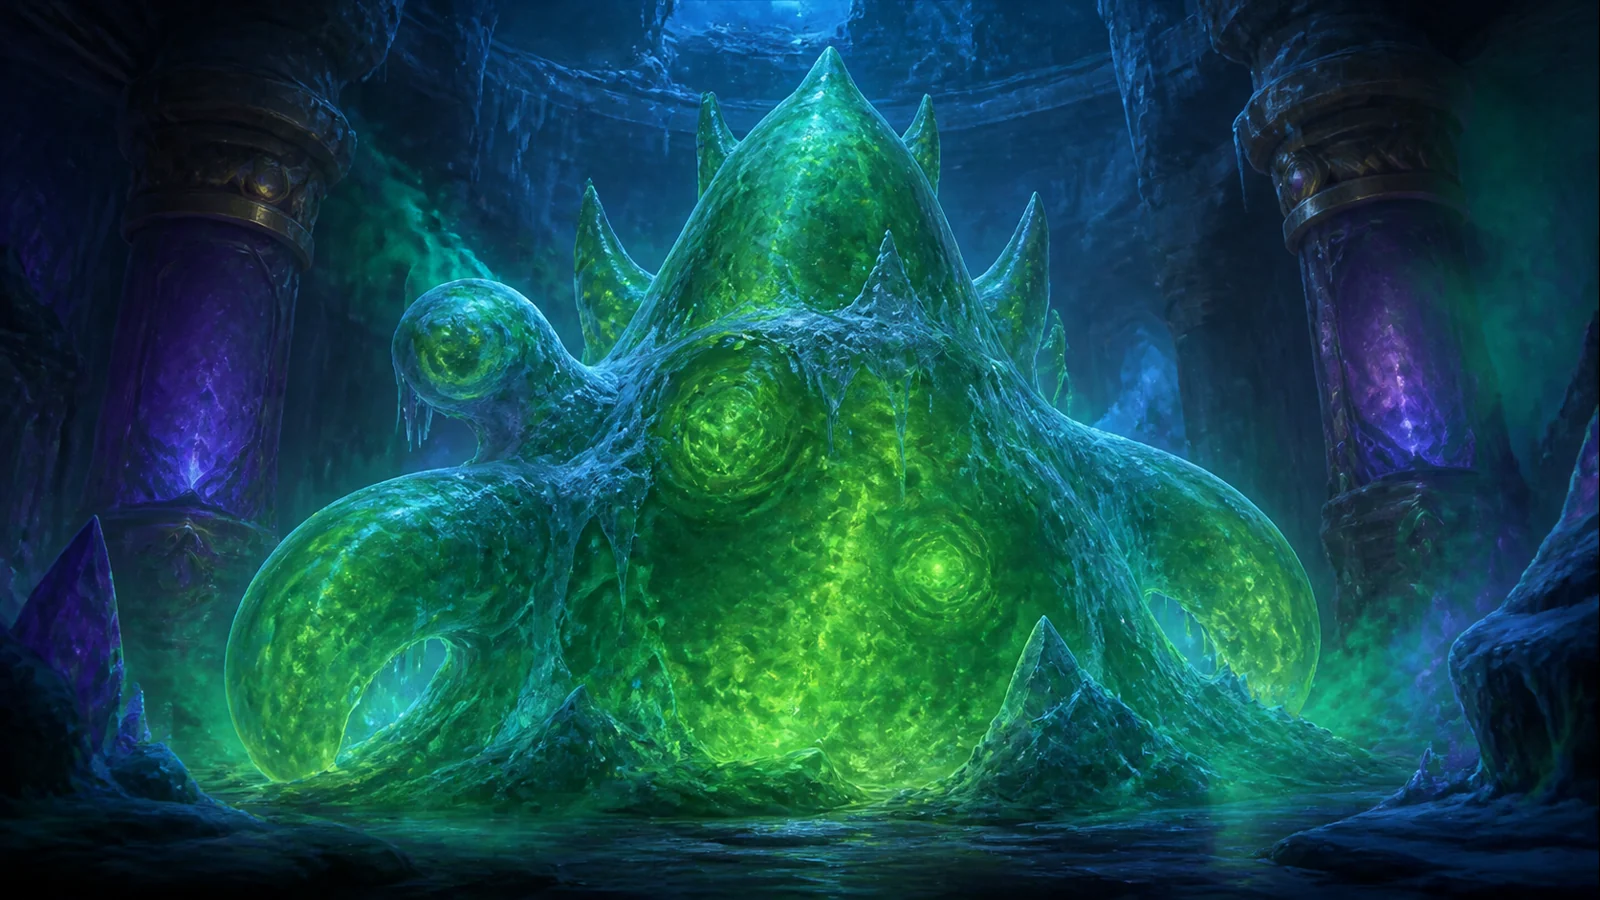
Viscidus
Frost hits freeze Viscidus, melee hits shatter him, and killing Globs reduces his health.
Raid priorities
- In the Frost phase, the number of hits is more important than raw damage.
- A fully frozen Viscidus is immediately dealt a large number of melee hits.
- After the shatter, switch to the Globs and kill them before they reach the center.
- Poison Cleansing Totems, dispels and Nature protection keep the raid alive.
Before the pull
- Bring frost wands, quick Frost abilities and oils/consumables as needed.
- Assign melee-hit responsibilities and sectors for killing Globs.
- Maximize poison-dispel and Nature resistance without missing hit thresholds.
Mechanics reference
Phase plan and tactic
All assigned players repeatedly use fast Frost attacks and watch the visible slowing stages.
Once Viscidus is fully frozen, use fast melee swings to reach the hit threshold as quickly as possible.
Split into assigned sectors and use slows, AoE and single-target damage to kill Globs. Return to Viscidus when he reforms for the next cycle.
Role notes
Tanks
- Follow the encounter's tank change, threat and placement plan.
- Pick up adds quickly and keep dangerous front cones out of the raid.
DPS
- Follow target priority before boss damage.
- Save cooldowns for the crucial burn or weaken phase of the encounter.
Healers
- Anticipate burst damage on tanks and Nature or poison damage across the raid.
- Keep dispel and mana responsibilities active in long encounters.
Utility
- Use interrupts, Tranq, dispels and crowd control as agreed.
- Call out tentacles, teleports, adds and phase transitions immediately.
Nerfs: what changed
- There is no documented Vanilla numerical nerf for Viscidus in the public notes for patches 1.9-1.12.
- Encounter Frost and melee hit thresholds are core design, not standard damage check.
Encounter 6 / 9 · Temple of Ahn’Qiraj
Princess Huhuran
Nature resistance, Wyvern Sting and 30% berserk race.
Raid priorities
- Hunter rotation removes regular Frenzy immediately.
- 15 designated Nature-resist soak players are closest to the boss at the 30% stage.
- Wyvern Sting is judiciously removed as Dispel deals additional damage to the target.
- All damage cooldowns are saved to 30 percent burn.
Before the pull
- Assign 15 Nature-resistance soakers and check their gear and consumables.
- Name the hunters' Tranquilizing Shot rotation.
- Set ranged wide and agree on Wyvern Sting dispels and 30 percent healing cooldowns.
Mechanics reference
Phase plan and tactic
Keep threat stable, keep ranged players spread out and remove Frenzy immediately. Avoid the clouds on the ground.
At about 35 percent, the soaks move closer, the rest of the raid further away, and the healers share the targets.
Push to 30% health when called. Use raid, healing and damage cooldowns, and keep the soakers alive until Huhuran dies.
Role notes
Tanks
- Follow the encounter's tank change, threat and placement plan.
- Pick up adds quickly and keep dangerous front cones out of the raid.
DPS
- Follow target priority before boss damage.
- Save cooldowns for the decisive burn or weaken phase of the encounter.
Healers
- Anticipate burst damage on tanks and Nature or poison damage across the raid.
- Keep dispel and mana responsibilities active in long encounters.
Utility
- Use interrupts, Tranq, dispels and crowd control as agreed.
- Call out tentacles, teleports, adds and phase transitions immediately.
Nerfs: what changed
- Patch 1.11 prevented Huhuran's Acid Spit from redirecting with Grounding Totem.
- This removed a shaman tool that had made the fight easier. It increased difficulty rather than nerfing the encounter.
Encounter 7 / 9 · Temple of Ahn’Qiraj
Twin Emperors
Physical and magical immunity, teleport exchanges and shared health.
Raid priorities
- Keep the emperors far enough apart that they cannot heal each other.
- After each teleport, both tanks re-establish threat before DPS resumes.
- Vek'nilash only takes physical damage and Vek'lor only takes spell damage.
- Kill dangerous bugs safely, away from the raid.
Before the pull
- Build a melee/tank squad for Vek'nilash and a shadow-resist warlock tank/healers for Vek'lor.
- Place the groups at opposite ends of the room and determine the locations after the teleport.
- Distribute bug control and ranged-DPS to Vek'lor.
Mechanics reference
Phase plan and tactic
Keep the emperors at the ends of the room and the damage groups according to the correct immunity.
Everyone stops dealing damage just before the teleport. The new tank picks up the arriving emperor and calls when threat is secure.
Control bugs away from the raid; ranged players kill dangerous adds before they reach explosion range.
Repeat the teleport cycle carefully, manage tank mana and resistances, and avoid letting the emperors heal each other.
Role notes
Tanks
- Follow the encounter's tank change, threat and placement plan.
- Pick up adds quickly and keep dangerous front cones out of the raid.
DPS
- Follow target priority before boss damage.
- Save cooldowns for the crucial burn or weaken phase of the encounter.
Healers
- Anticipate burst damage on tanks and Nature or poison damage across the raid.
- Keep dispel and mana responsibilities active in long encounters.
Utility
- Use interrupts, Tranq, dispels and crowd control as agreed.
- Call out tentacles, teleports, adds and phase transitions immediately.
Nerfs: what changed
- No unique Vanilla numerical nerf found for Twin Emperors in public 1.9-1.12 patch notes.
- Patch 1.11 added a teleport service to use after killing them, but it shortened the corpse run and did not change the encounter.

Encounter 8 / 9 · Temple of Ahn’Qiraj
Ouro
Sand Blast threat control, kiting during submerge and an enrage at 20% health.
Raid priorities
- Sand Blast doesn't hit the entire raid and the next tank is ready in threat.
- Submerge mounds are dodged with constant movement.
- Control and kill Ouro Scarabs before Ouro resurfaces.
- Damage and healing cooldowns are saved for 20 percent enrage.
Before the pull
- Name the main tank, Sand Blast backup tanks and the exact direction of the boss.
- Share submerge-adds' AoE and movement direction.
- Bring Nature protection and agree on 20 percent burn places.
Mechanics reference
Phase plan and tactic
Tank boss in a fixed direction, raid on the sides/back and Sand Blast tanks in their own line.
Spread out and avoid the moving mounds. Gather scarabs safely and AoE them down.
Tank picks up Ouro from new location before DPS.
At less than 20% spread out, use all cooldowns and avoid mounds while burning the boss.
Role notes
Tanks
- Follow the encounter's tank change, threat and placement plan.
- Pick up adds quickly and keep dangerous front cones out of the raid.
DPS
- Follow target priority before boss damage.
- Save cooldowns for the decisive burn or weaken phase of the encounter.
Healers
- Anticipate burst damage on tanks and Nature or poison damage across the raid.
- Keep dispel and mana responsibilities active in long encounters.
Utility
- Use interrupts, Tranq, dispels and crowd control as agreed.
- Call out tentacles, teleports, adds and phase transitions immediately.
Nerfs: what changed
- 4/18/2006 hotfix significantly reduced the damage of Ouro's Quake effects.
- The hotfixes announced on 4/26/2006 increased Ouro's uptime before submerge, reduced scarab damage and increased the cooldown between Sand Blasts.
- These were clear encounter nerfs and tuning fixes.
Encounter 9 / 9 · Temple of Ahn’Qiraj
C’Thun
Dark Glare cycles, tentacle priority and stomach weaken cycle.
Raid priorities
- Everyone maintains at least about a 10 Yard spread to block the Eye Beam chain.
- Eye Tentacles and Giant Eye Tentacles are instantly killed; Giant Eye cannot cast beam.
- Move around C’Thun in the agreed direction to avoid Dark Glare. Never run through the beam.
- Stomach team kills both Flesh Tentacles in sync and exits before the deadly stacks of acid.
- Weaken stage is reached without living giant tentacles.
Before the pull
- Draw entry and spread positions for 40 players throughout the room.
- Share Eye Tentacle sectors, Giant Eye interrupts, and Giant Claw tanks.
- Review Flesh Tentacle targeting in the stomach, the exit pads and the call for the weakened phase.
Mechanics reference
Phase plan and tactic
Players go through the door in rhythm to their own spread positions; no one cuts through the nearest player.
Kill the small Eye Tentacles, keep the spread and move in unison to run away from the Dark Glare. Push phase 2 transition from a safe position.
Giant Eye > Eye Tentacle > Giant Claw priority. Interrupt beam, tank claw and avoid rupture spawns.
Swallowed DPS/healers damage both Flesh Tentacles, monitor acid stacks, and exit the pad before dying.
When both Flesh Tentacles die, finish any dangerous adds still alive, then direct all available damage into C’Thun. Repeat the cycle if needed.
Role notes
Tanks
- Follow the encounter's tank change, threat and placement plan.
- Pick up adds quickly and keep dangerous front cones out of the raid.
DPS
- Follow target priority before boss damage.
- Save cooldowns for the crucial burn or weaken phase of the encounter.
Healers
- Anticipate burst damage on tanks and Nature or poison damage across the raid.
- Keep dispel and mana responsibilities active in long encounters.
Utility
- Use interrupts, Tranq, dispels and crowd control as agreed.
- Call out tentacles, teleports, adds and phase transitions immediately.
Nerfs: what changed
- 4/18/2006 hotfix decreased the HP of Giant Claw and Giant Eye Tentacles, reduced the damage of Ground Rupture and made it resistable, and reduced the melee damage of Giant Eye Tentacles.
- Patch 1.10.1 / same time fixes prevented stomach faction debuff, tentacle spawns in stomach and Eye Beam targeting stomach player.
- 4/25/2006 hotfix prevented new Giant Eye Tentacle spawns in the weakened phase and extended the interval between alternating tentacle spawns.
- Patch 1.10 removed the stacking acid effect of Flesh Tentacles. The whole thing turned the original overly difficult/buggy version into a manageable Classic 1.12 encounter.
Sources and versioning
The boss list and original 40-player structure were checked against Warcraft Wiki’s Temple of Ahn’Qiraj and Classic raid boss documentation. History is based on patch 1.9.3, 1.10 and 1.11 notes and archived 2006 hotfixes.
- Warcraft Wiki — Temple of Ahn'Qiraj
warcraft.wiki.gg/wiki/Temple_of_Ahn%27Qiraj_(original) - Warcraft Wiki — Classic raid instance bosses
warcraft.wiki.gg/wiki/Classic_raid_instance_bosses - Warcraft Wiki — Patch 1.9.3
warcraft.wiki.gg/wiki/Patch_1.9.3 - Warcraft Wiki — Patch 1.10.0
warcraft.wiki.gg/wiki/Patch_1.10.0 - Warcraft Wiki — Patch 1.11.0
warcraft.wiki.gg/wiki/Patch_1.11.0 - Warcraft Wiki — 2006 hotfix Archive
warcraft.wiki.gg/wiki/Hotfixes/2006_Archive
The 20-player version of Season of Discovery and Descent into Madness are not included in this guide. Updated 8/18/2026.